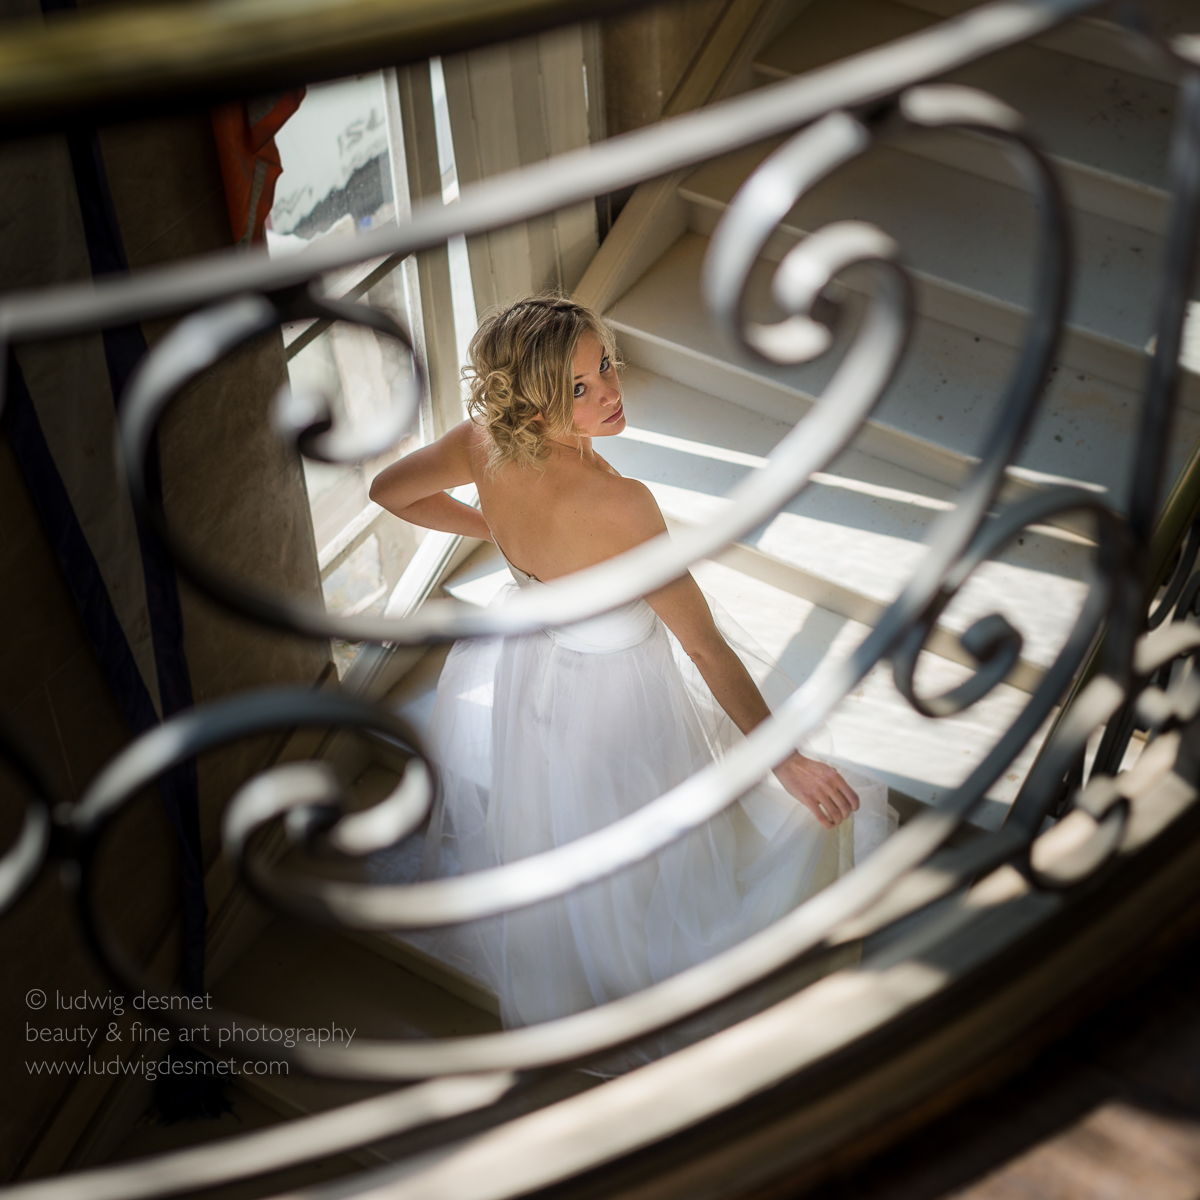
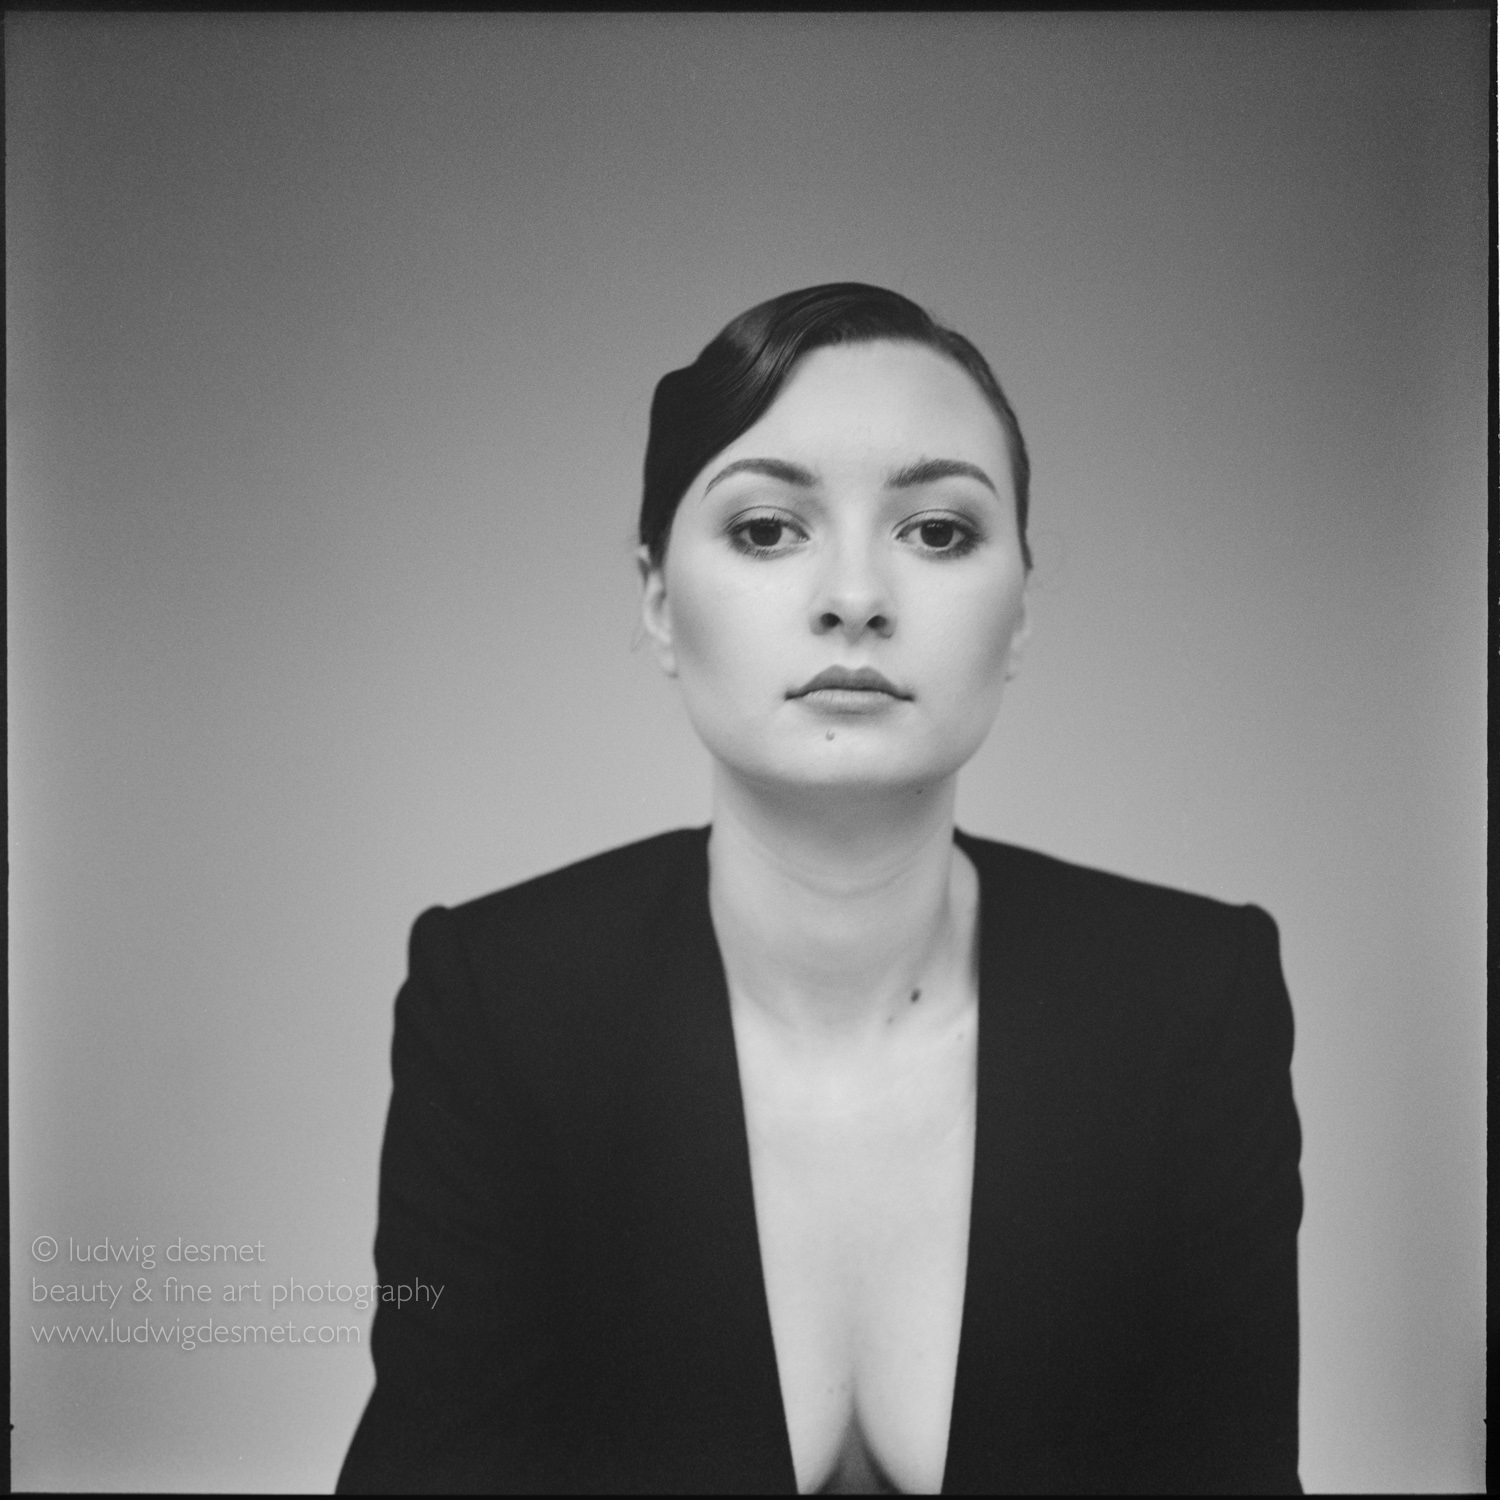
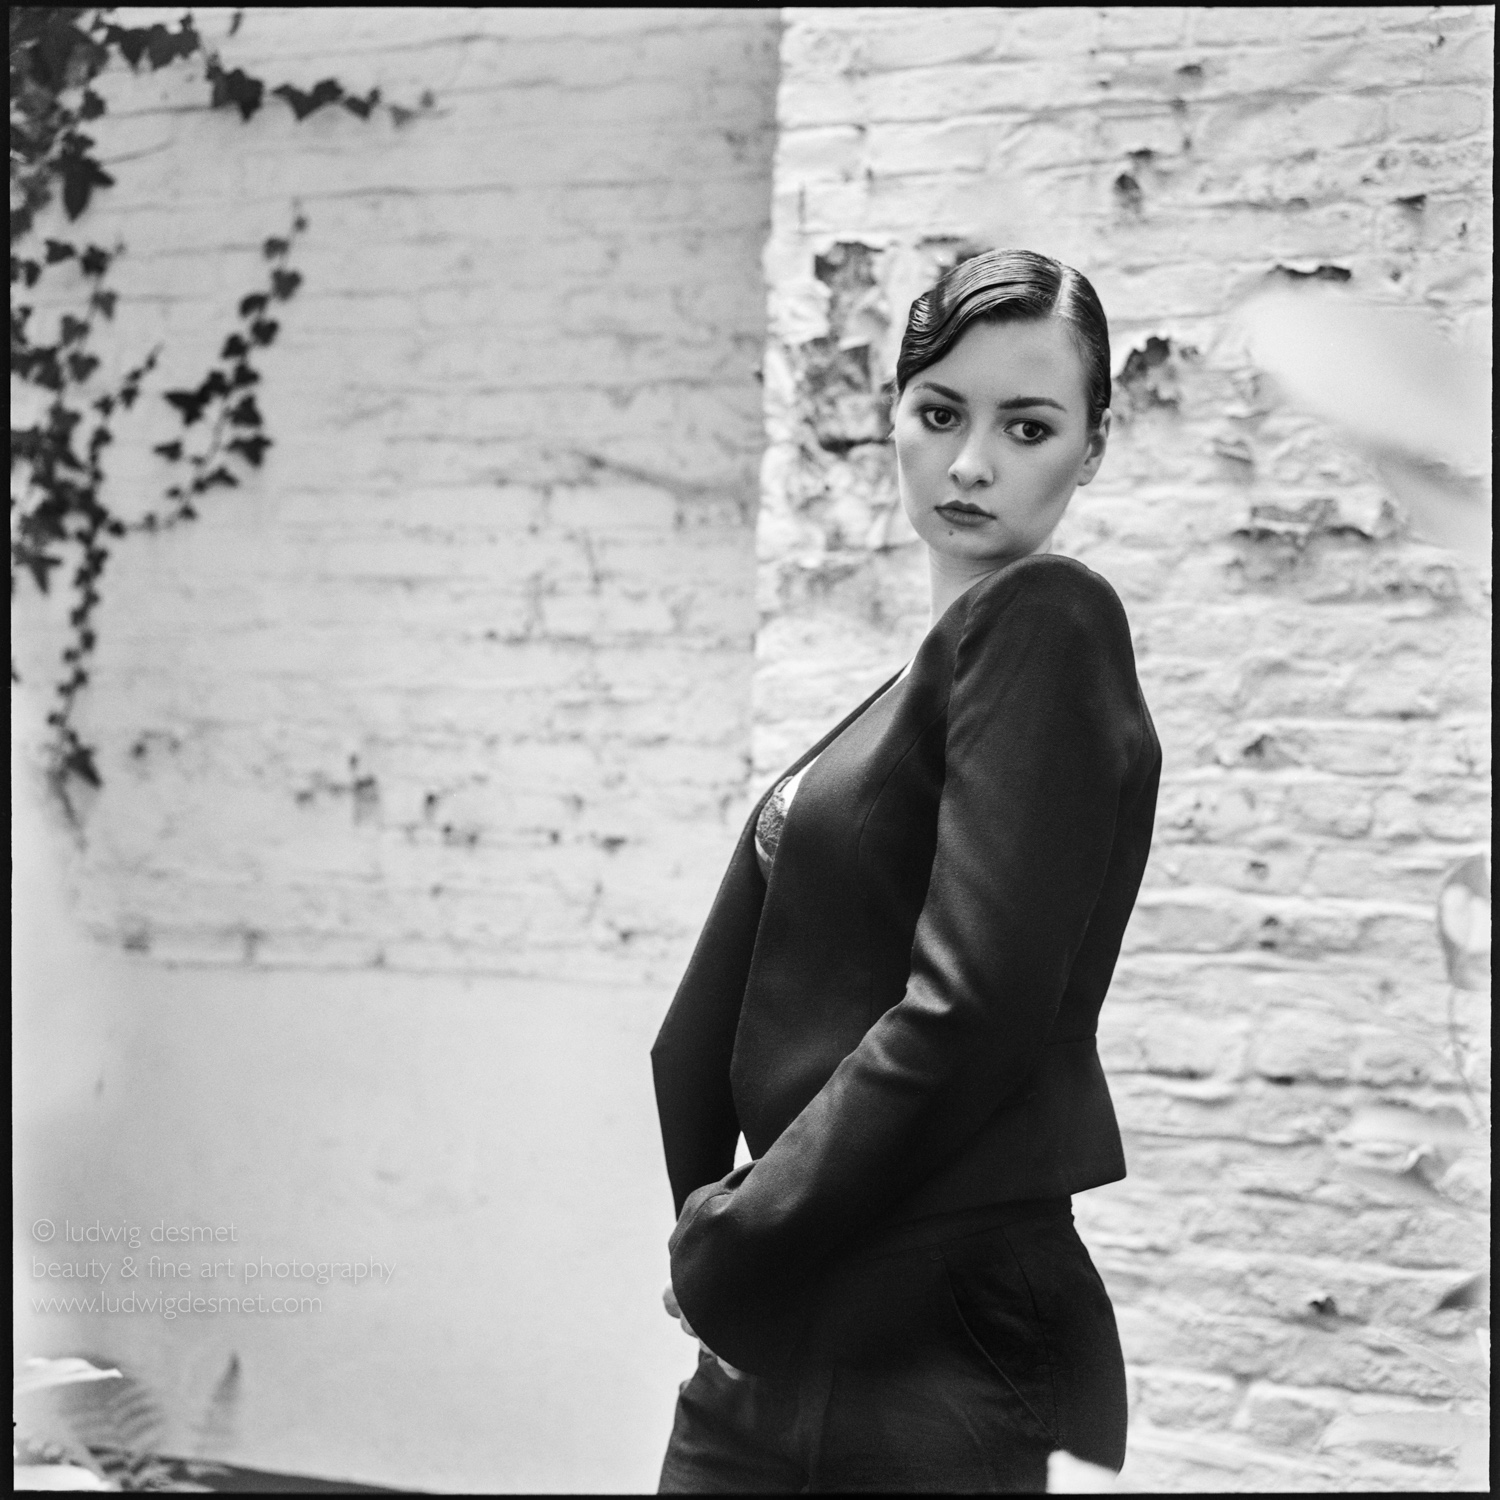
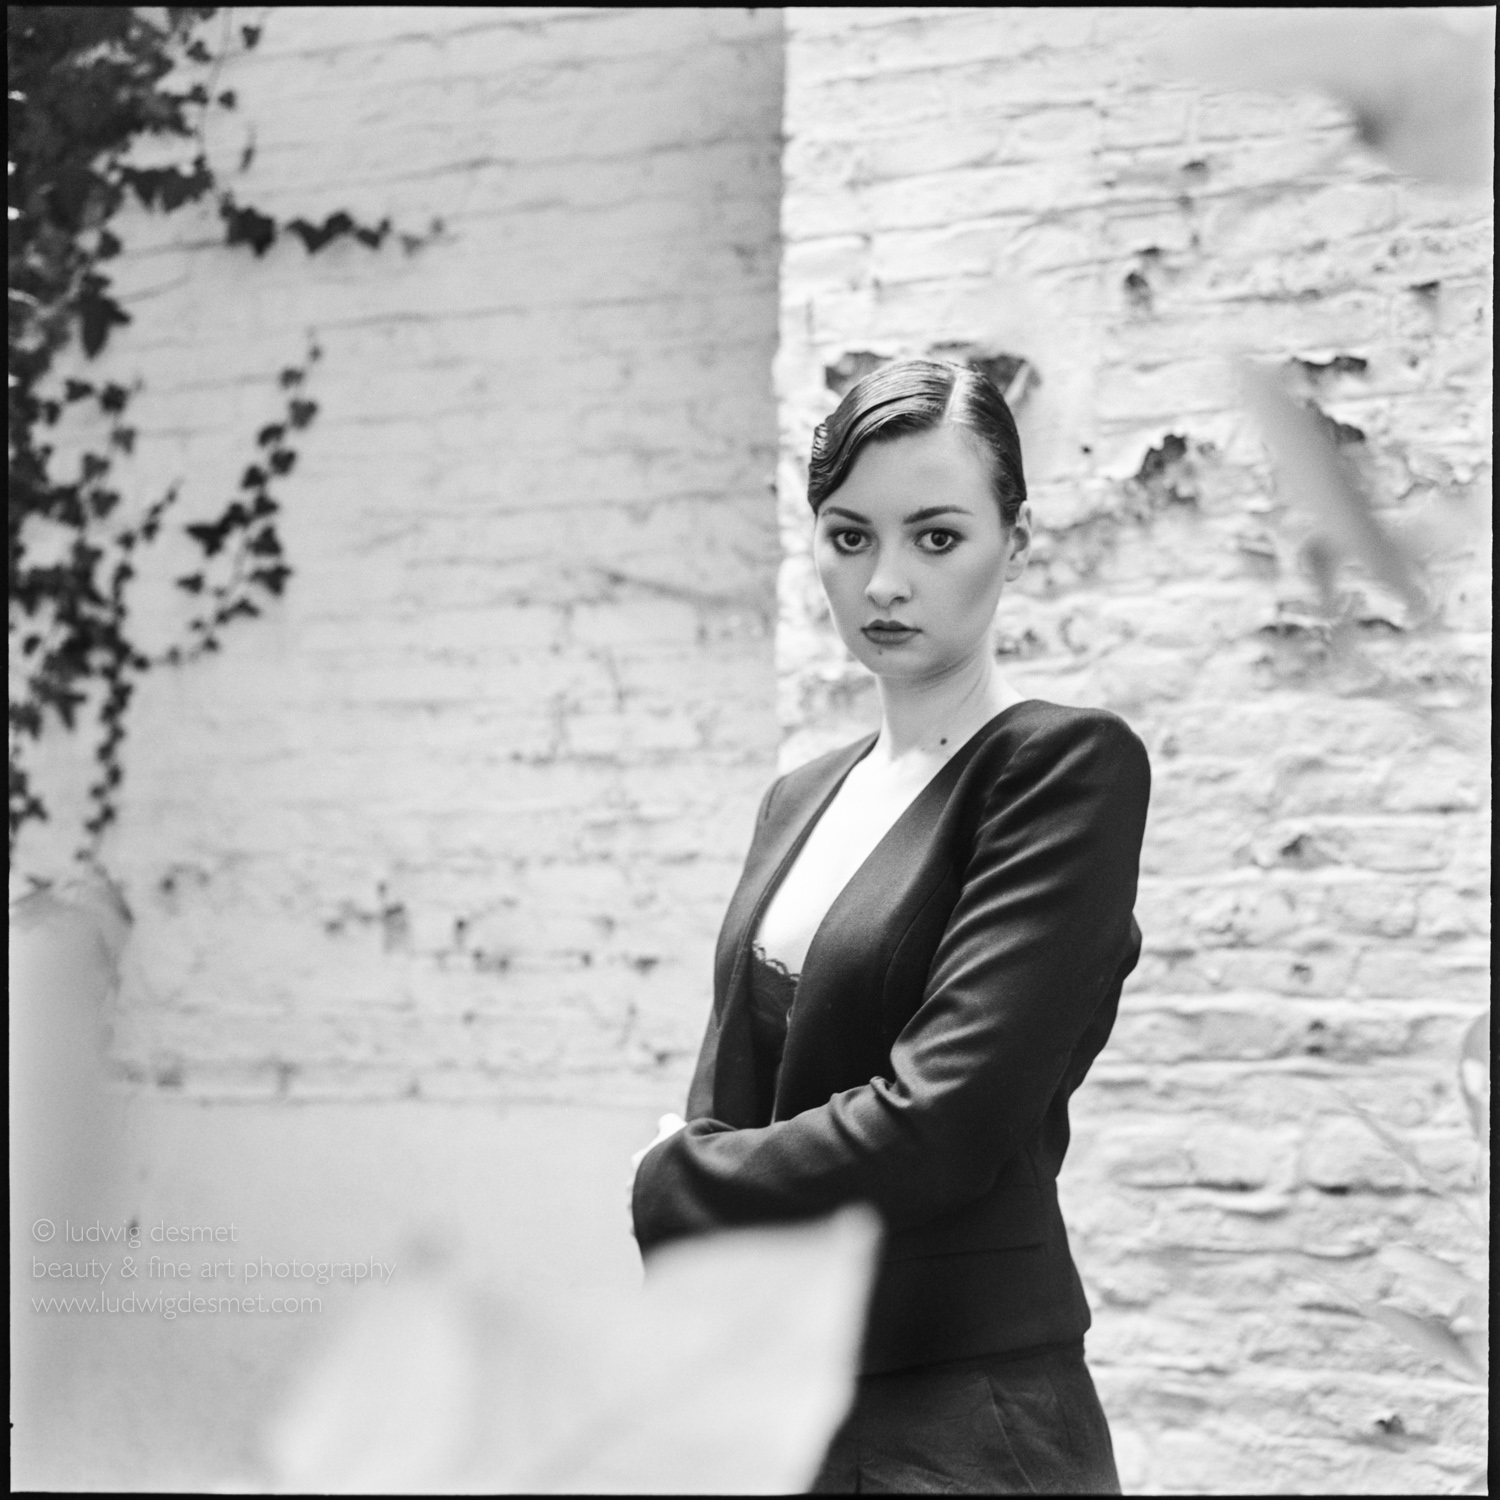
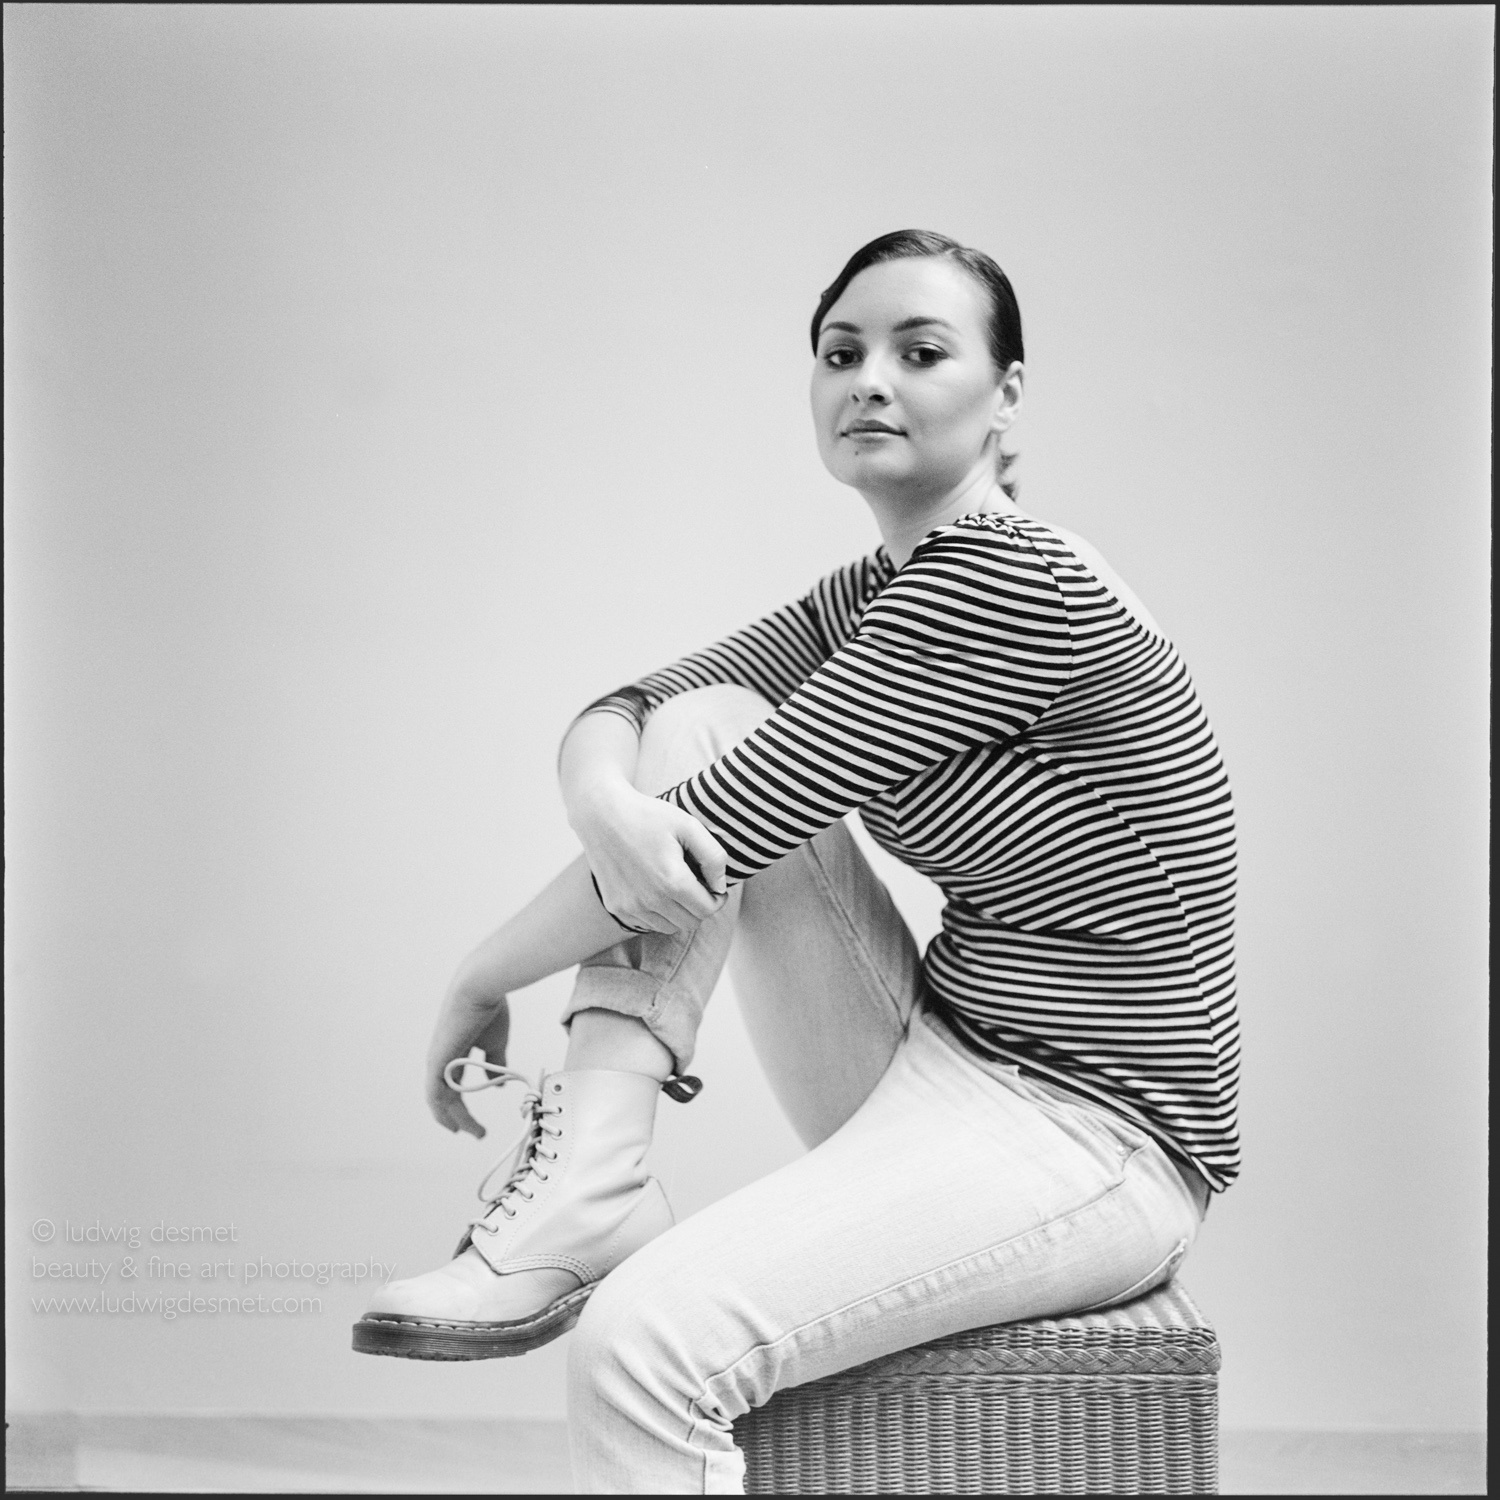
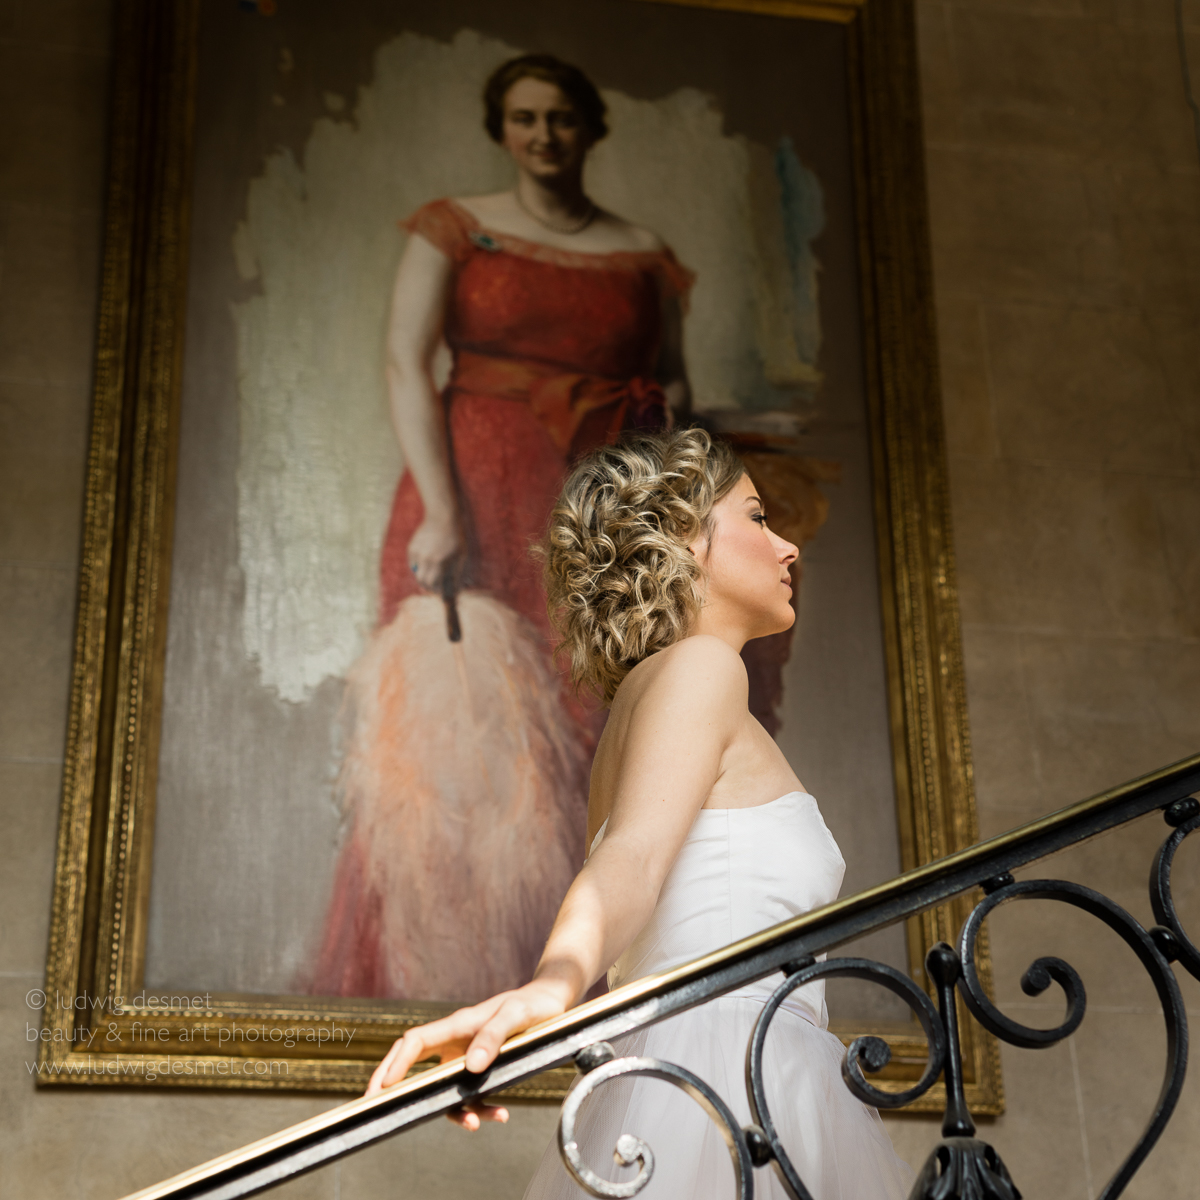
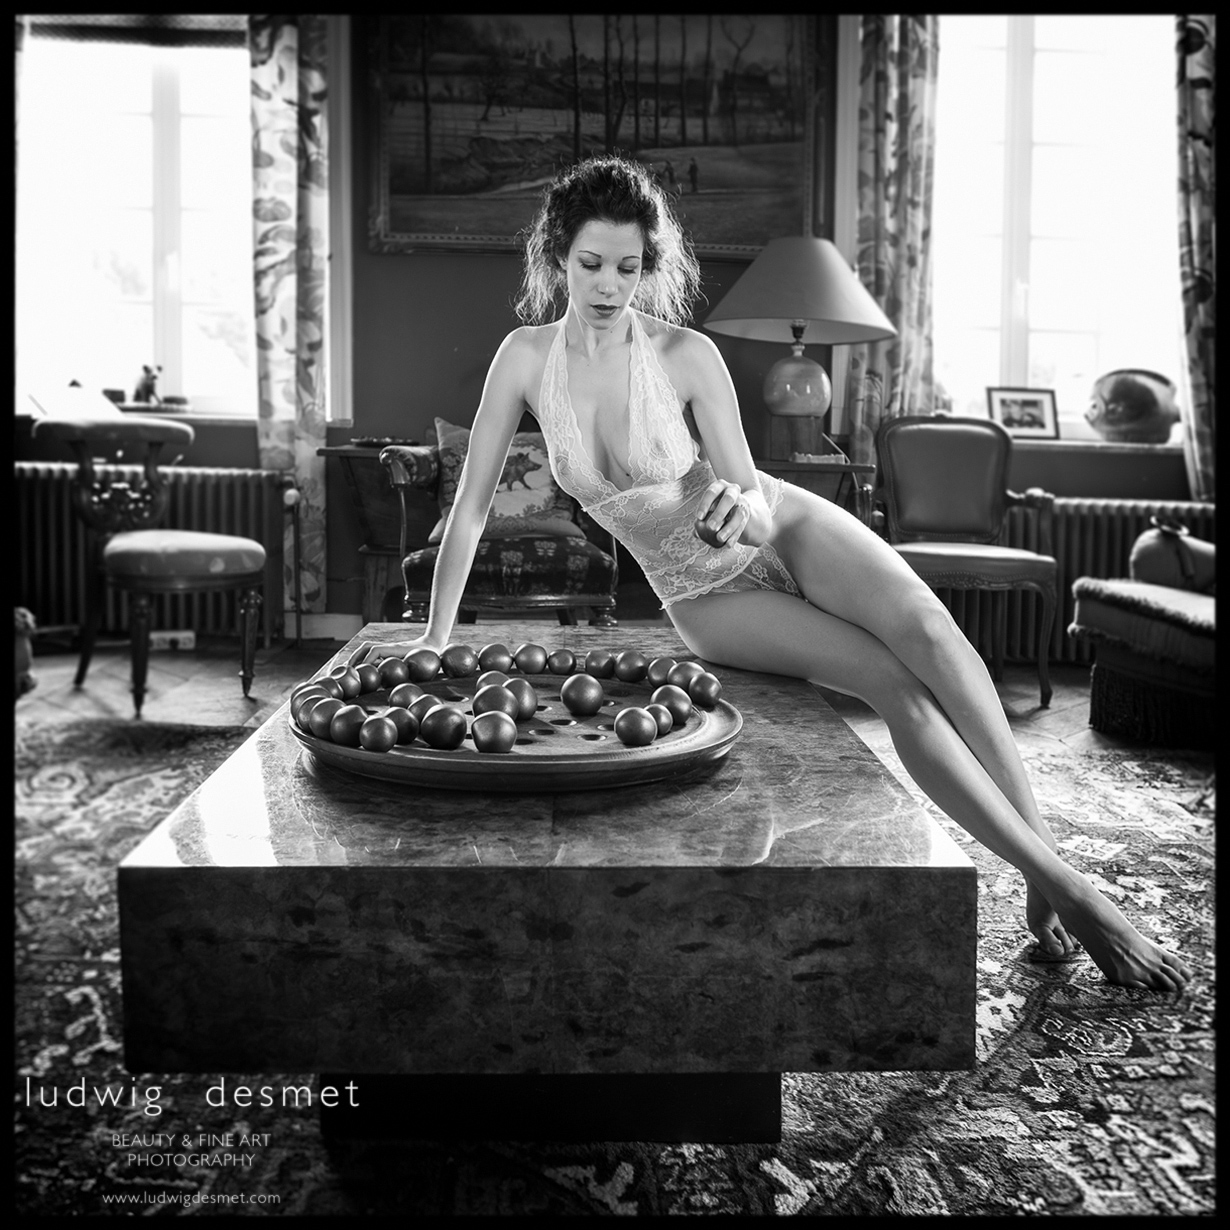
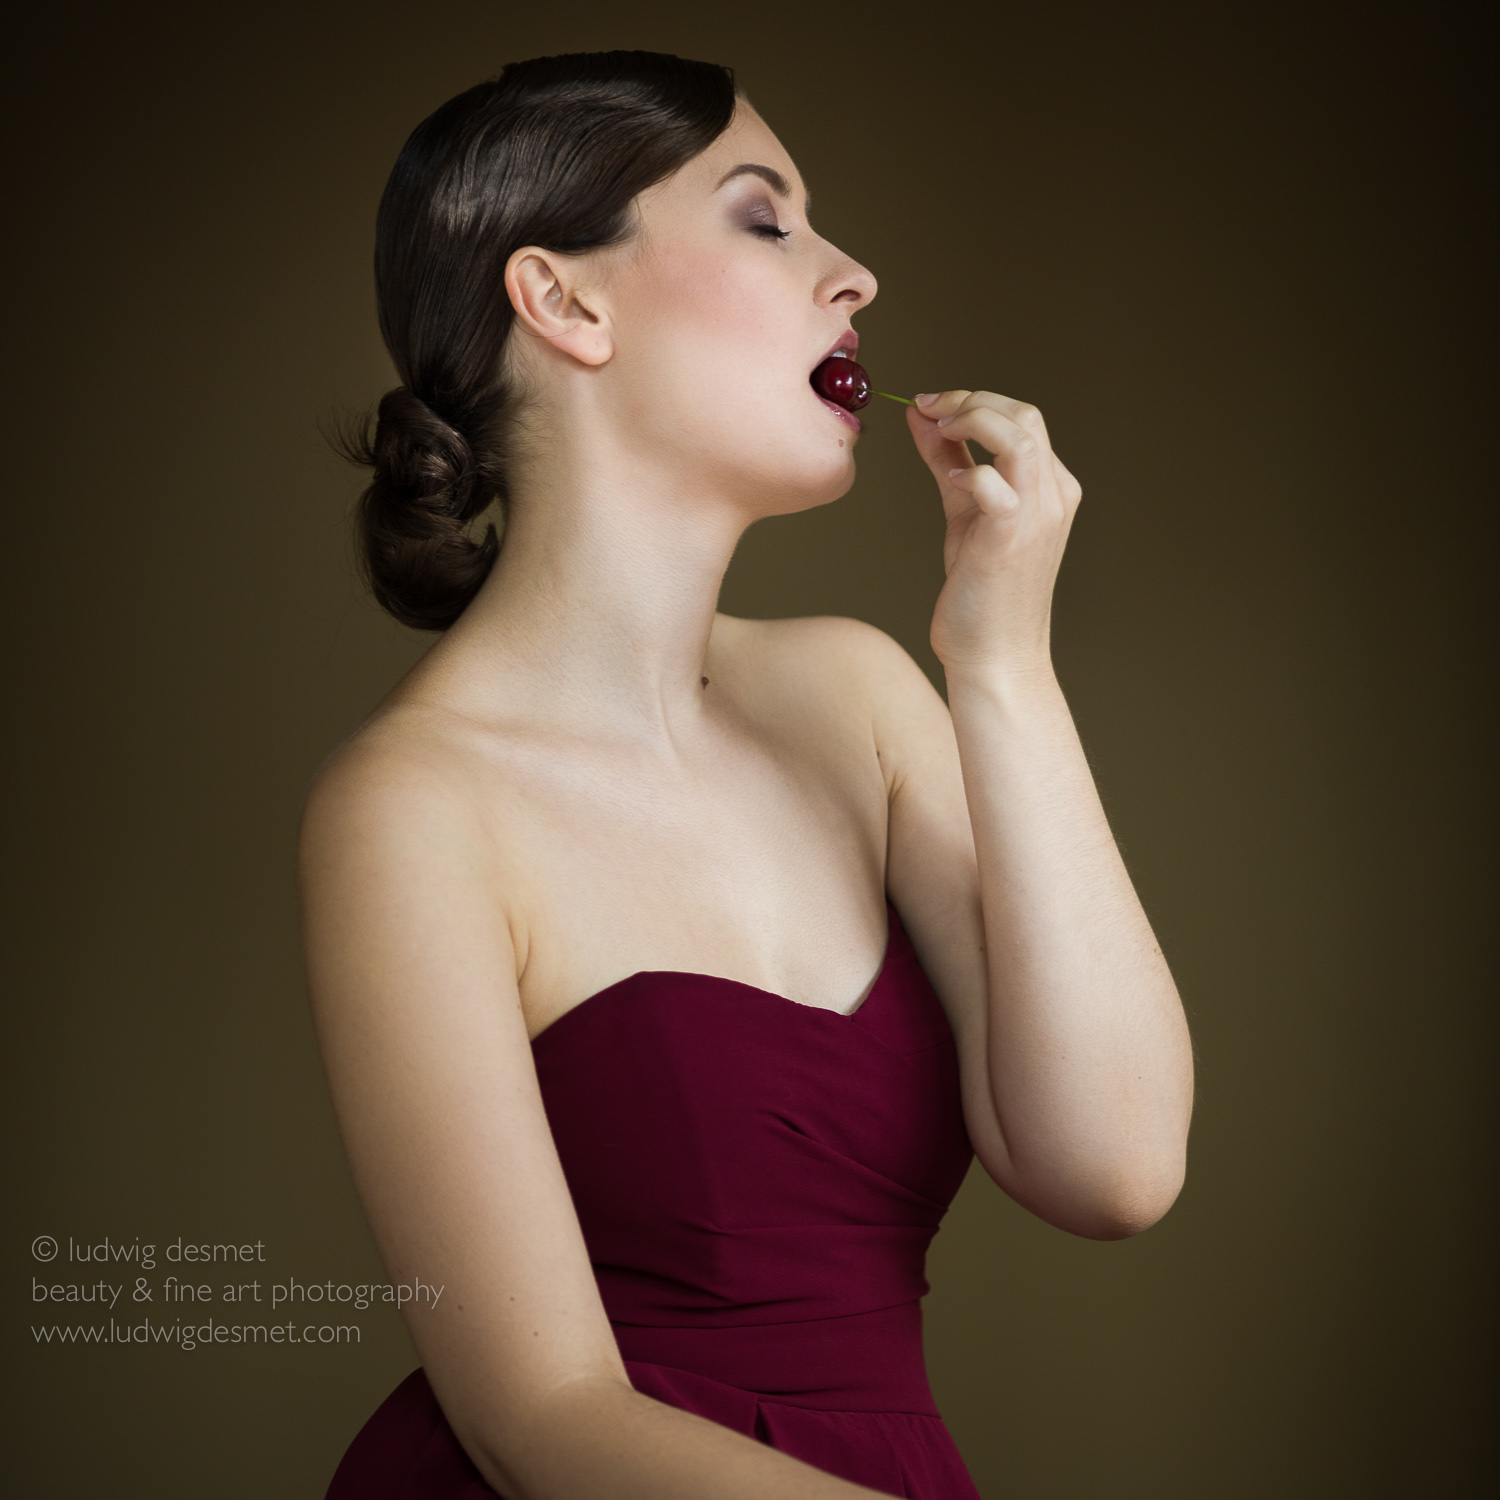
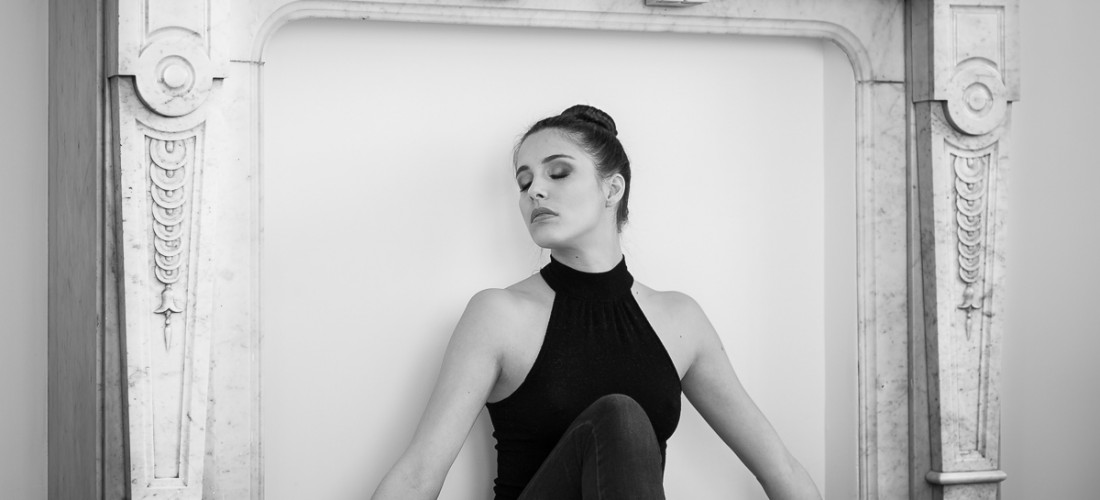
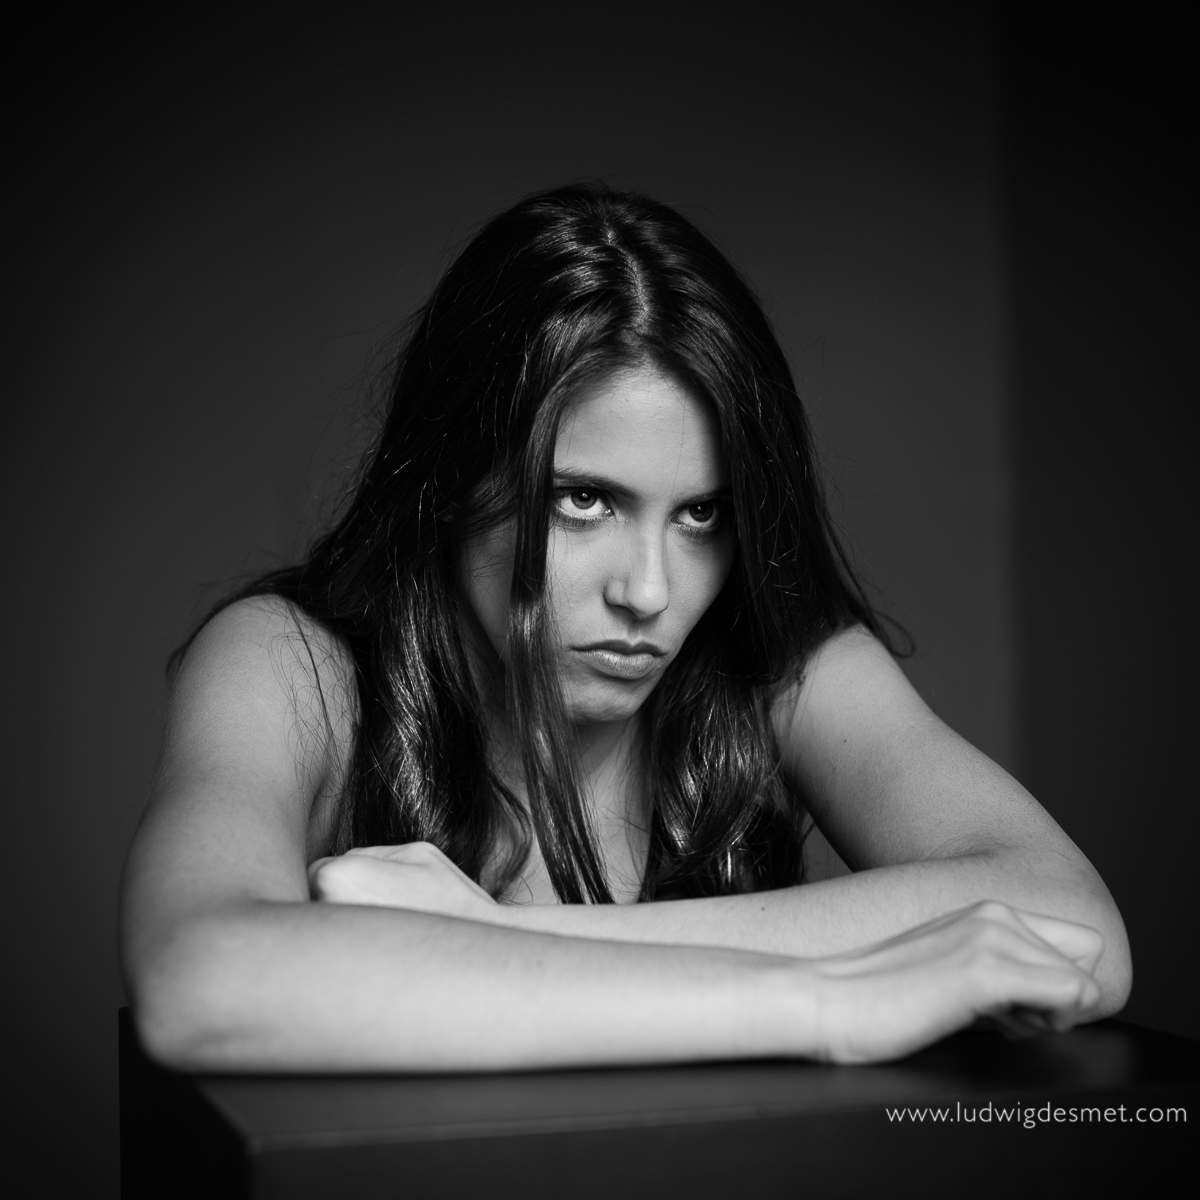
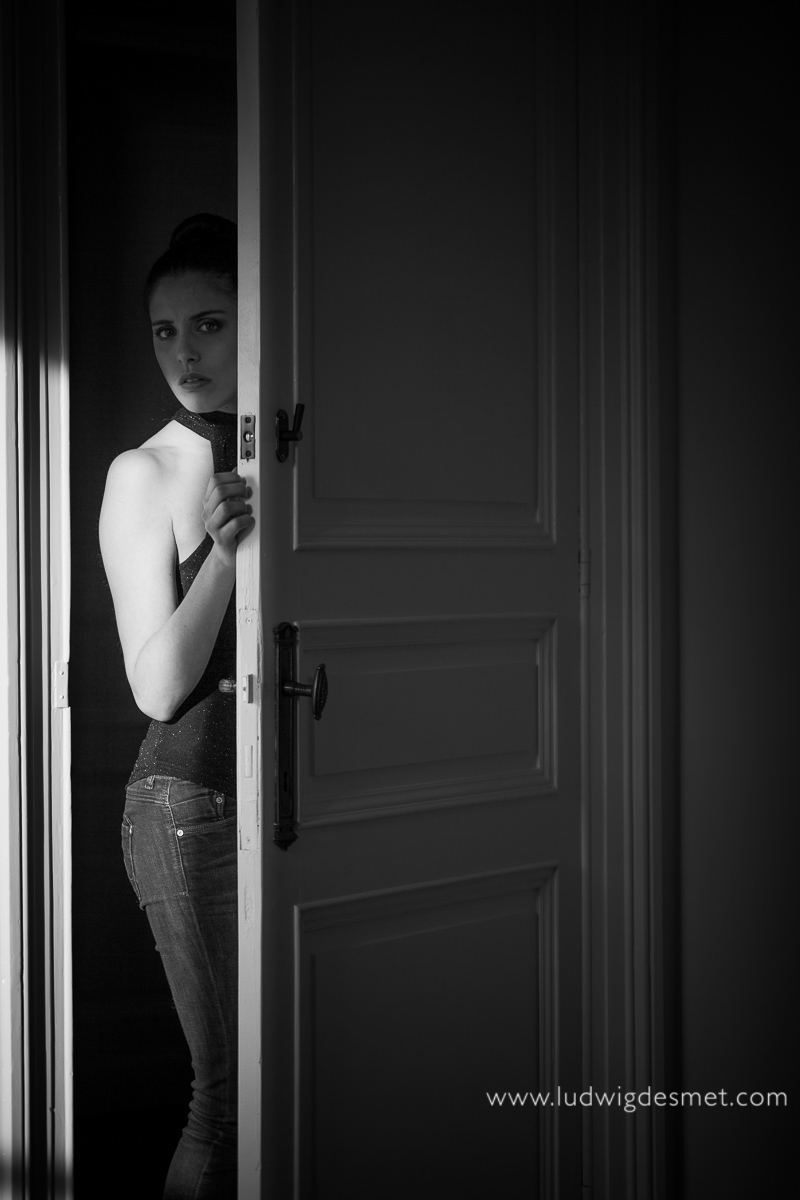
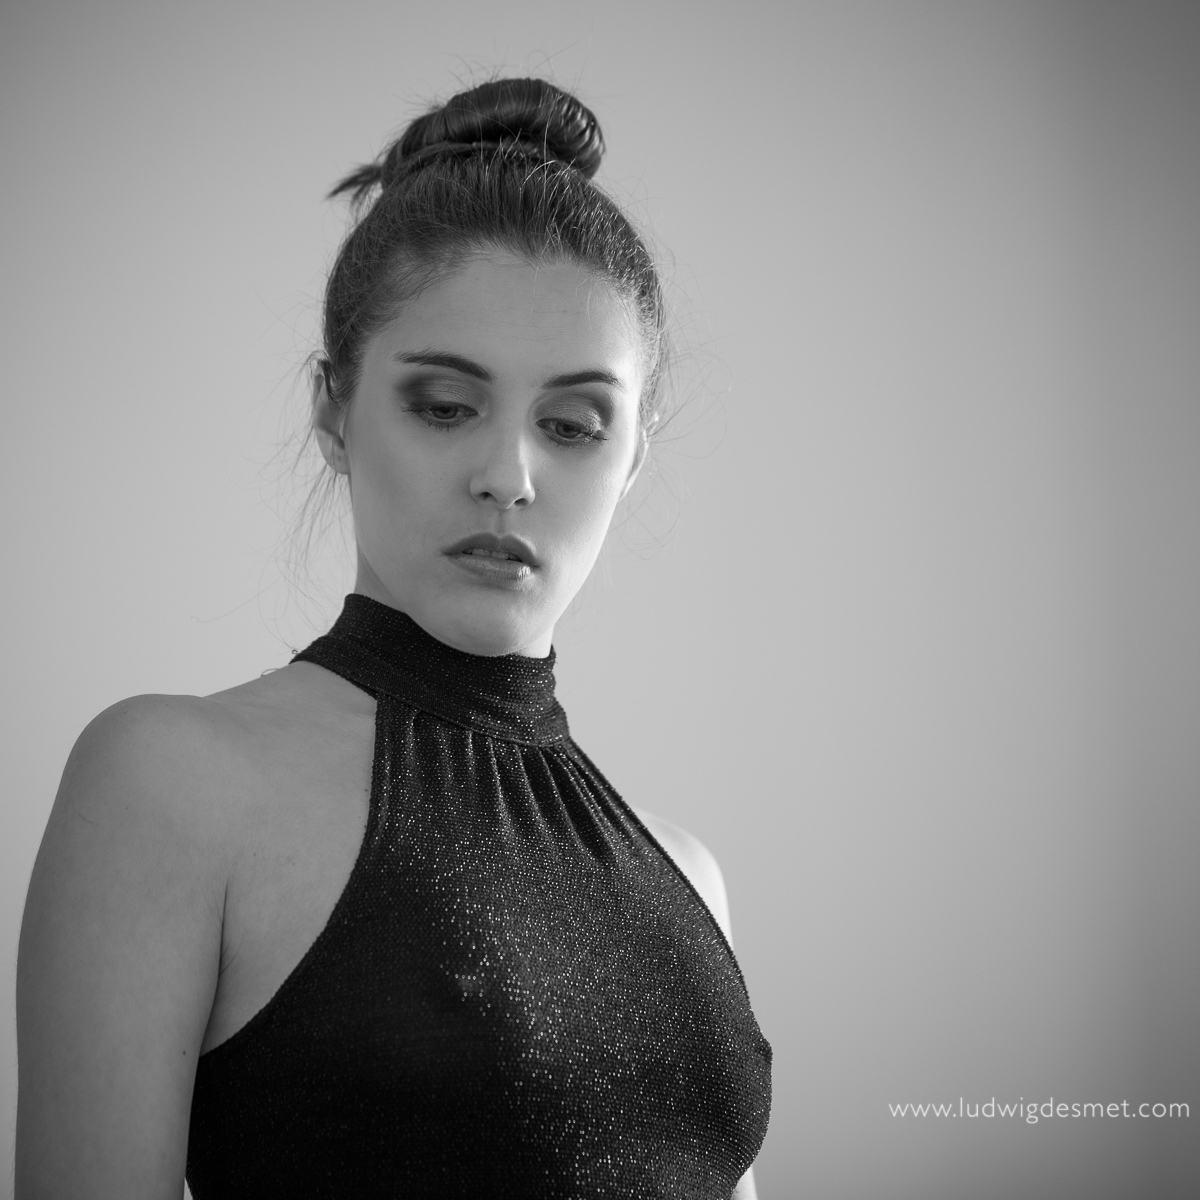
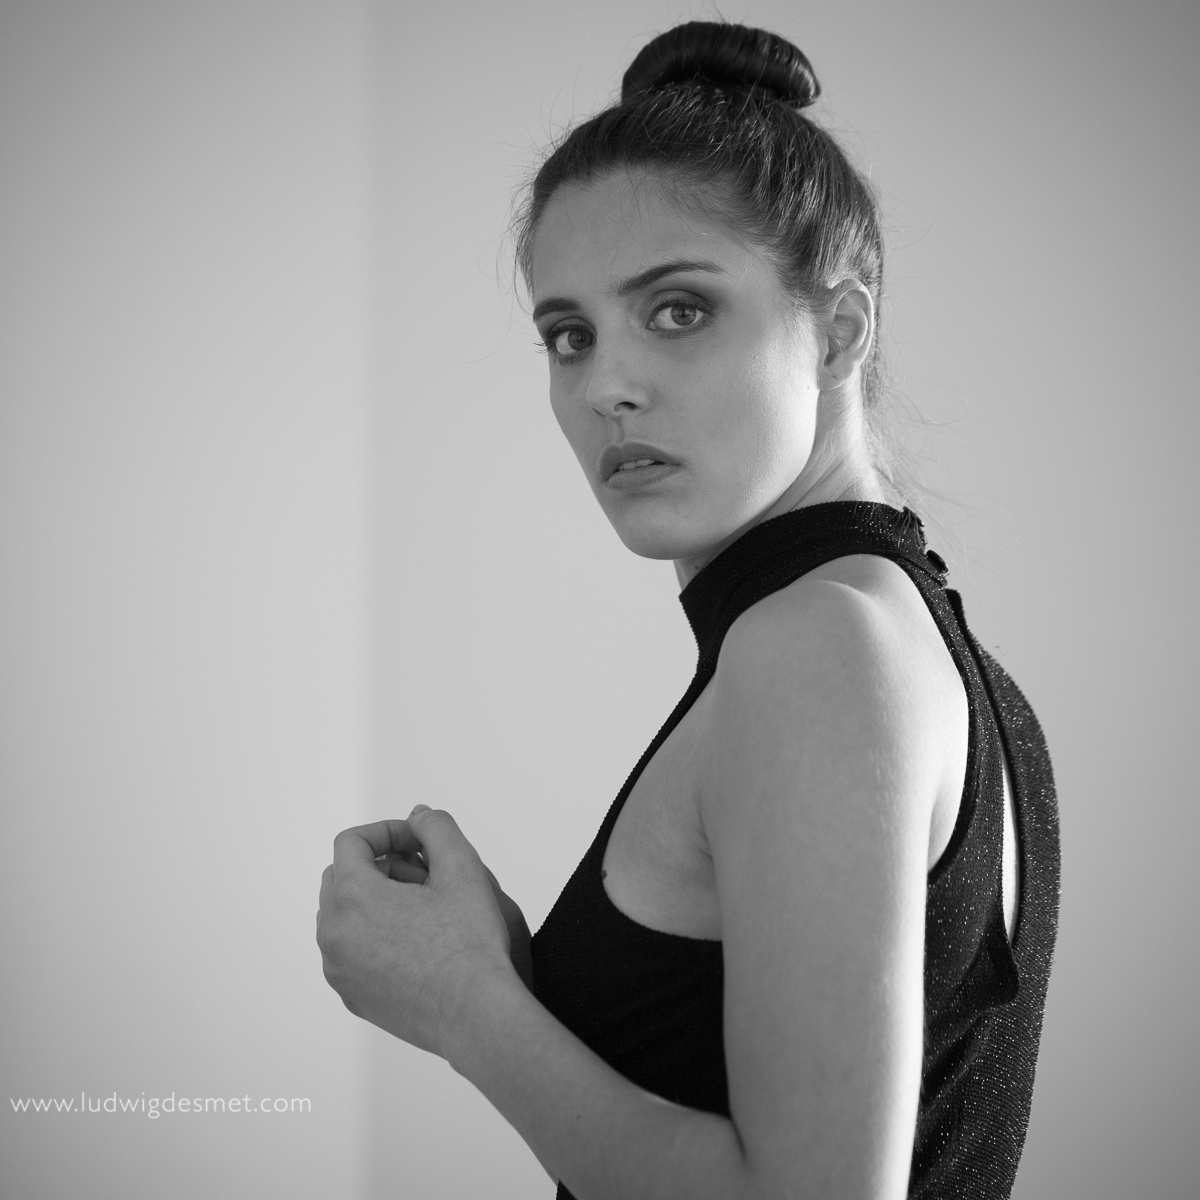
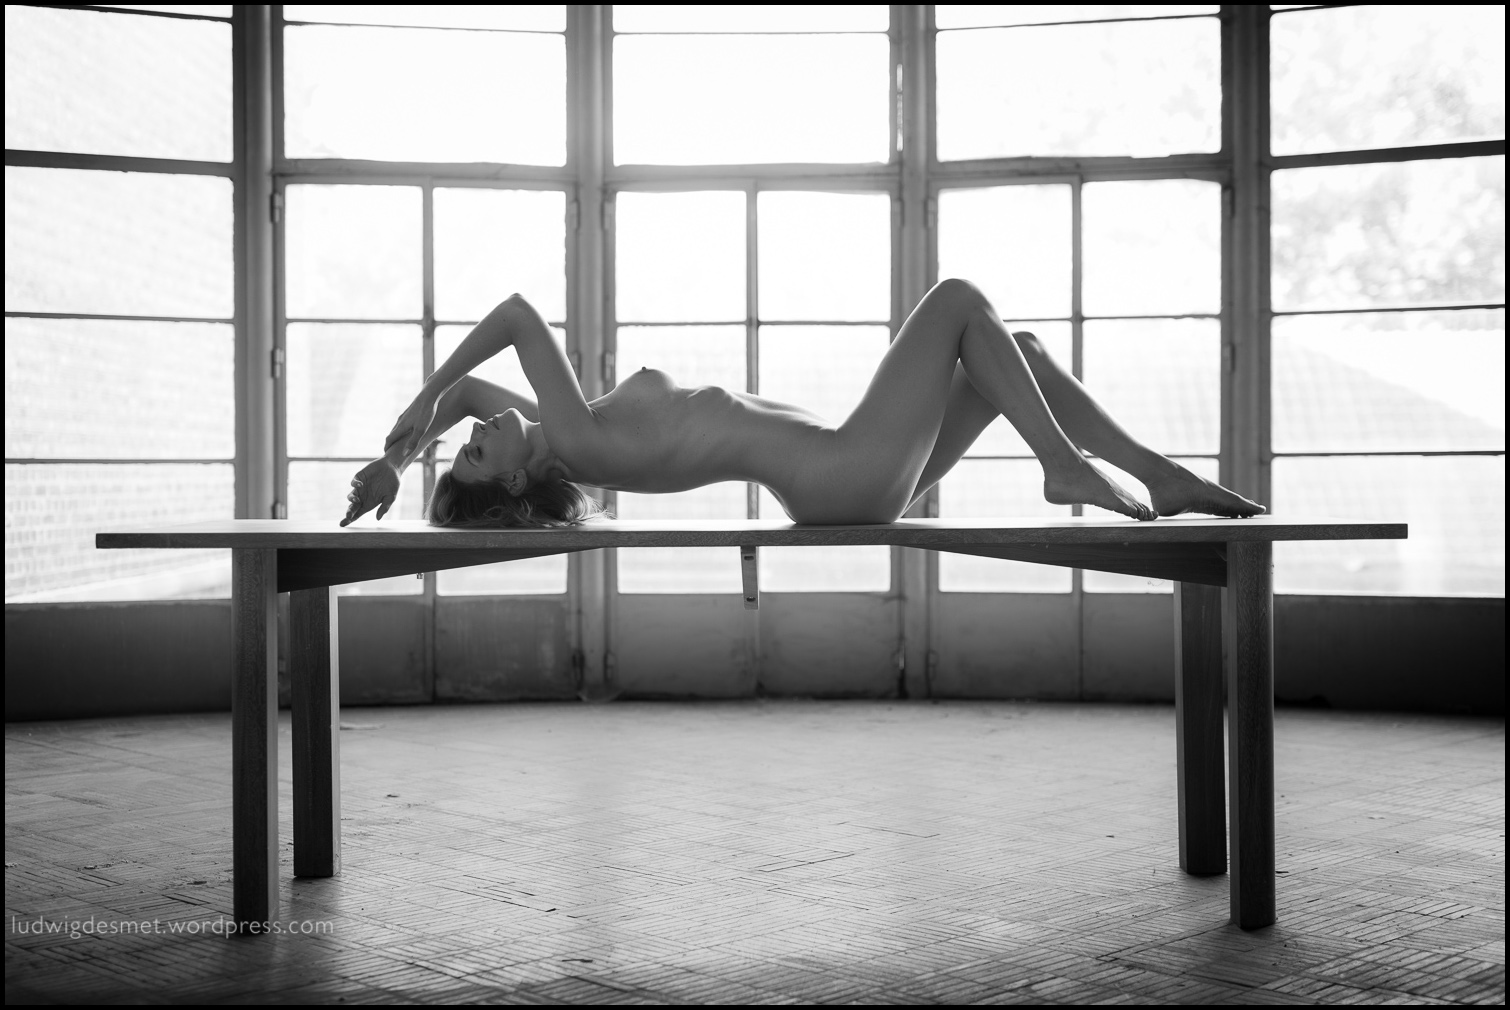
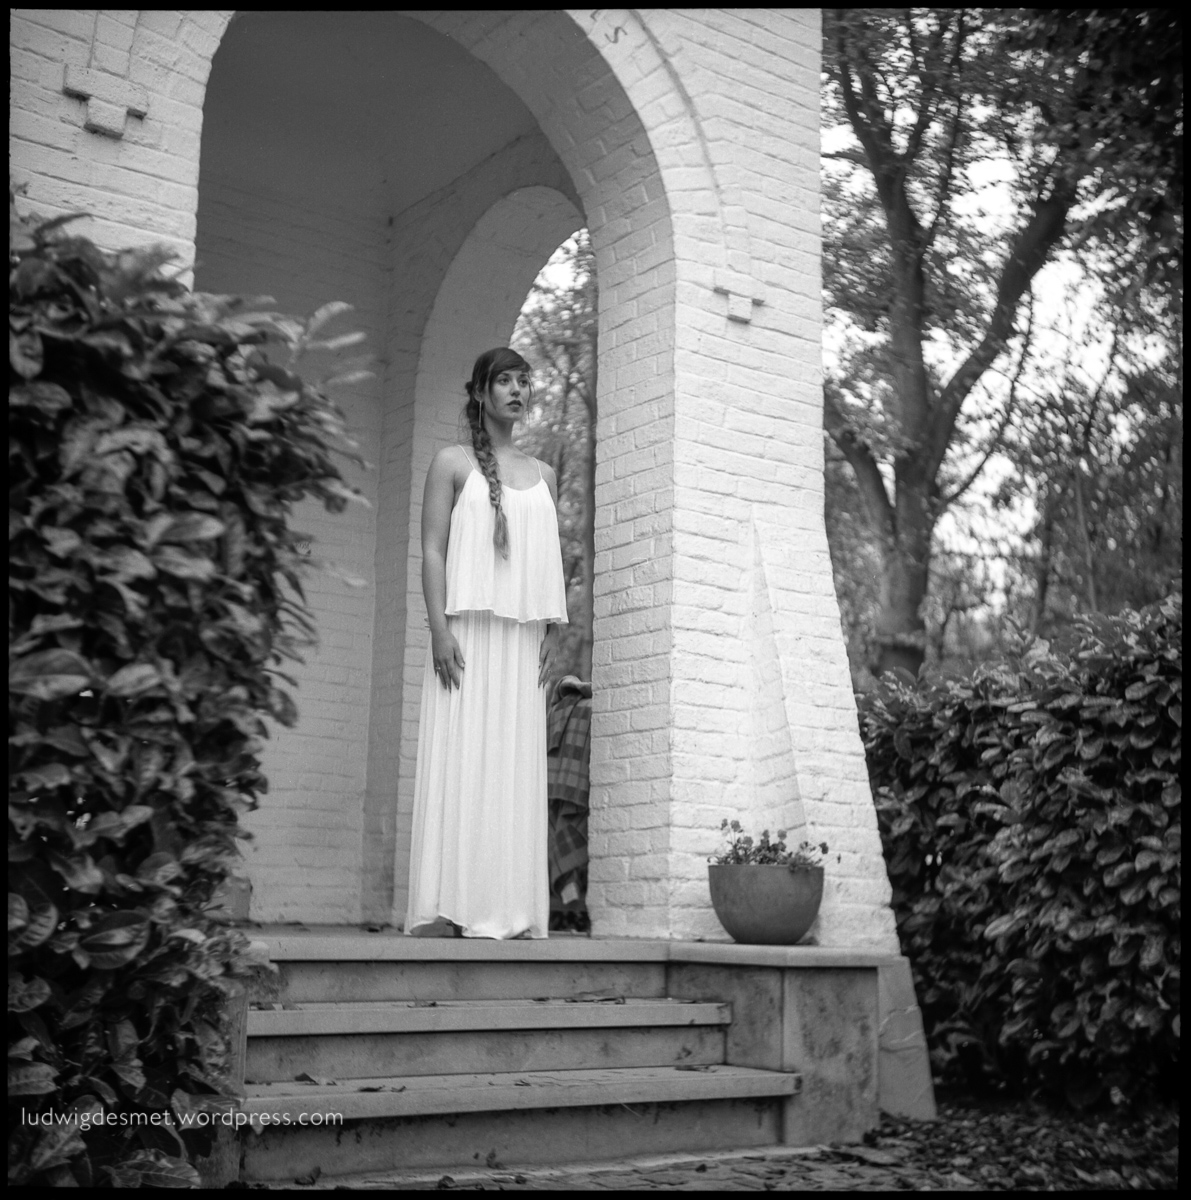
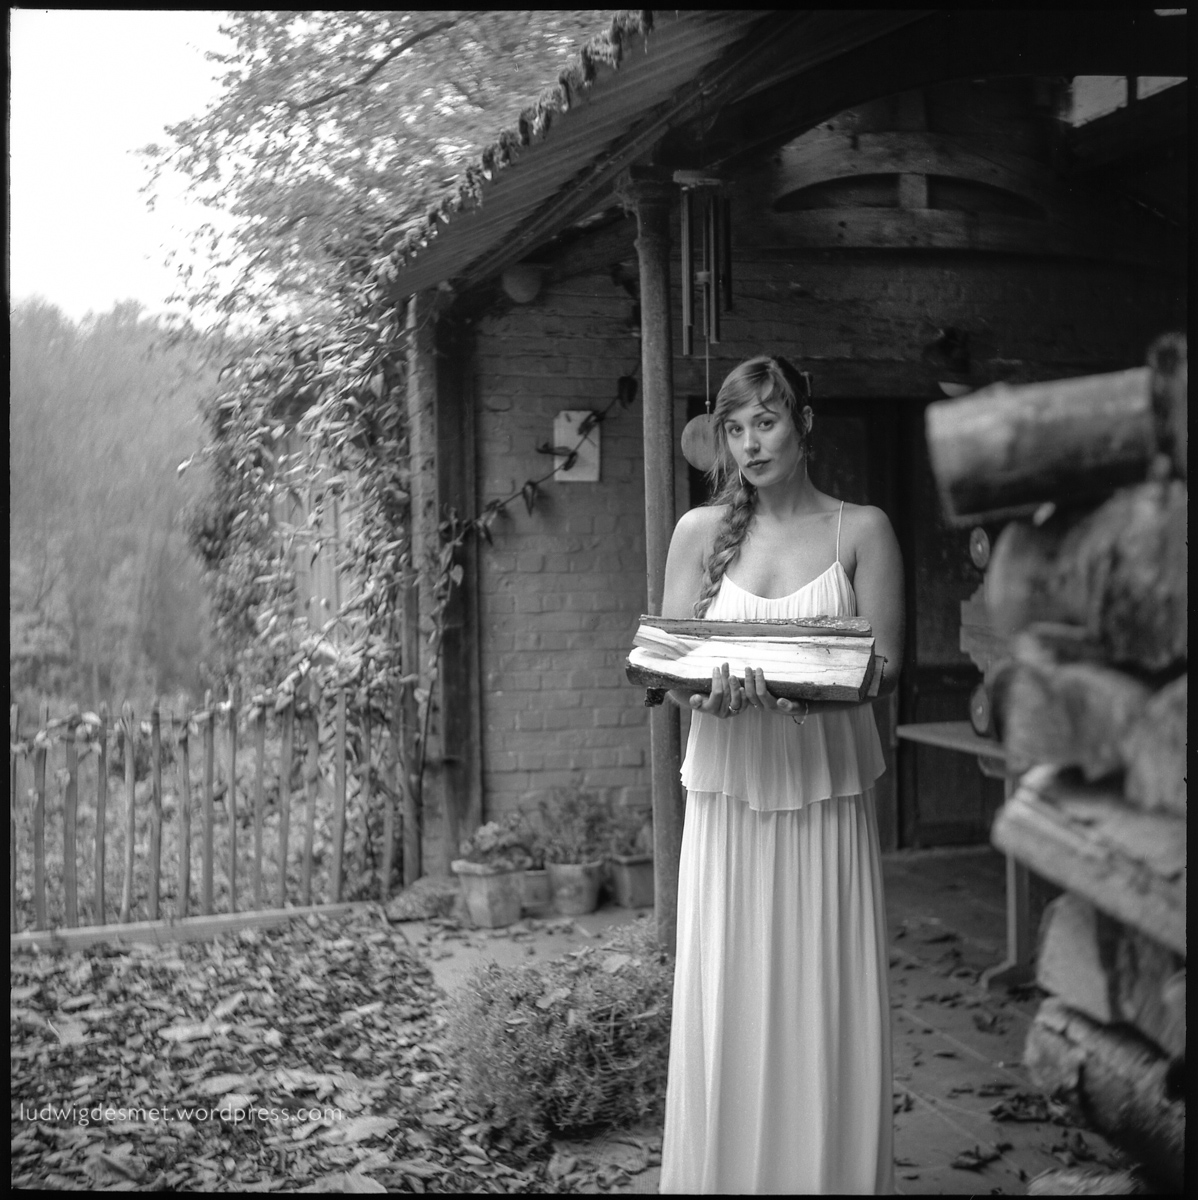
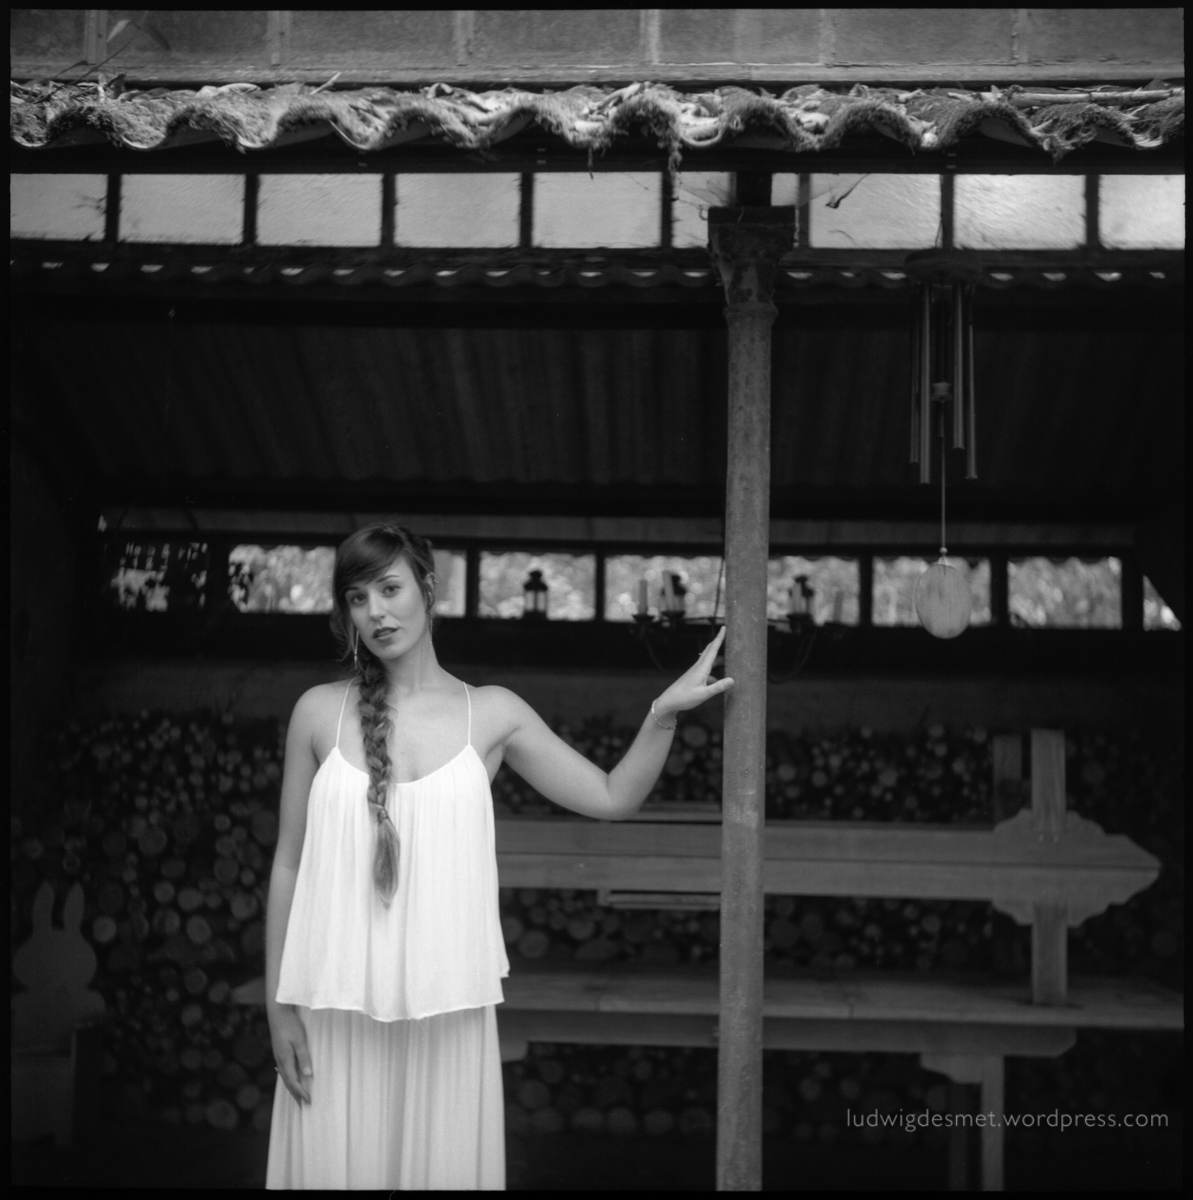
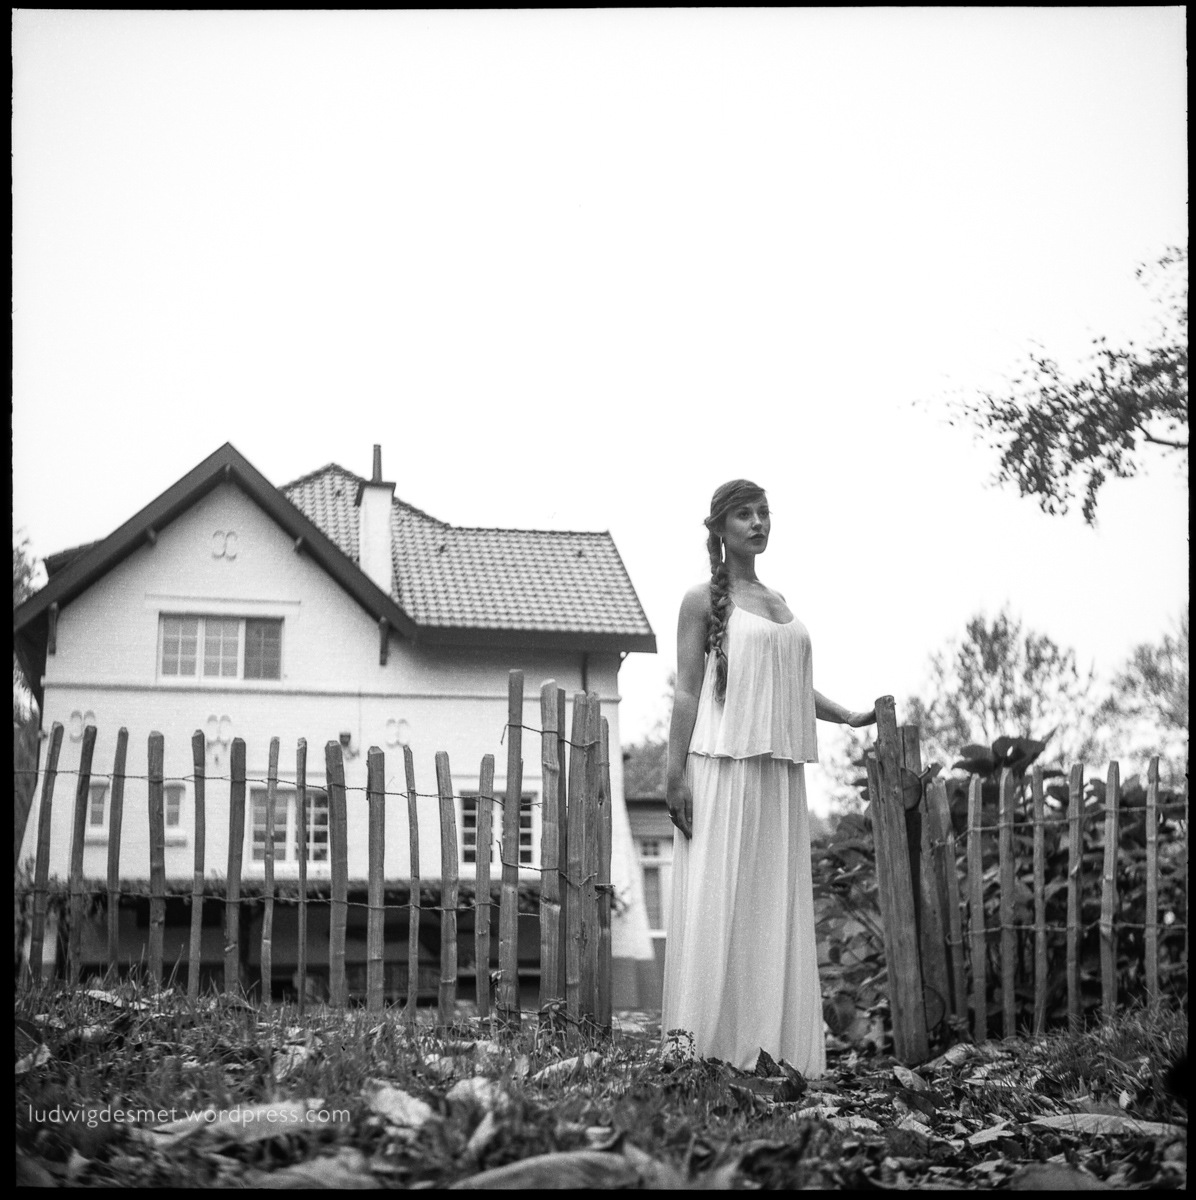
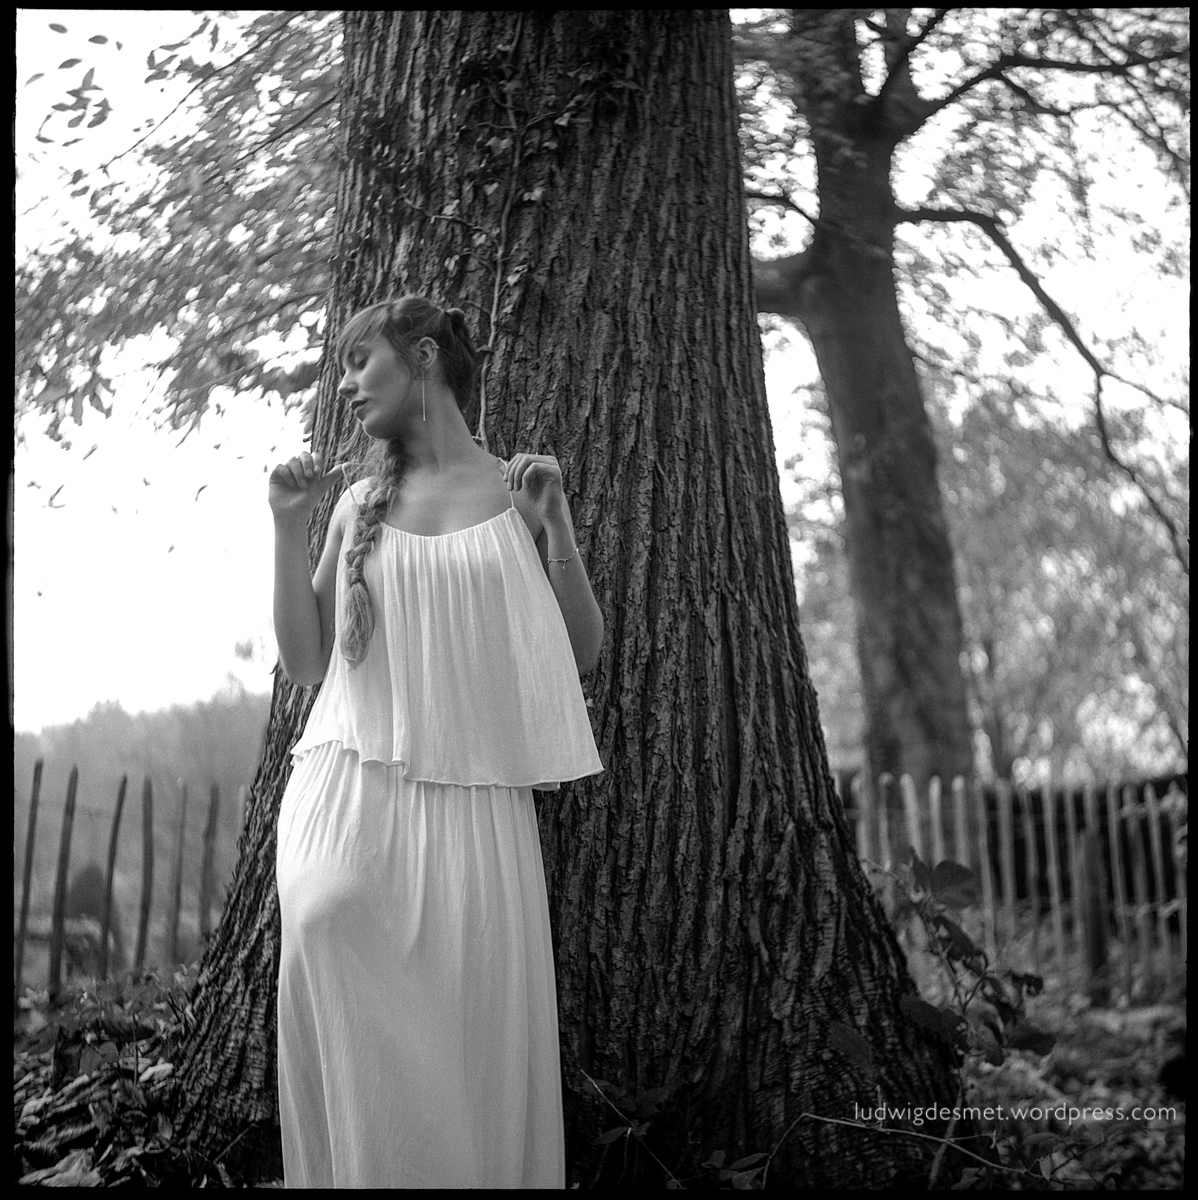
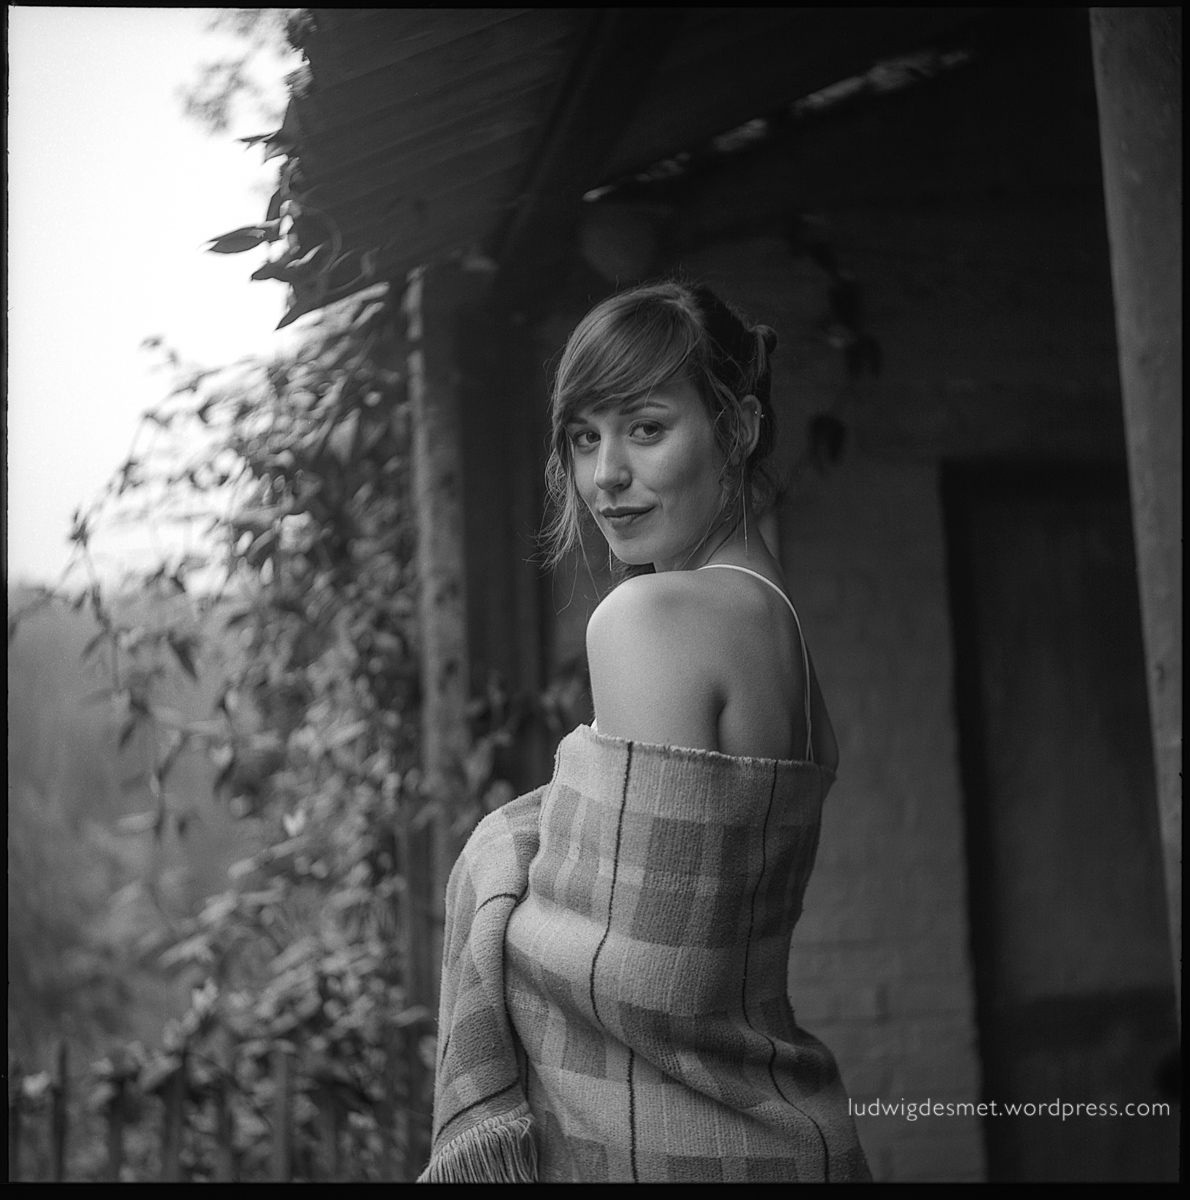
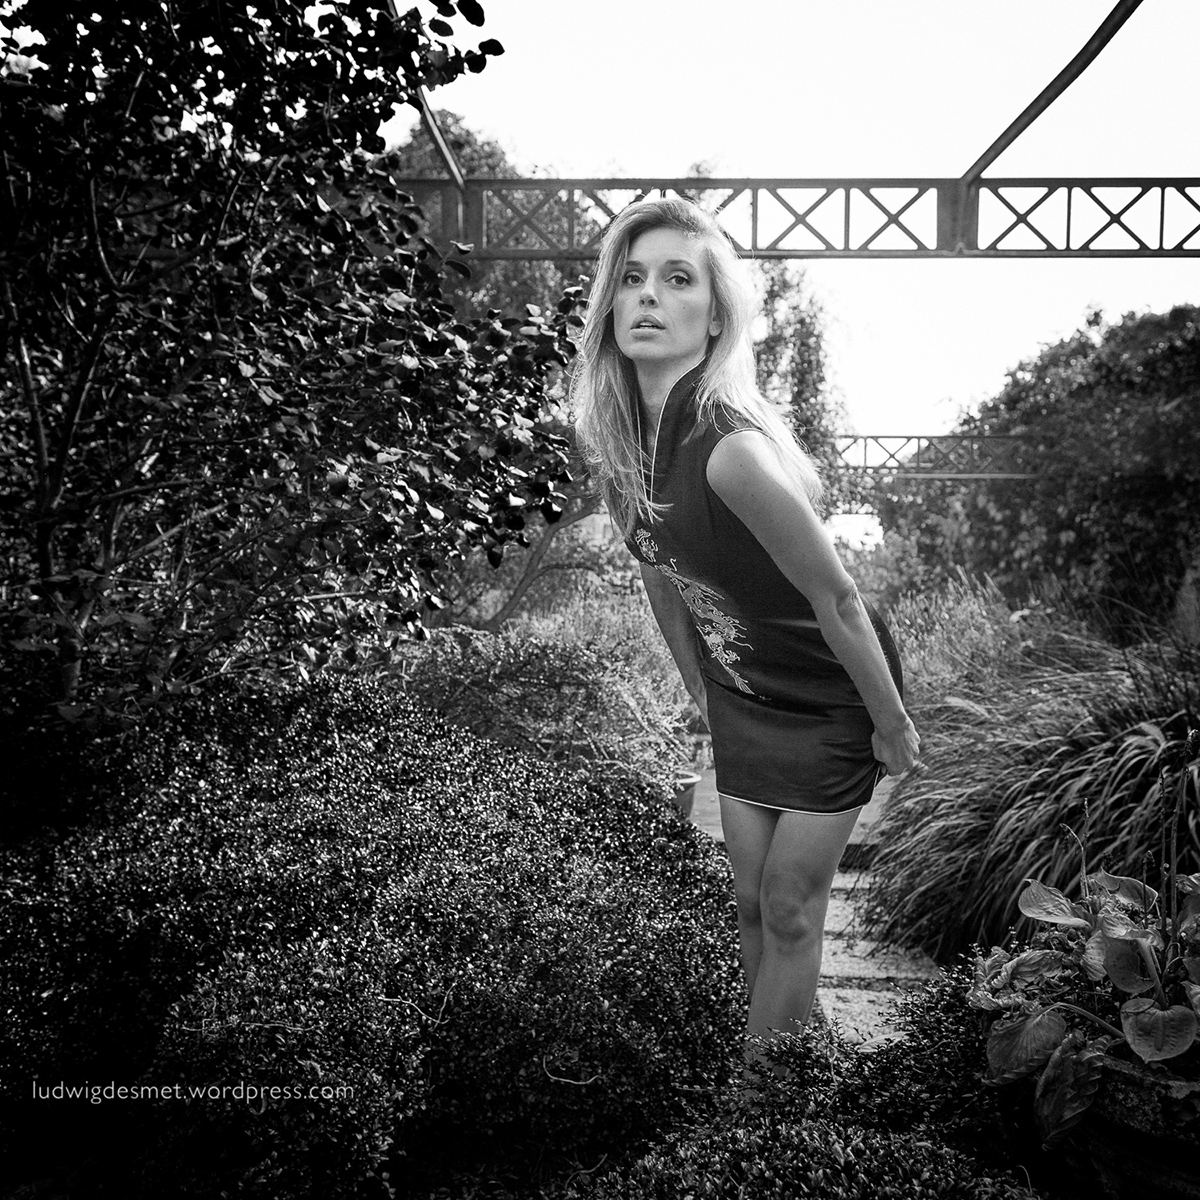
Now was it the twenties, or thirties ?

Analog, beauty, Personal Pictures

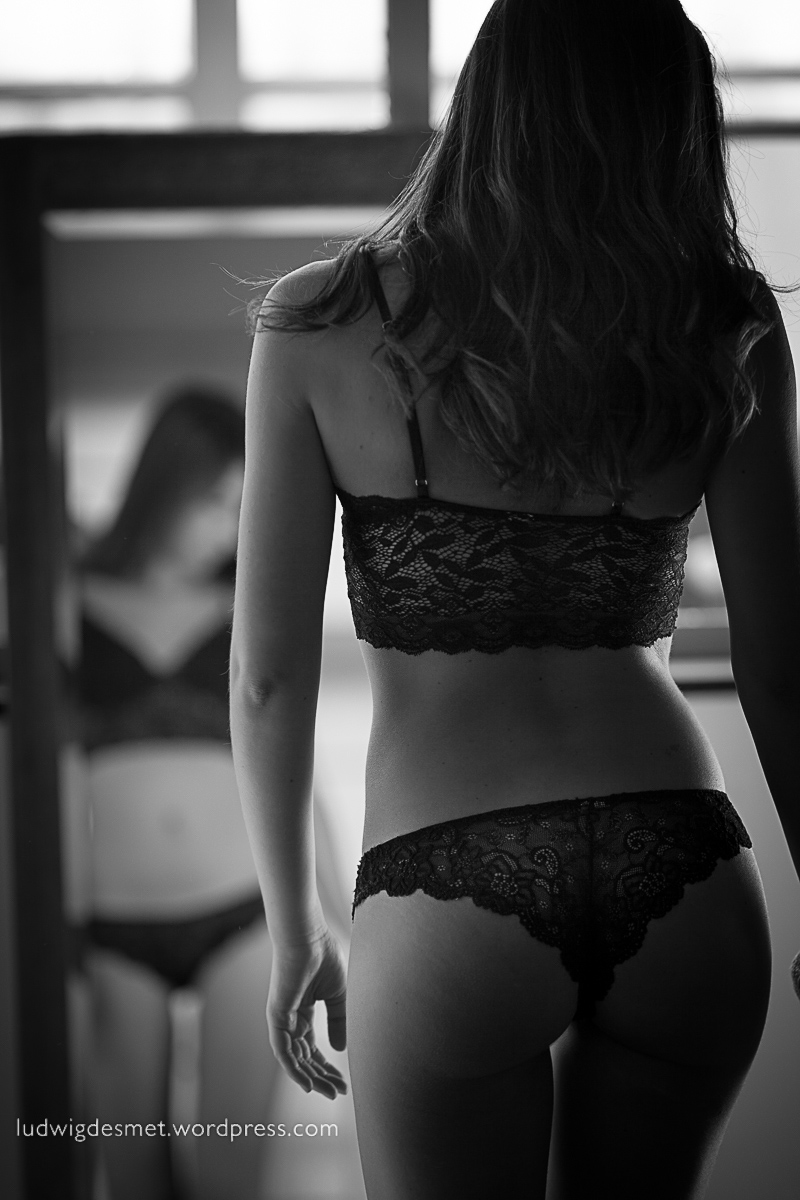
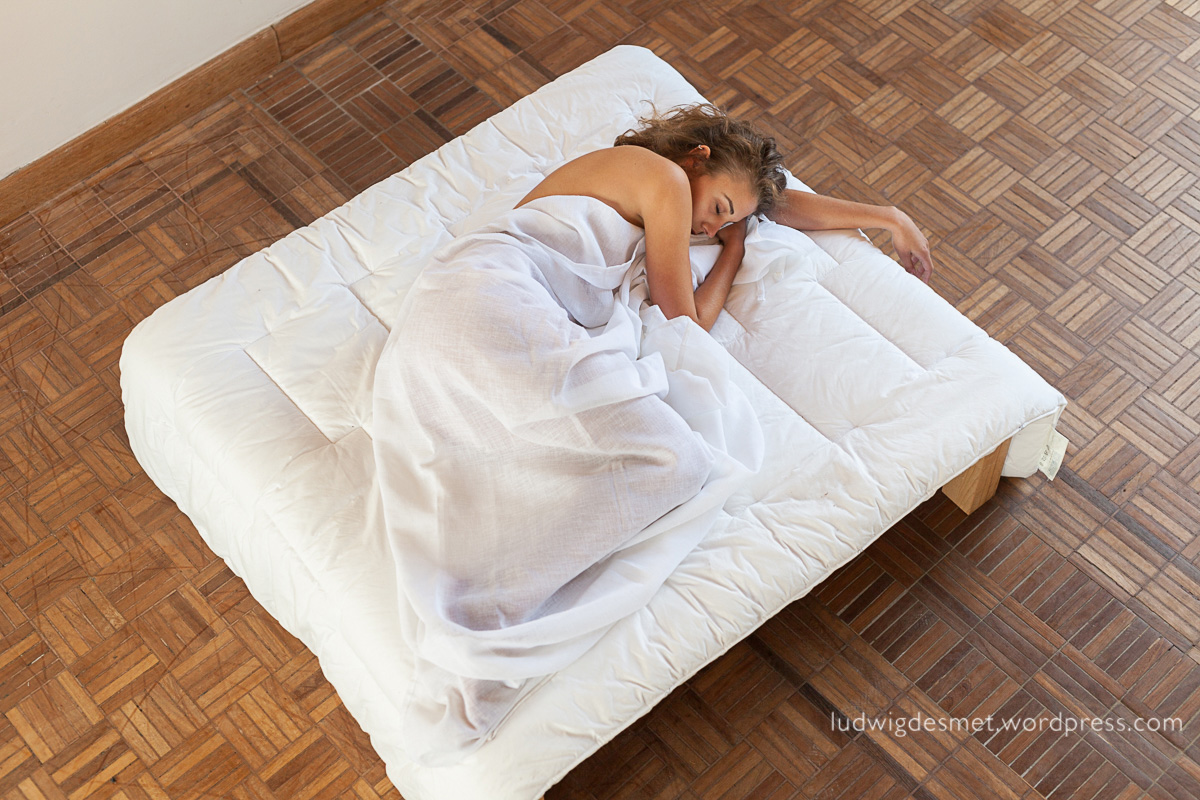
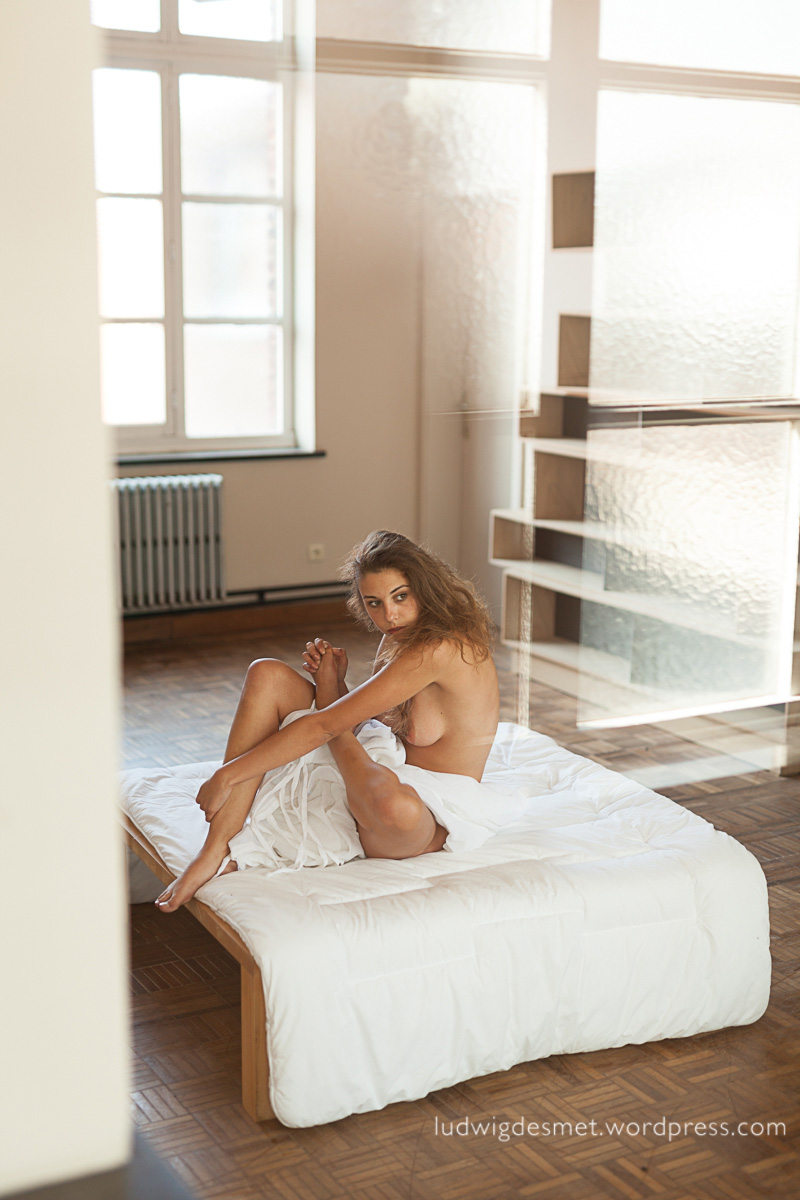
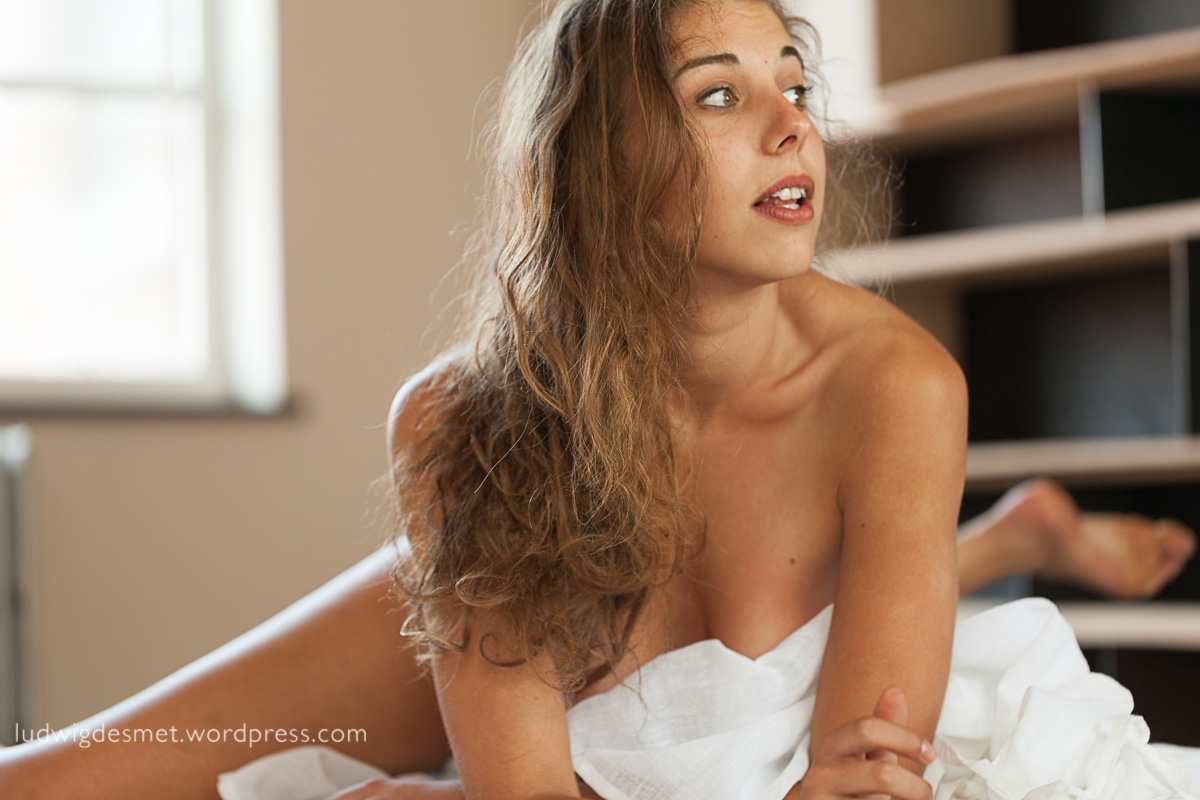
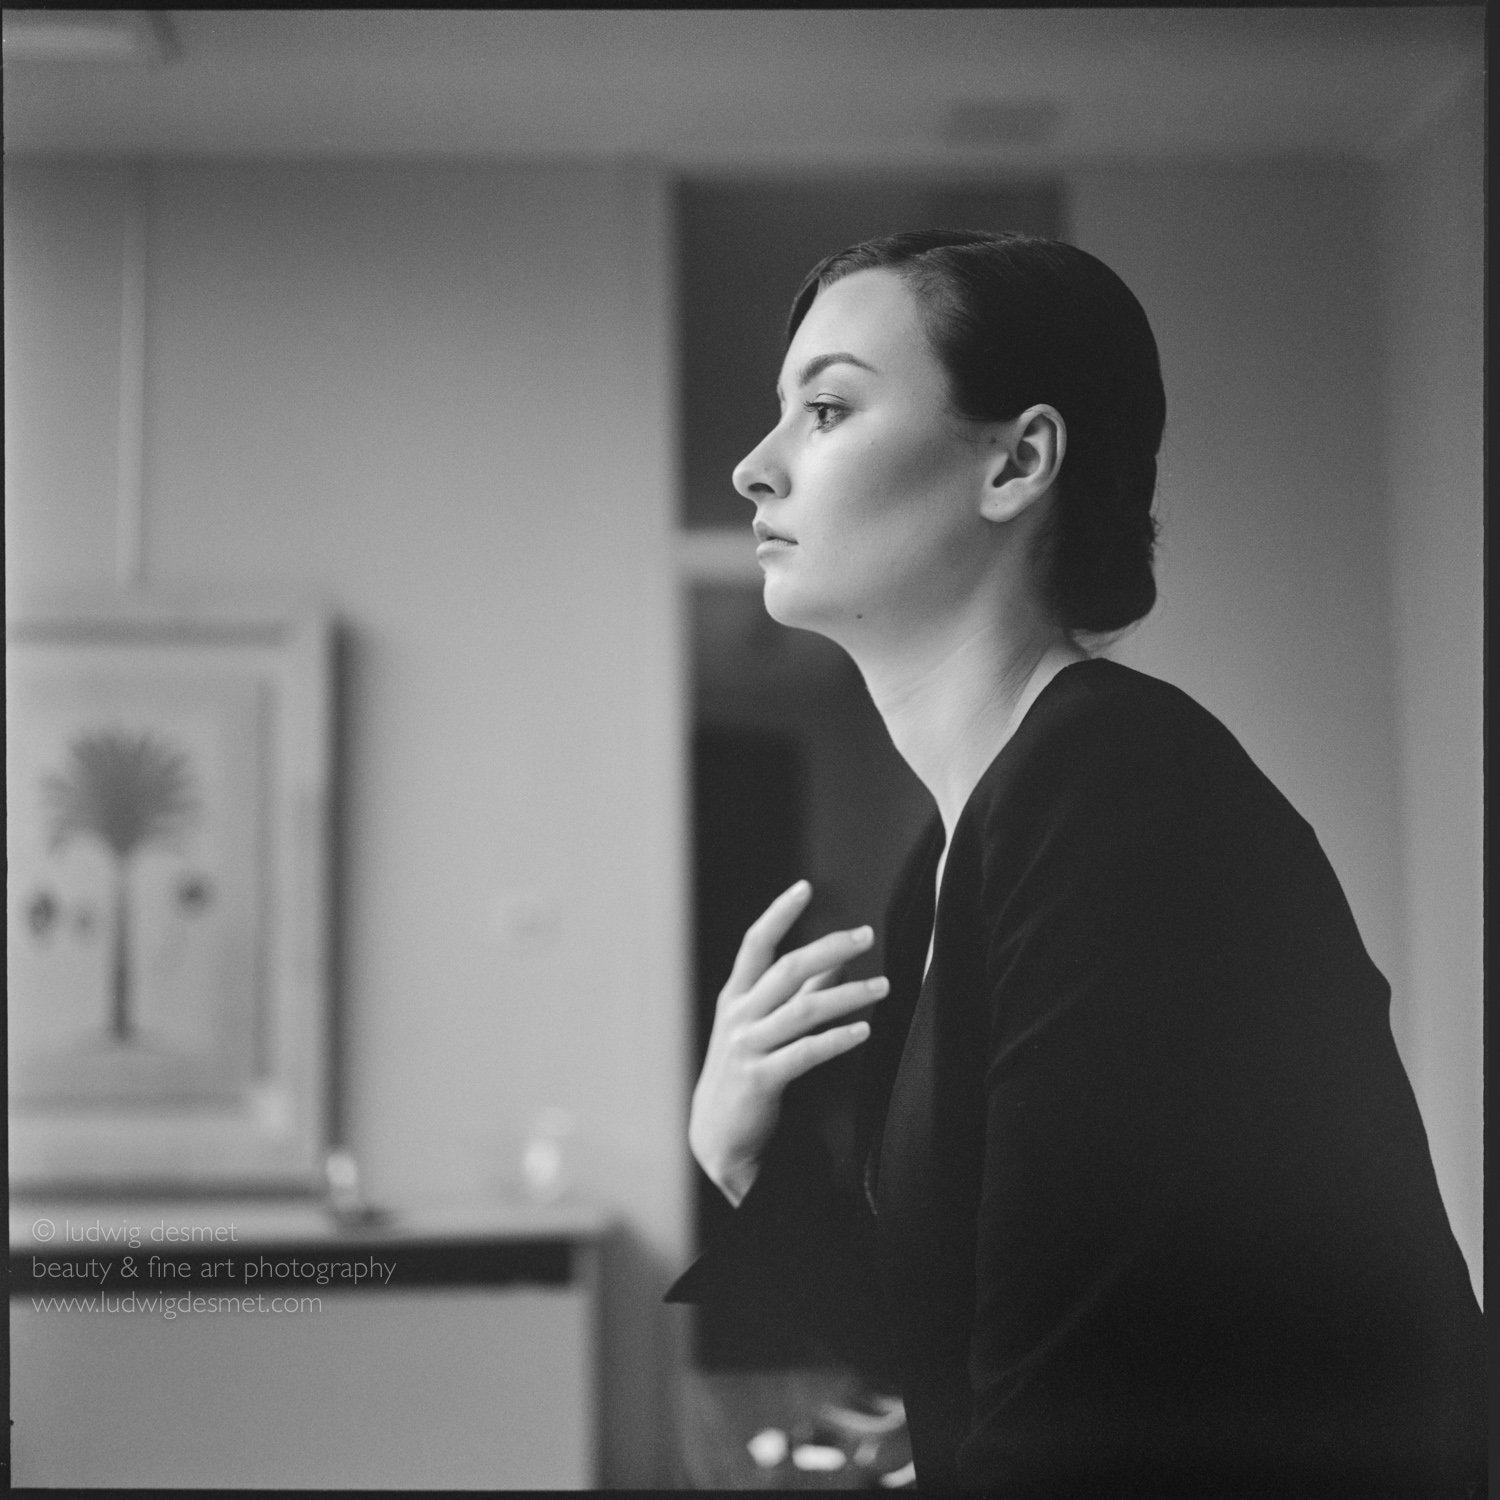
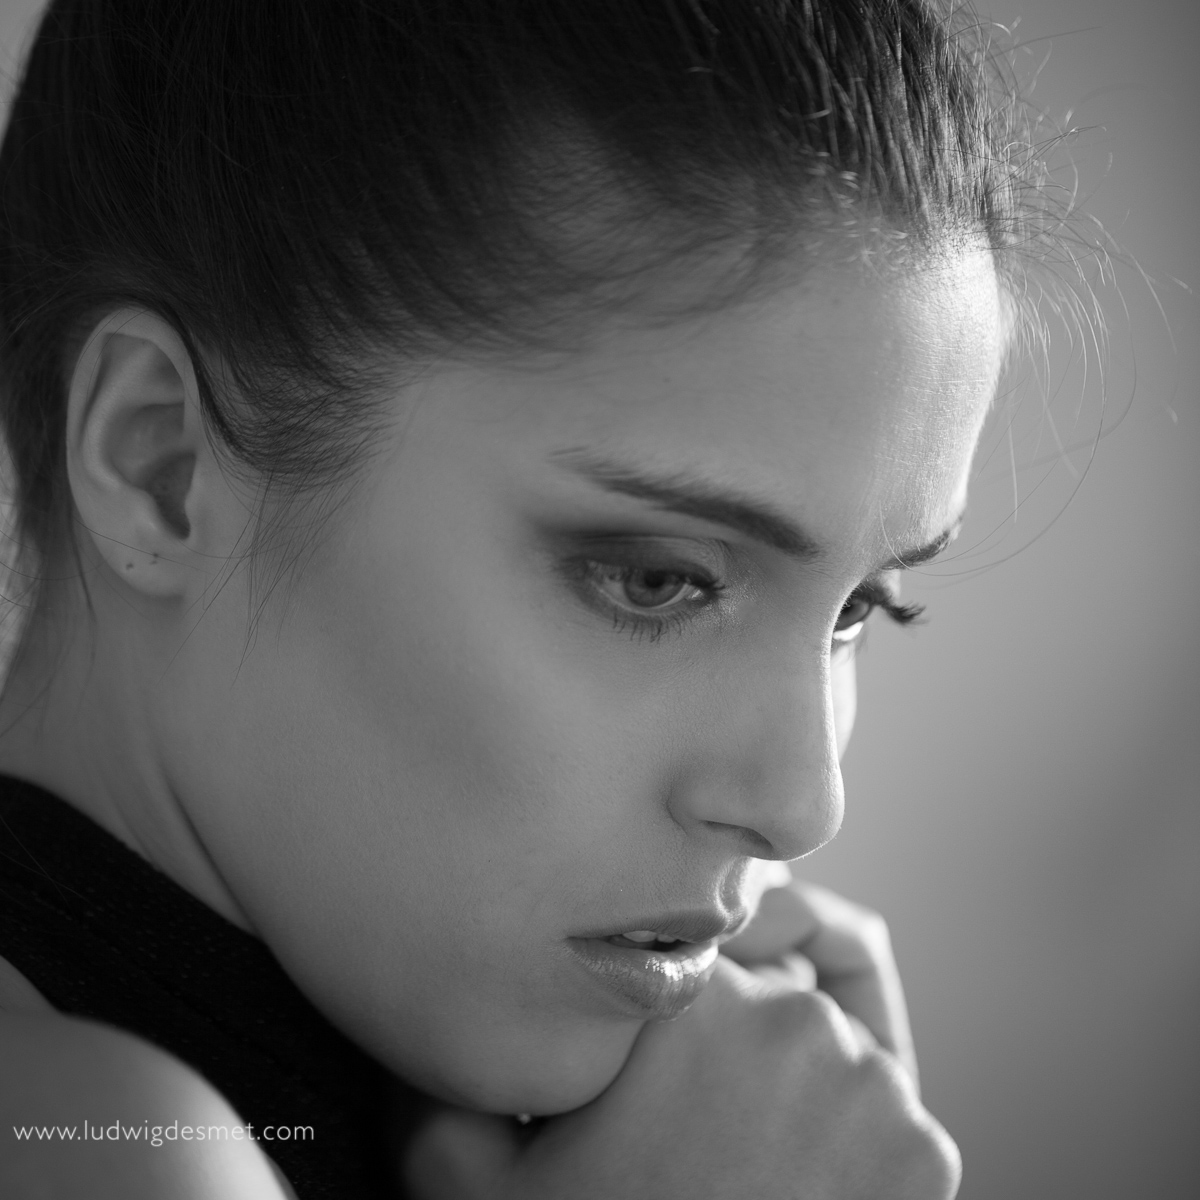
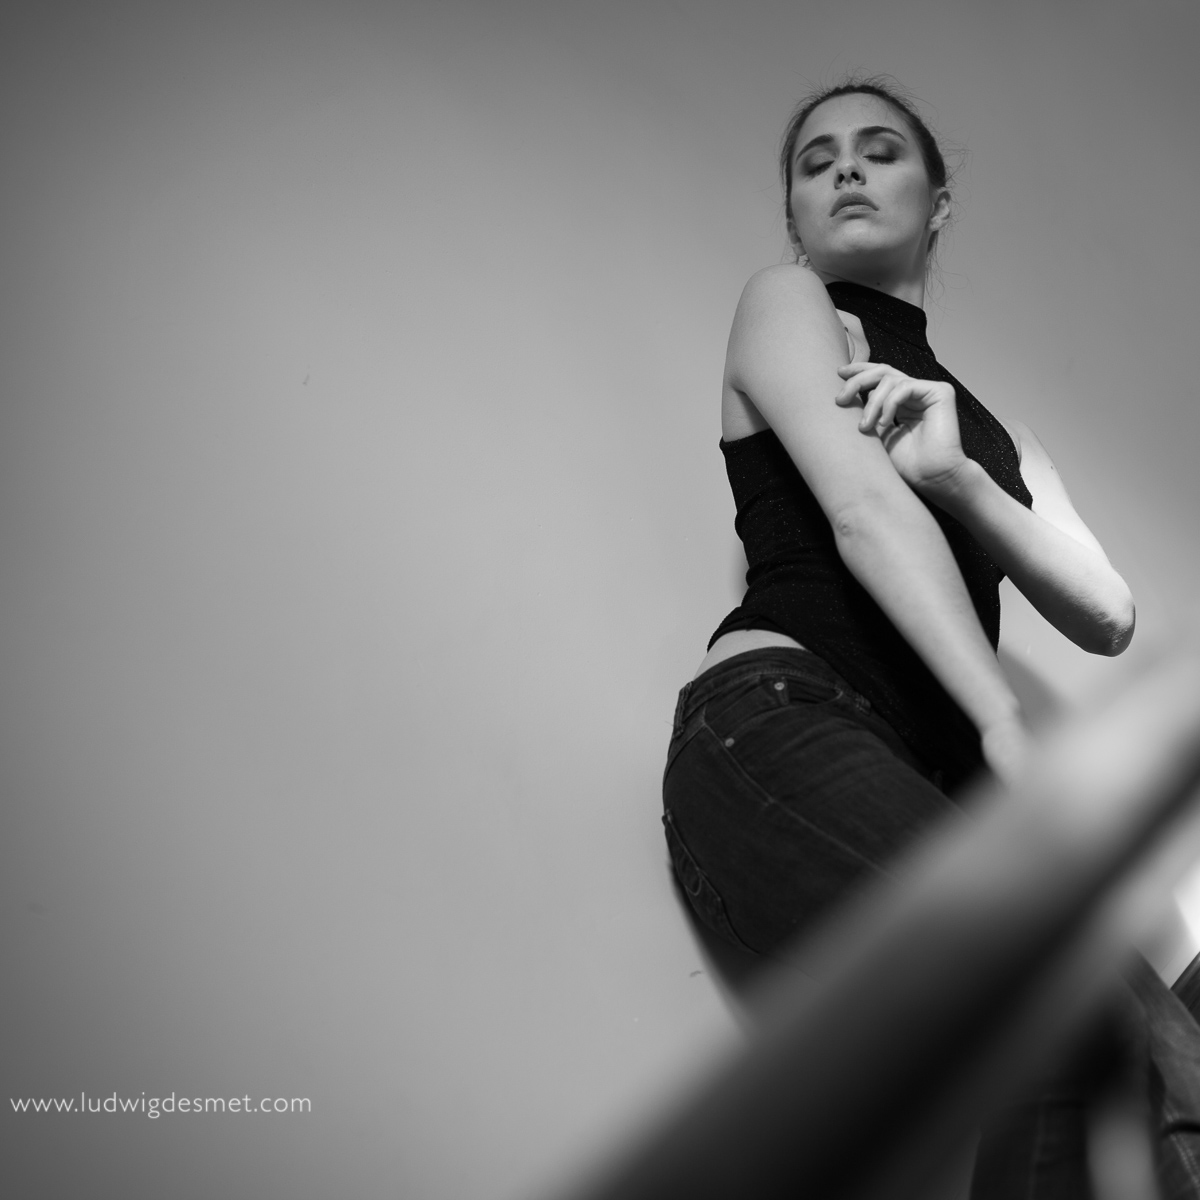
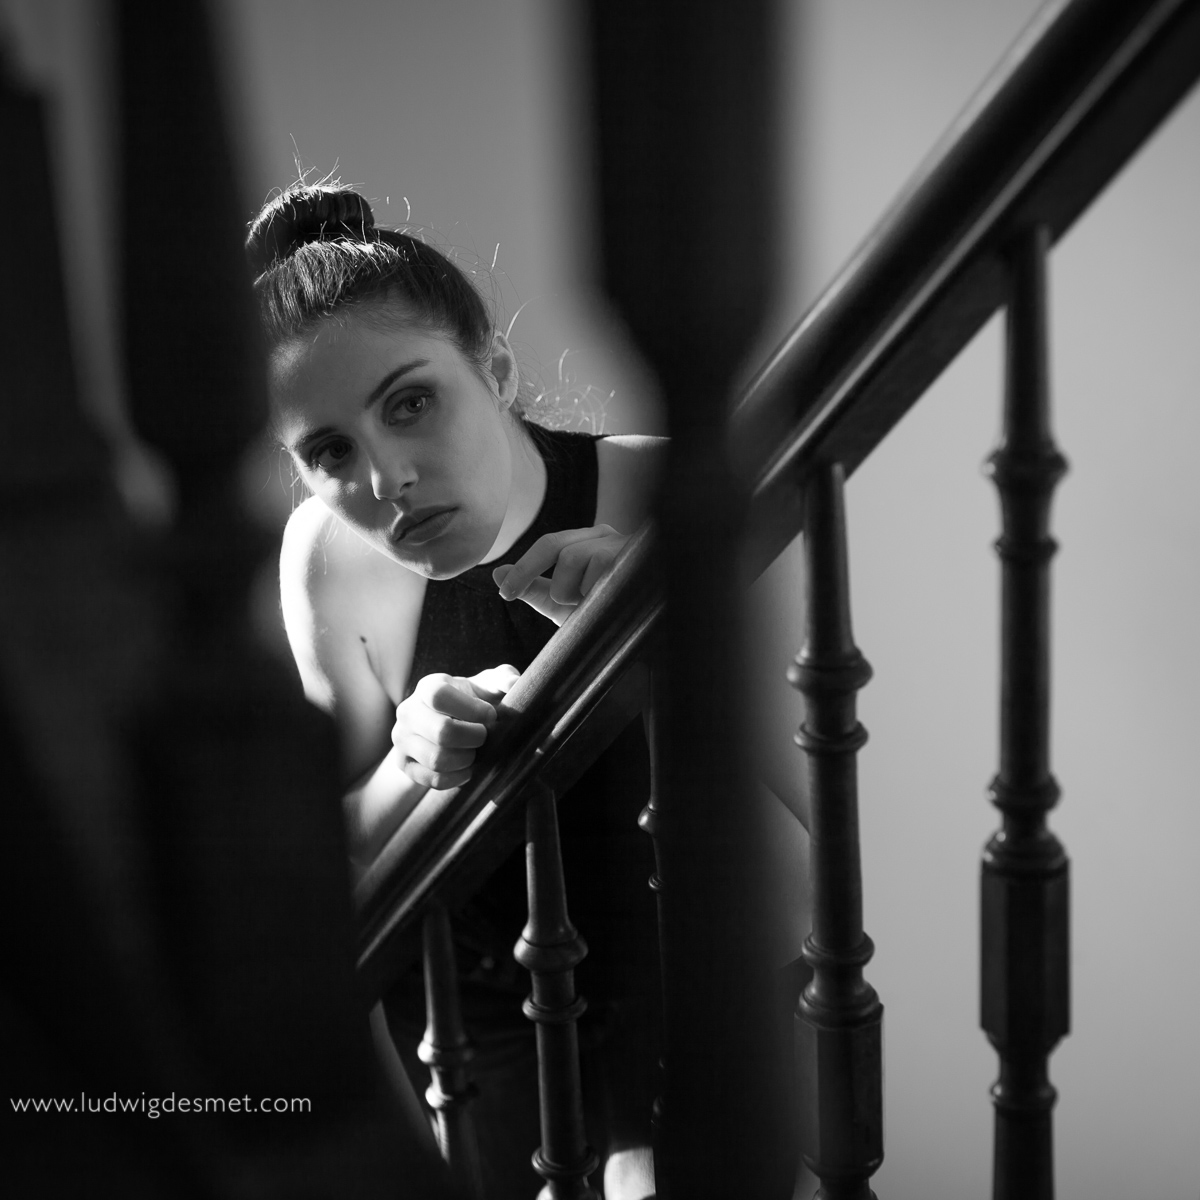
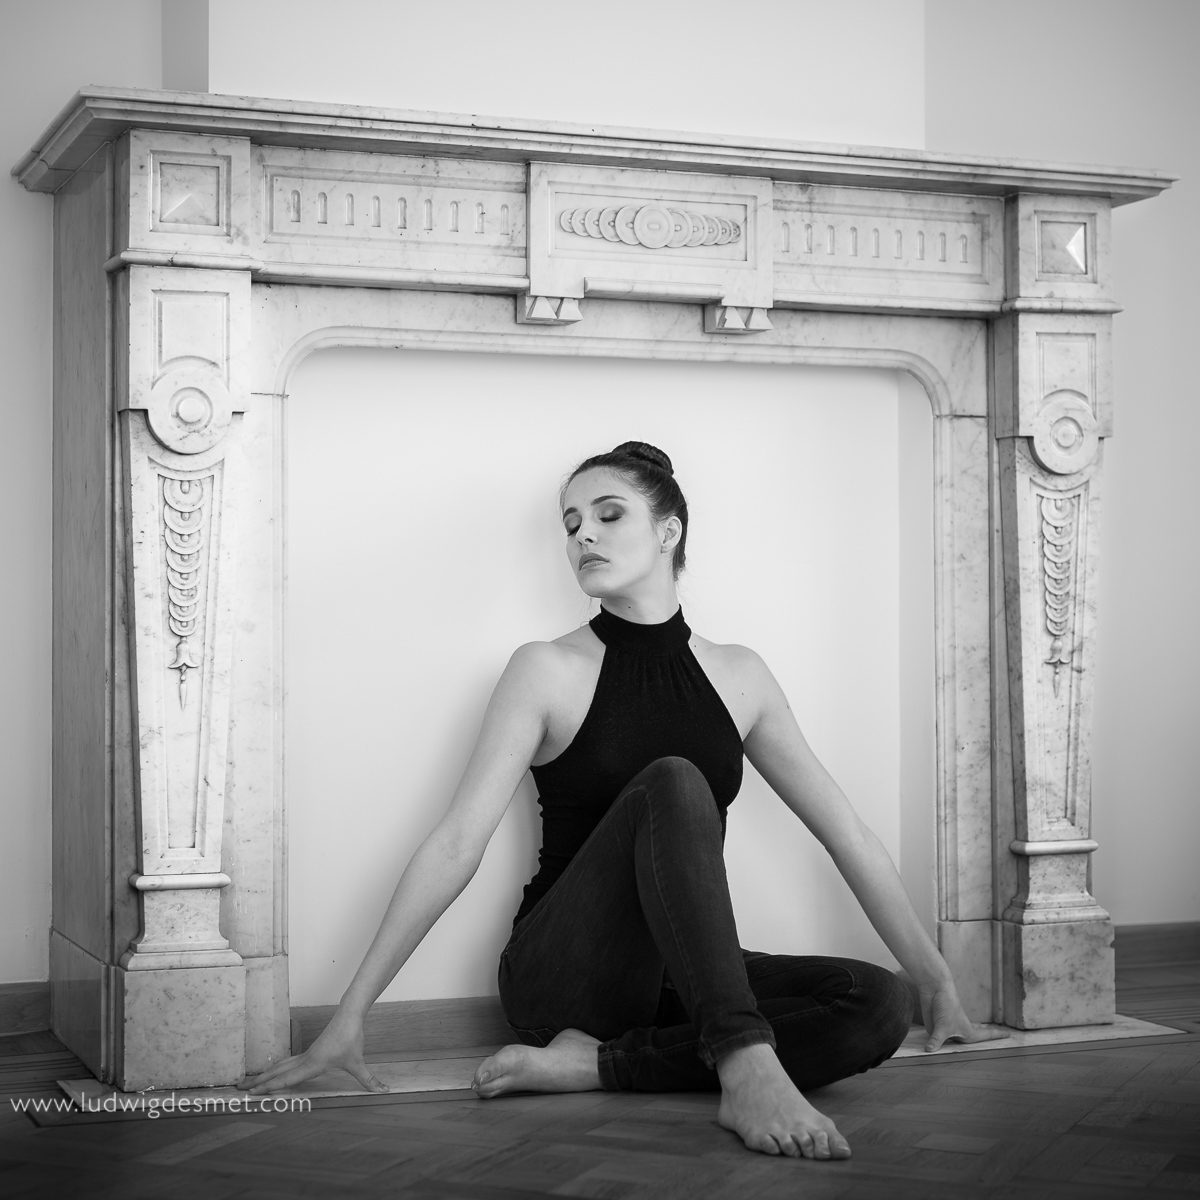
the first of July I had two models coming over. A new experience to me, having to concentrate on several things at a time, and not much time to come up with ideas during wardrobe changes or pauses, there’s always another model waiting. We worked in a former furniture store. There have been final sales for a couple of months, so most places are rather empty. There are however a lot of different rooms and spaces, and a lot of different lighting situations, that’s what I like about a location like this. I had my lovely assistant doing hair and wardrobe assistance with the models, and she also keeps an eye on little details during the shoot.

I shot both Pauline and Laura apart as well as together. more to come. Pauline is a long time favourite, and she brought a lot of her friends to me in these last couple of years. Laura is one of them, you’ll meet her in my next post.

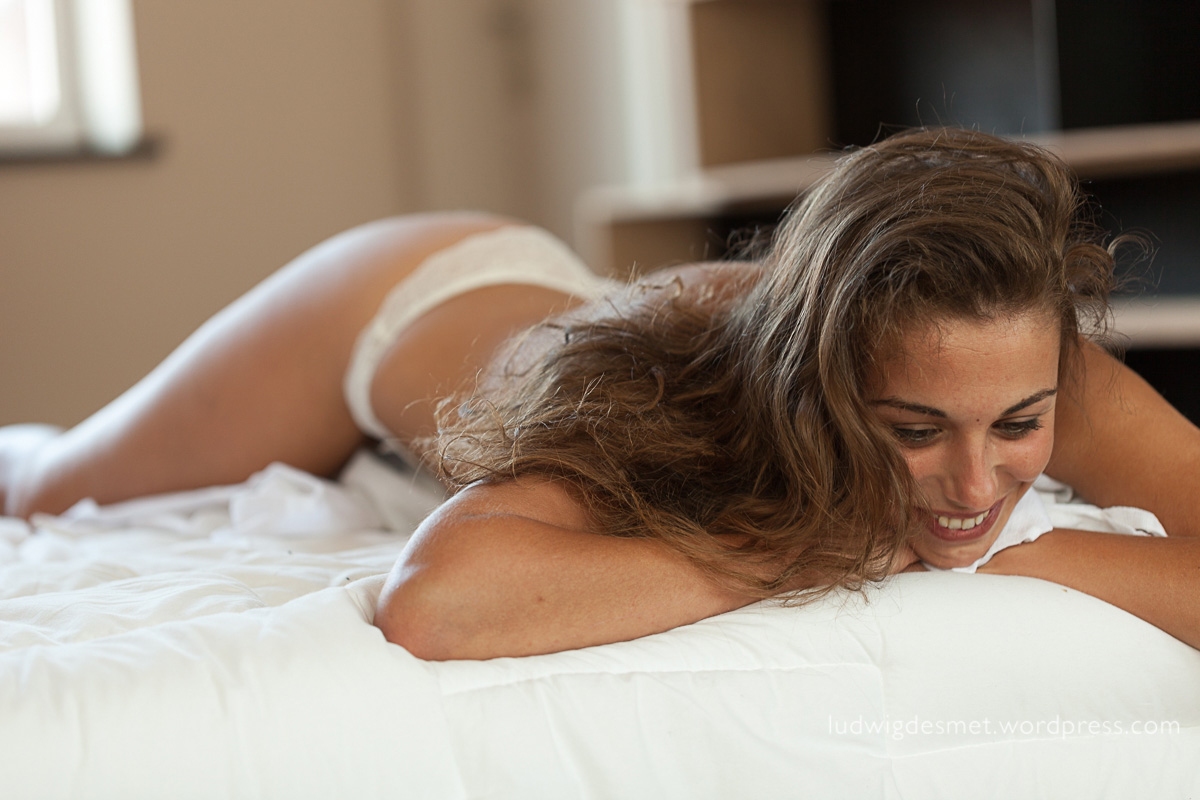
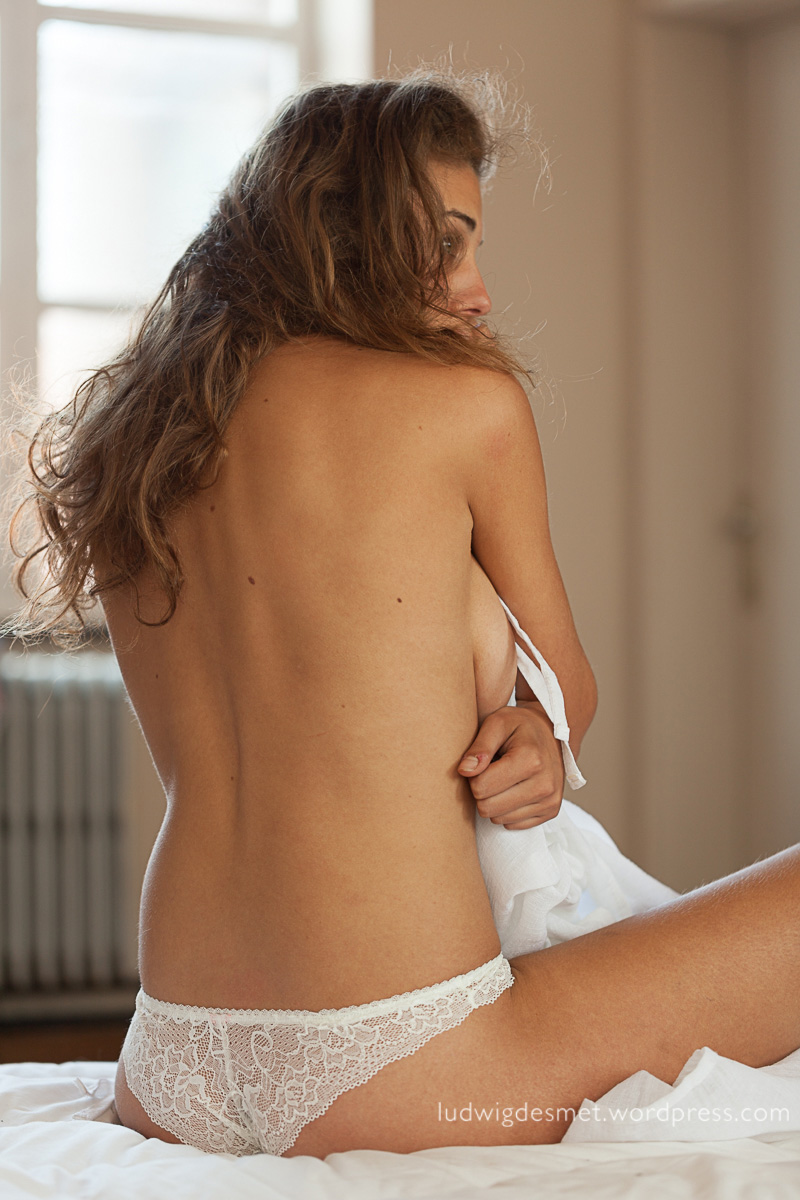
• Pauline •


LudwigDesmet_LMandPM--7LudwigDesmet_LMandPM--8LudwigDesmet_LMandPM--11LudwigDesmet_LMandPM--12LudwigDesmet_LMandPM--13LudwigDesmet_LMandPM--14LudwigDesmet_LMandPM--15


shot with Rolleiflex 3.5 TLR on Kodak T-Max 400 film.

this film is a little grainier than the Kodak T-Max 100, but for interior work you have to get a faster film than the 100 I mostly use. All images available light only.

Thank you Pauline, for being my model

Hair: Nathalie

Make up: Hanna E.B.

Camera calibration explained – part I

Lightroom, personal tips & tricks, Tips and Tricks

One of the often overlooked features of Lightroom is the camera calibration tab.

Camera calibration optimises the way Lightroom will interpret the RAW files of your specific camera. It reorganises the colour values in relation to a pre-defined target, and the way your camera reproduces this target.

In very short, RAW files do not have a colour profile embedded, nor do they contain a predefined color reproduction definition. It is up to your raw-editor to interpret the raw files and do some kind of a pre-development when importing and previewing on screen.

Current Lightroom versions use the ‘Adobe Standard’, or one of the options also available in your camera image settings modes (with Canon, this is for instance: Camera faithful, landscape, portrait, standard, … )

This is no guarantee for a correct reproduction of colours or brightness values.

In comes the camera calibration tool. I have the colorchecker passport photo from X-rite. This is a combination of a small piece of hardware (a plastic booklet with 2 screen printed colour target sides and a white face) and a piece of software to be installed on your system.

The simplest way of doing a camera calibration is a single light situation calibration, in which you take a picture in the light situation you will use for your images, including the colorchecker target. Take care the target is lit by the same light as your images that follow.

After that, shoot your images.

In Lightroom, you will need the first image with the target included to make build your camera profile. This is very simple by selecting the image -> export -> Colorchecker passport. This will automatically compare your camera’s ‘target reproduction’ with the target’s known values in the software, and build a ‘custom camera profile’ for you to start with. The new profile won’t show up until restart of Lightroom. (there are certainly more detailed step by step explanations on Youtube 😉 )

Below you can see the target without and with the newly activated camera calibration.
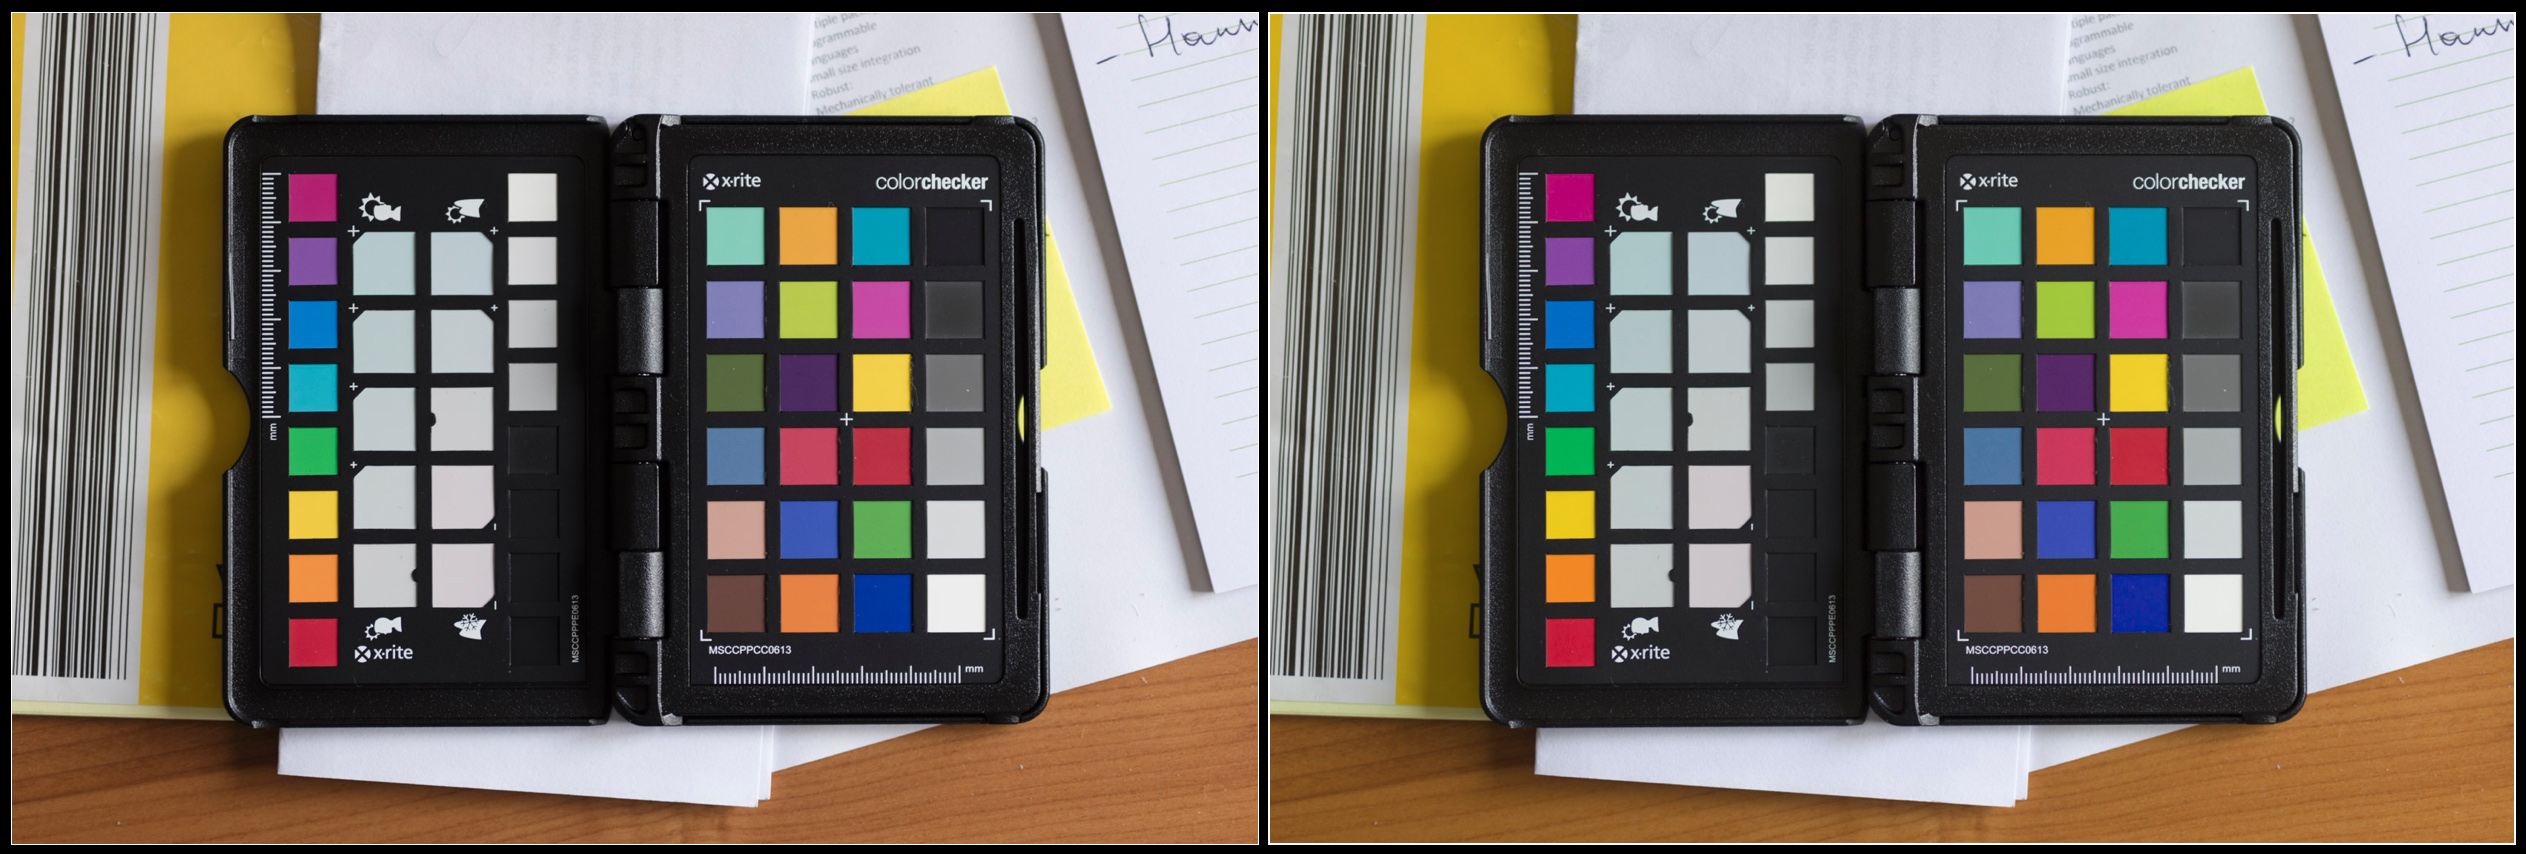
target change split

not a big deal you’ll probably say, and this camera is indeed rather color-correct compared to some others I’ve seen. To make things more obvious, I placed both images onto each other, and made a layer mask to cover up half of the targets:
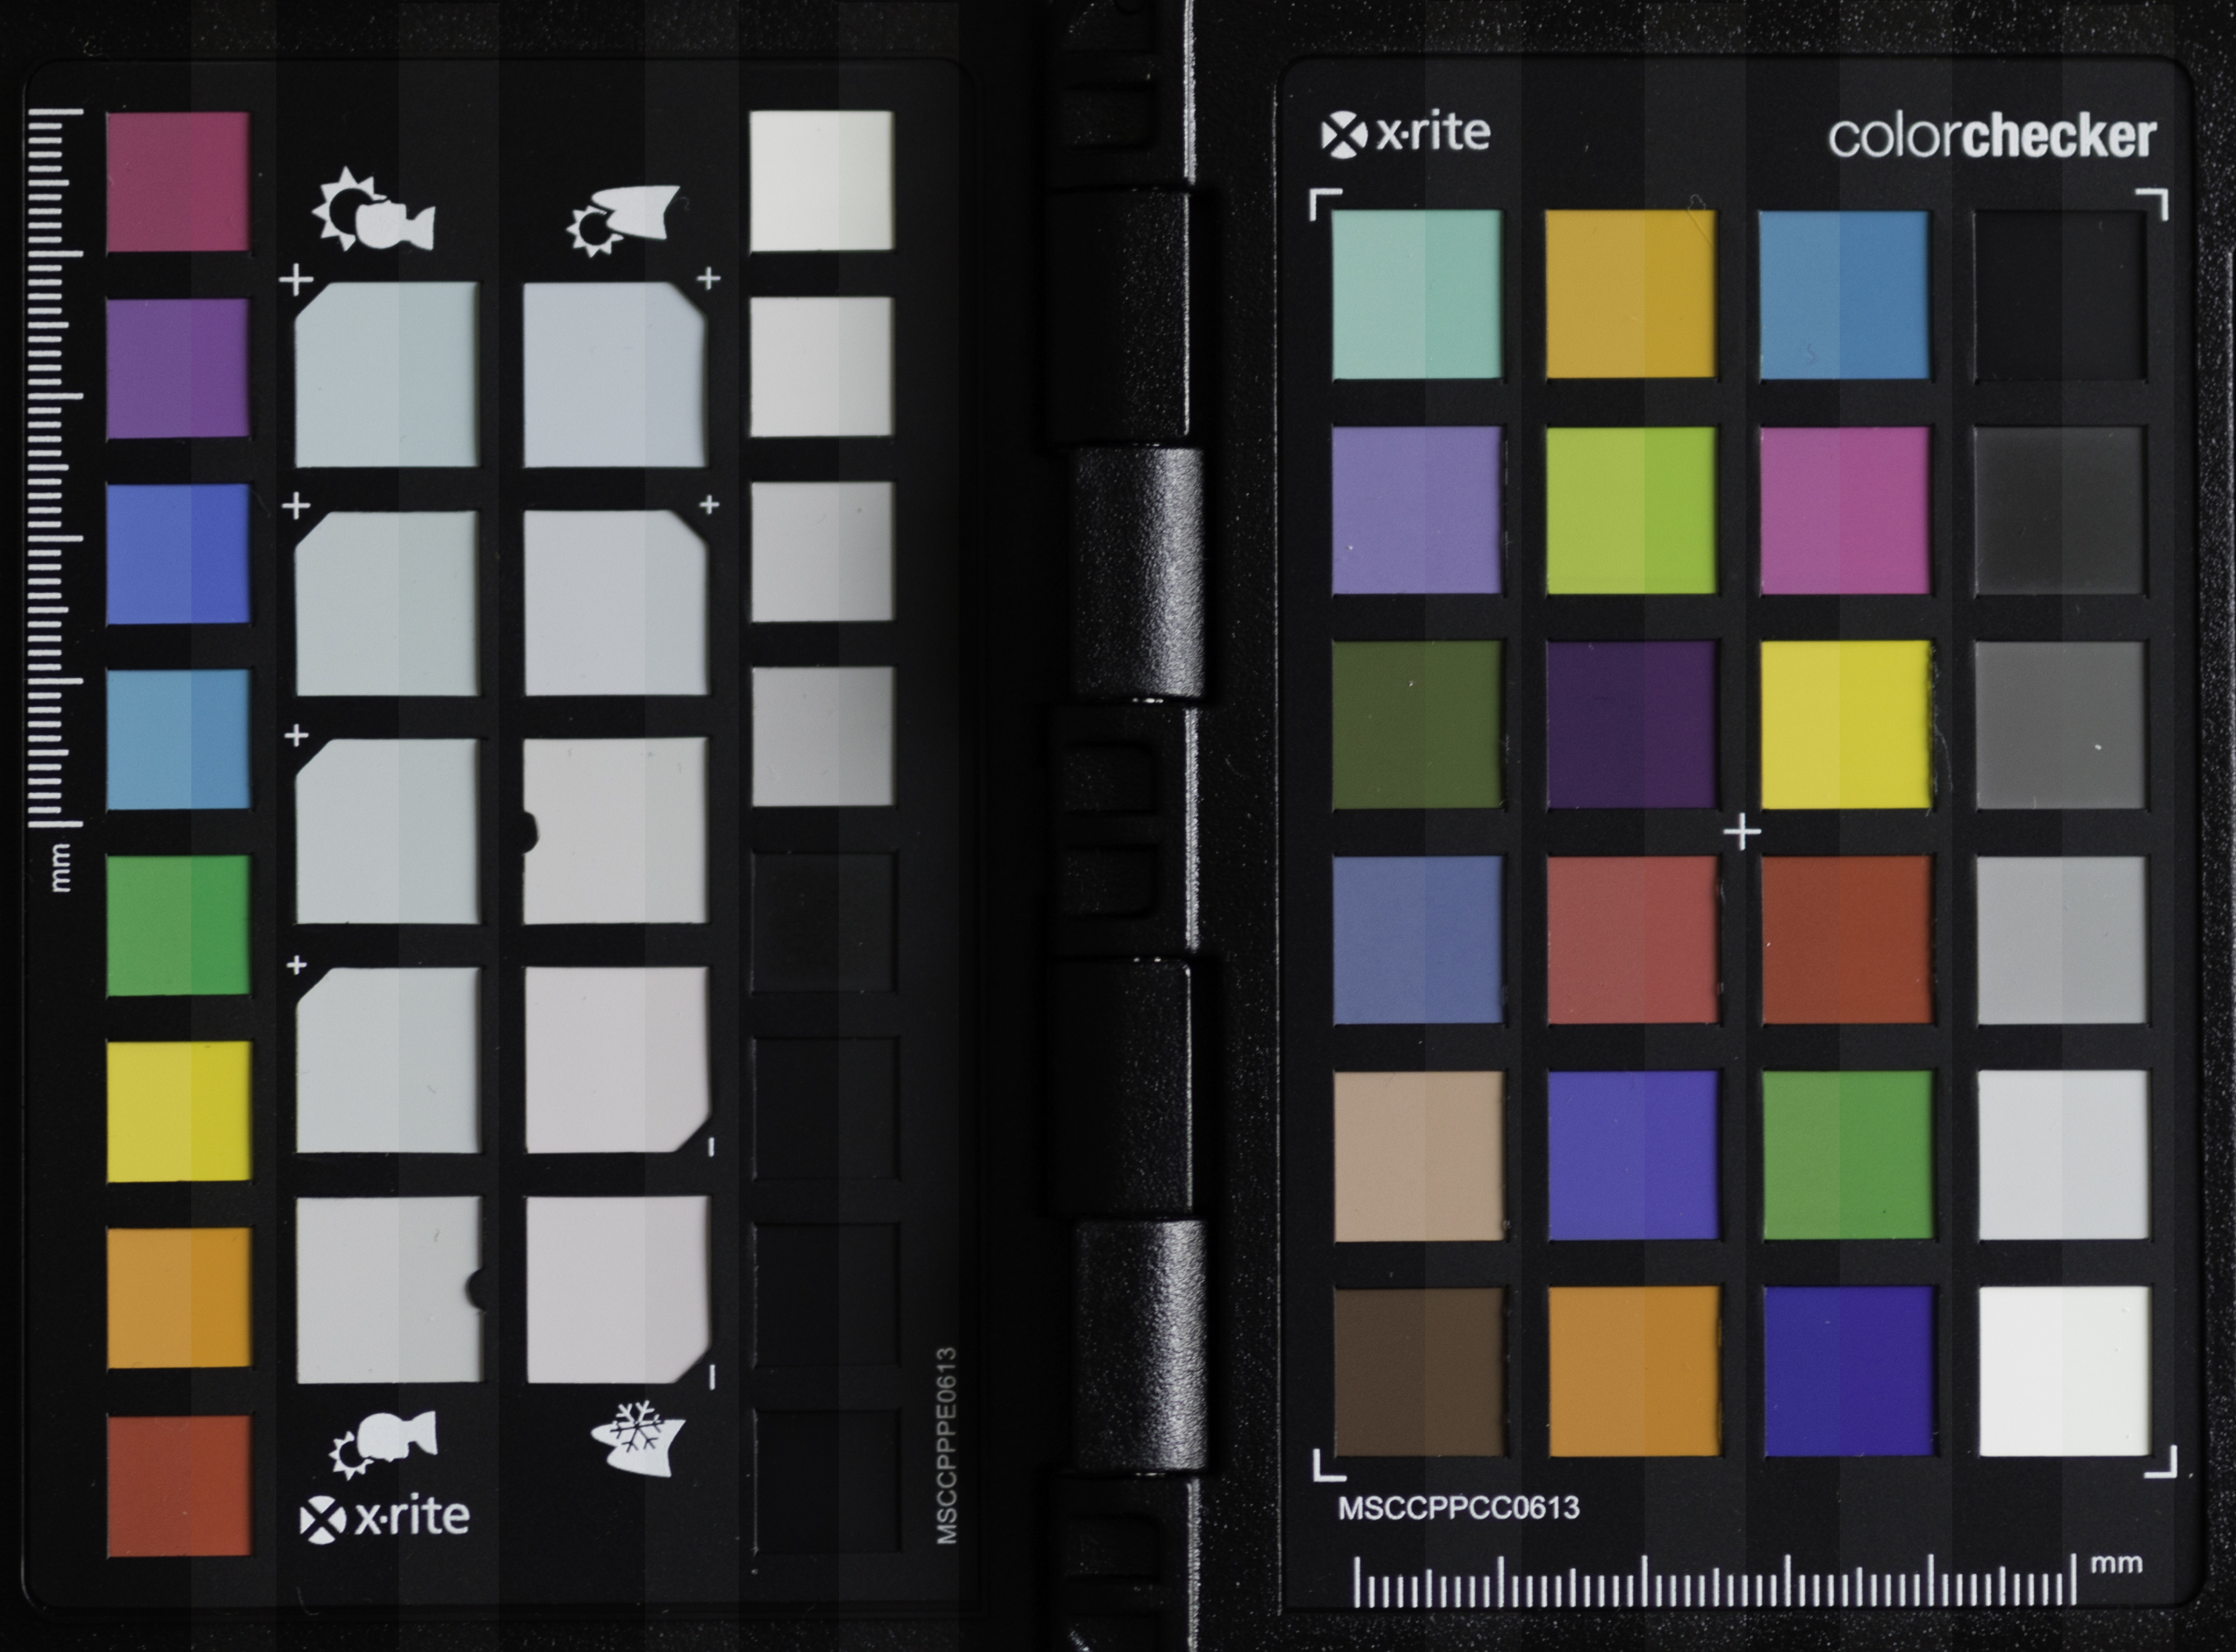
target change half-half

left half with ‘Adobe Standard’, right with my custom color profile on the Canon 5Ds.

Colours are more saturated, some a tad lighter, others a little darker, some colours shift slightly, (note the purple and the yellow-green on the right) but especially the blacks are less deep. This is especially helpful if you need to uplight the dark tones (shadows) in LR.

These are two versions of the same RAW file, but they get different RGB values. This means that the initial state of your raw file is very much dependent of your Camera calibration settings. If you are very fond of let’s say the ‘camera portrait’ picture style settings on your camera, then you might as well use this profile in your RAW-editor. (as photographing in RAW will not edit the data in your images, but the preview on the camera’s back is based on a jpg file modified by the settings in your camera. your preview will still get the ‘camera portrait’ picture style view, but your RAW will not reflect it.

That is why an image might look good when importing in LR, and then switch to something dull a second later. The initial look is from the embedded preview file, generated by your camera, the second look is from the preview generated by LR, based on the camera calibration settings currently active (standard setting = Adobe Standard)


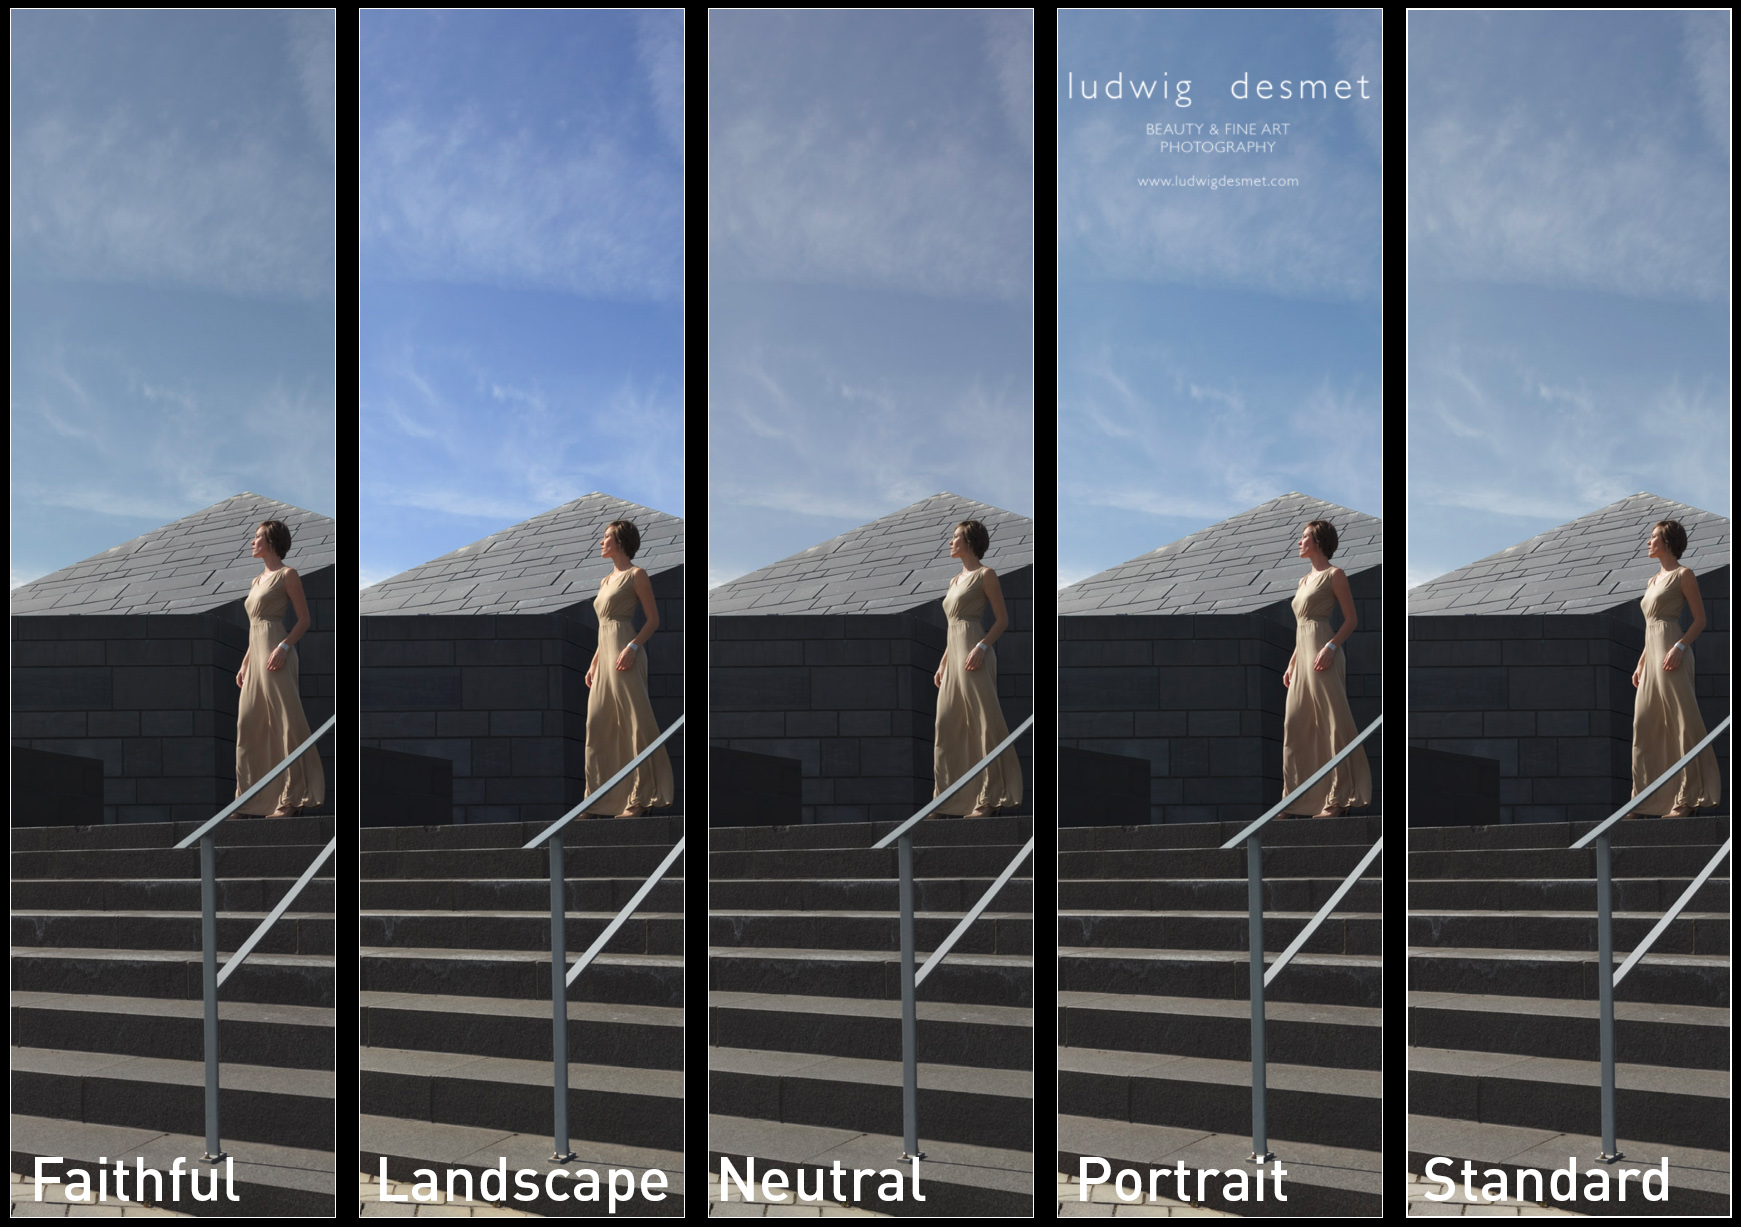
If you want to experiment with camera calibration without buying the tools needed, try using the ‘picture style calibration settings’ available in the drop down menu. They should reflect the ones you have available on your camera. The differences should be obvious.

Below two examples of different ‘picture style camera calibration’ settings. Note the changing skin tones in the first image, the changing sky colour in the second.
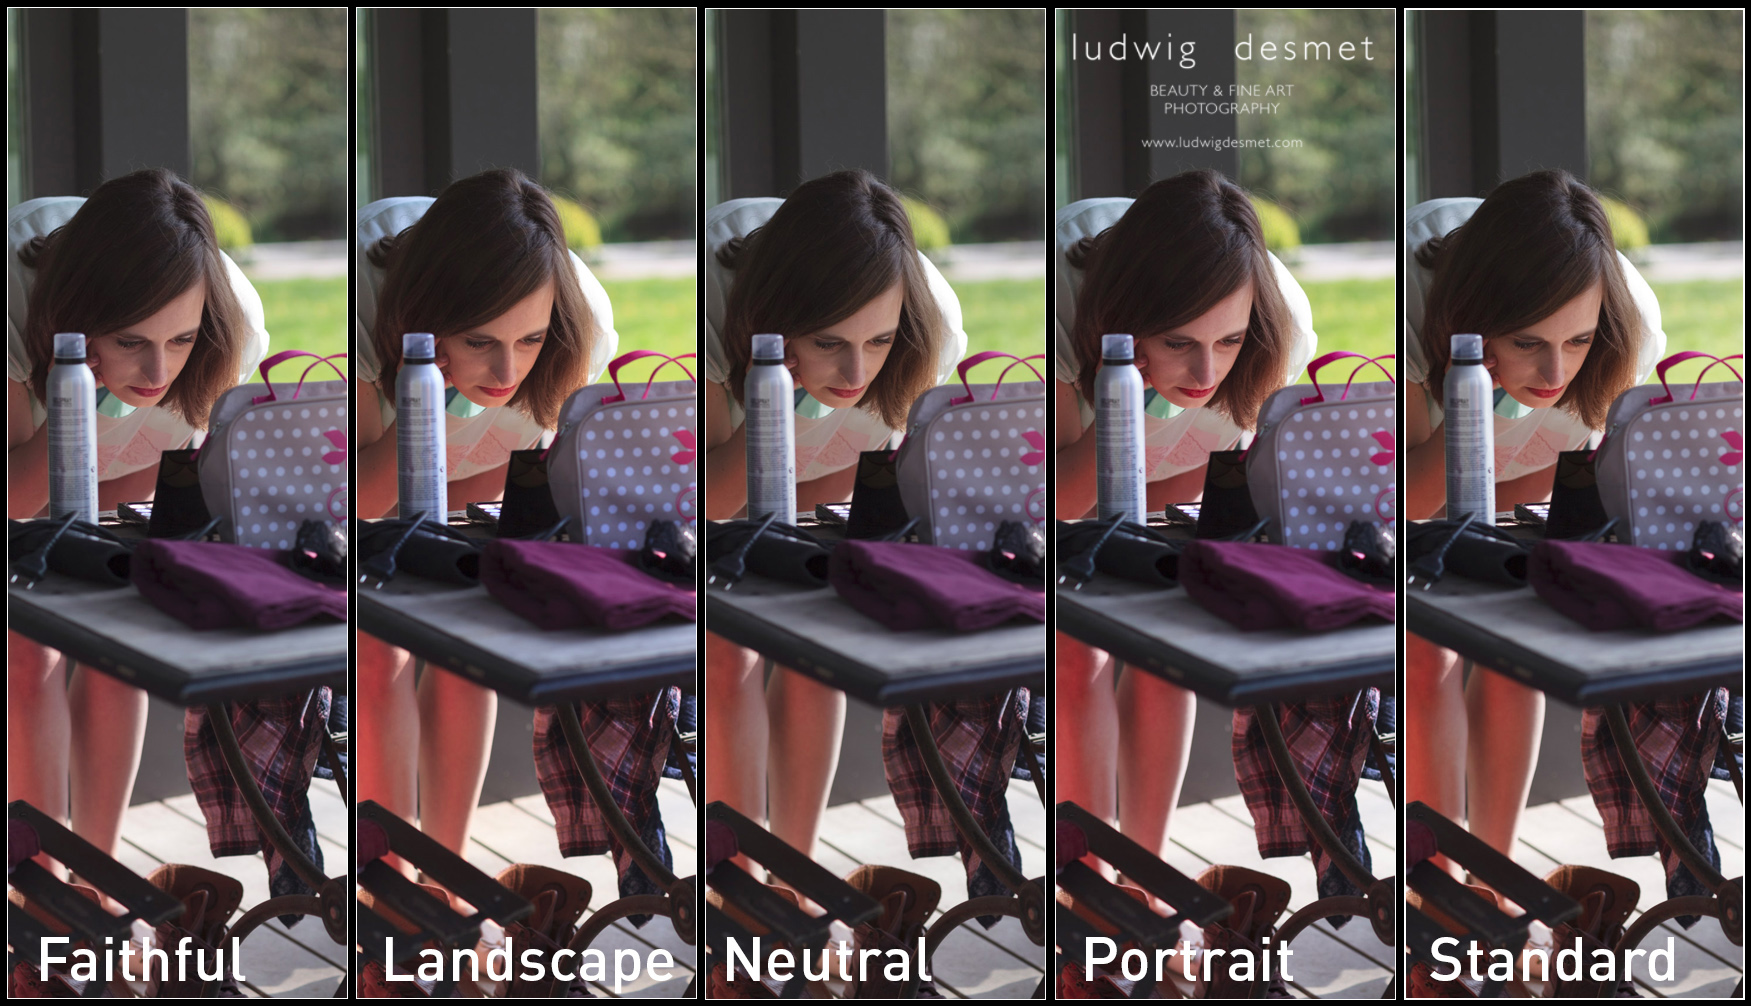
picture style sample I

picture styles sample II


The process version is the way LR interprets RAW files since earlier versions, you should currently use the 2012 version. (July 2016)


To give a real world example, first image with ‘Adobe Standard’ profile, second with Custom made profile:
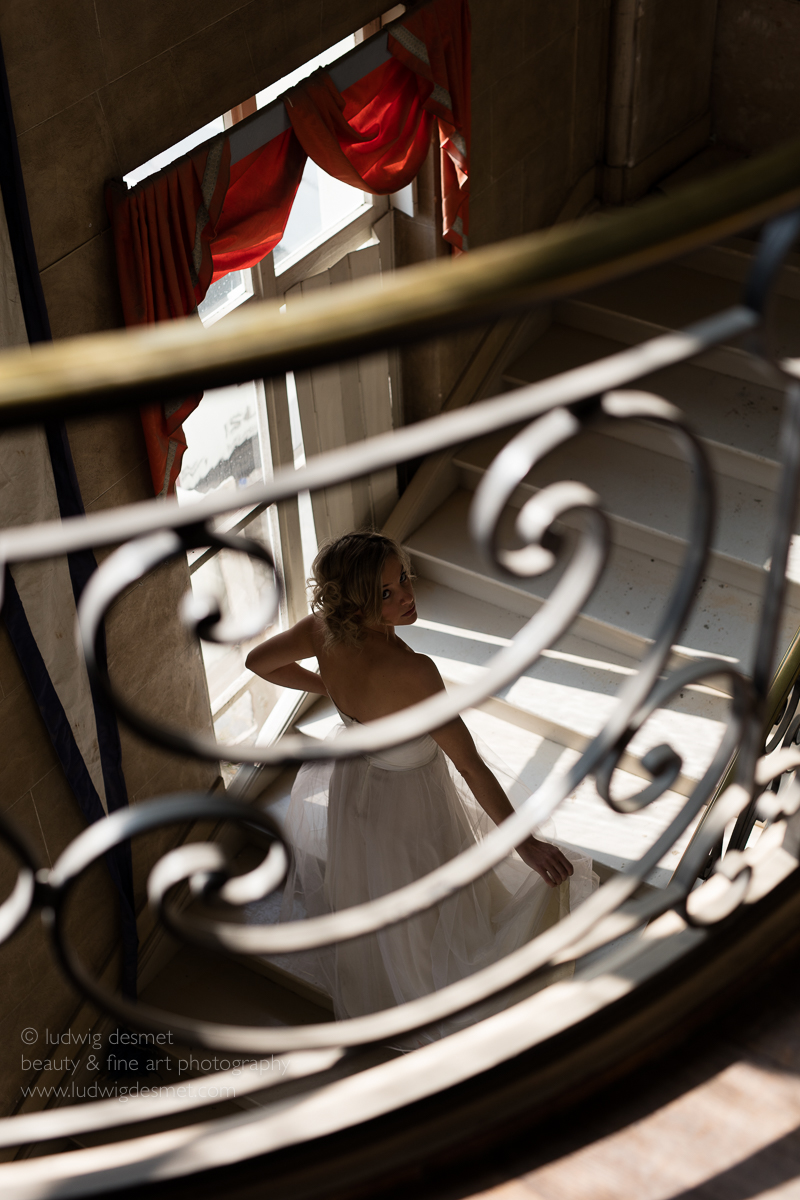
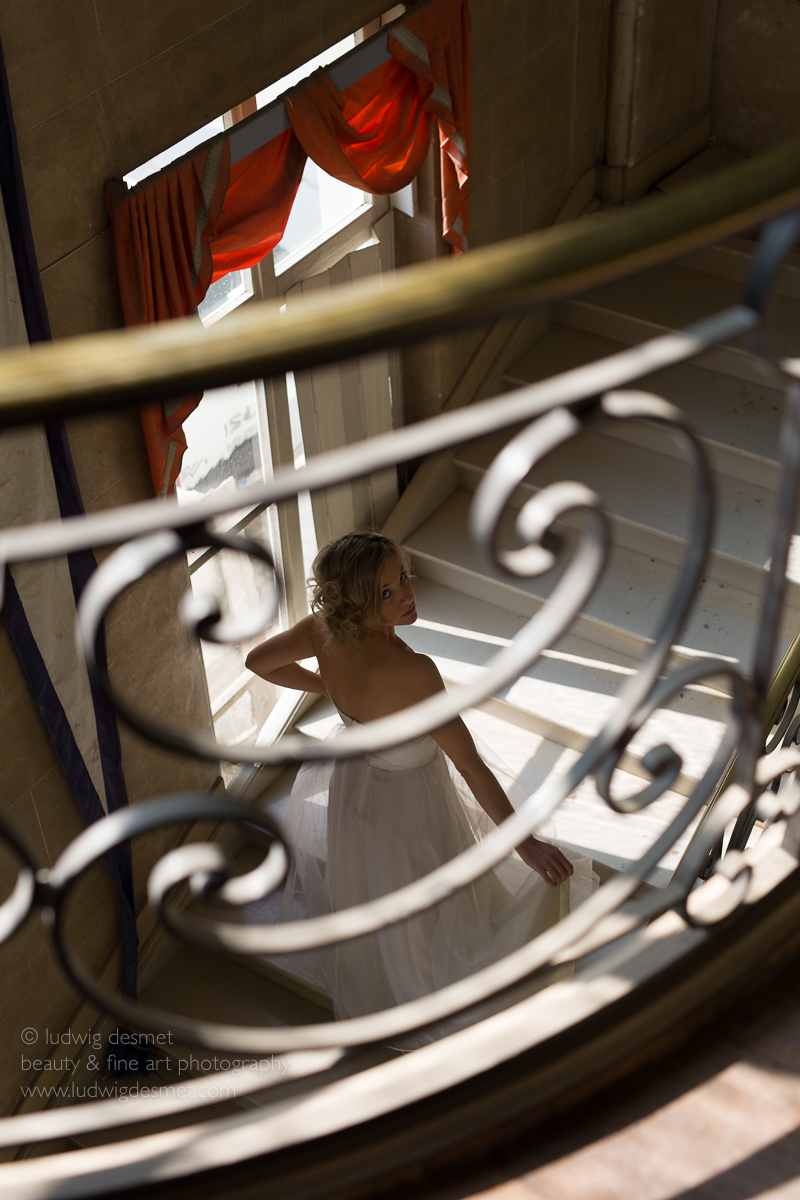
LudwigDesmet_AL-0354  LudwigDesmet_AL-0354-3

I think that the shaded area’s are very obviously lighter in the second picture, with the correct camera calibration profile. These are unedited images. For me this lighting situation is very common, high contrast, backlit situations, where you want to make sure that the highlights are not blown out (clipped). As you know I seldom use extra light on a shoot (except for a reflector from time to time. In this way I absolutely need to be able to enhance my shadow area’s to a descent light level. This less dark starting situation is of a lot of help.

The edit looks like this (same editing on both images) Adobe Standard above, 5Ds profile below. In the first image, the colours are slightly red, but especially the corner shadows completely run black (due to my vignette, I know). Compare with the corners in the second image, where I can keep plenty of detail, with the same amount of vignetting.
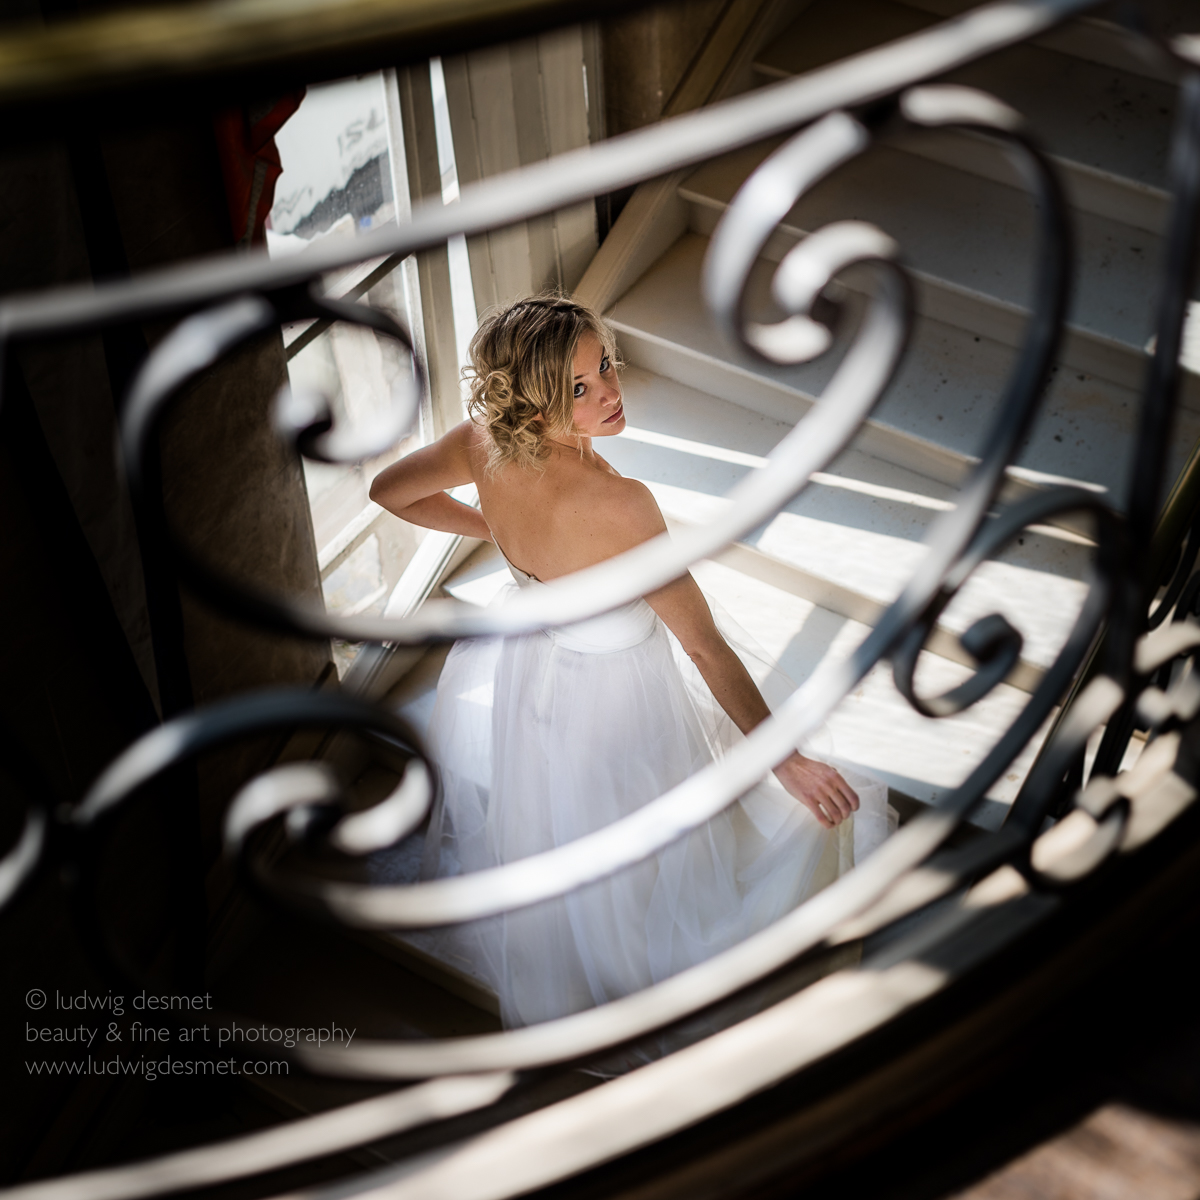
LudwigDesmet_AL-0354-2 LudwigDesmet_AL-0354-4

When looking in detail, you’ll see that I keep a lot more detail in the hair, and I have less noise appearing in the second image. (upping the shadows a lot also emphasises image noise)
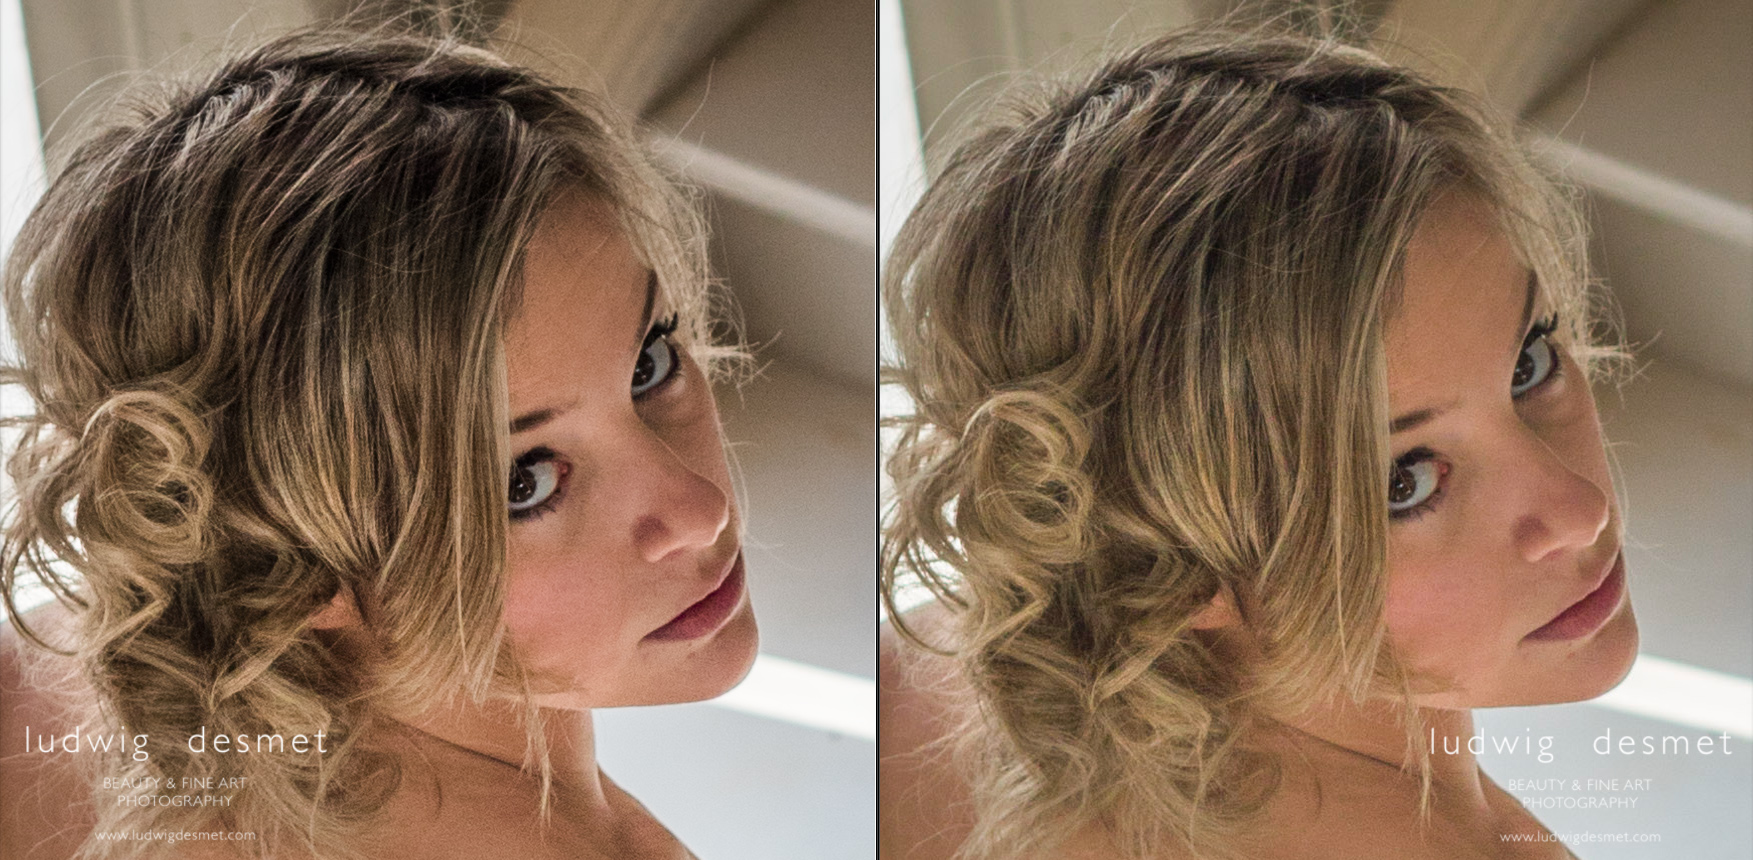
face detail

Image: Jenn at Baudries Castle

Hair: Nathalie

Make up: Heidi

I think Jenn has a large amount of ‘Nathalie-Portman-looks’ here 😉

Canon 5Ds with Sigma 50mm f1.4 DG A   –   1/640s   f2.8   ISO 160


see you soon for part two of this explanation, and for a lot more images:

summer time, shooting time


ludwig
Ava playing Solitaire

beauty, Personal Pictures

Ava playing solitaire at the chateau.

LudwigDesmet_AL-2074


Hair and assistance: Nathalie
Model and make up: Ava
Photography: Ludwig Desmet

Canon 5Ds with Canon 24mm f1.4 L II – 1/8s  f3.5  ISO100

available as limited edition print, for info: ludwig@ludwigdesmet.com

Yashica 635 …

beauty, Personal Pictures, portrait

… and a very nice photographer.


Jane again, she got to grips with my old Yashica 635.

LudwigDesmet_Jane_Baudries-0171

Canon 5Ds with Sigma 50mm f1.4 DG A – 1/20s  f4.0  ISO 320


thank you for watching, …

just a small reminder that a small selection of my work is to be seen till the end of August in ‘Het Godshuis’, Leemweg 11, 9980 Sint-Laureins, Belgium.

ludwig
 

for fine art prints or shoot bookings: ludwig@ludwigdesmet.com

Gafodi f50 Exhibit

exhibition, location

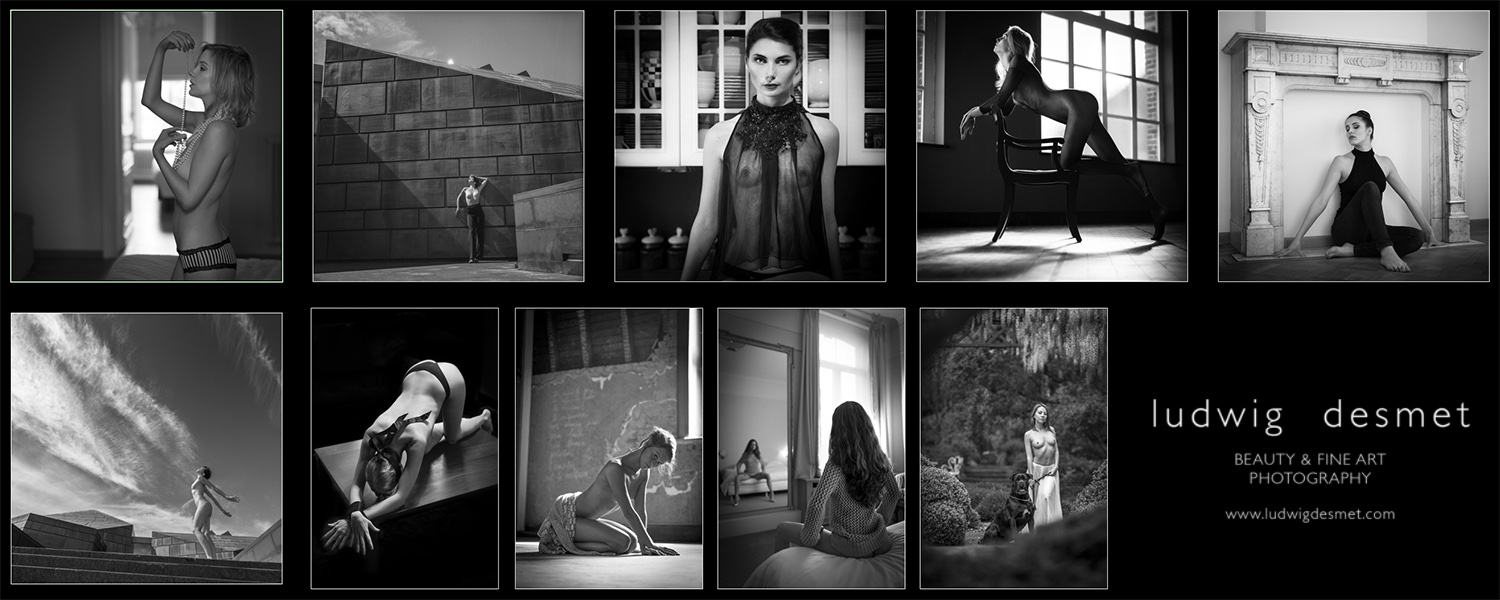
Just a small reminder of the next group exhibit I’m taking part in. Opening this evening june 3rd. in the usual Gafodi exhibit location (Racing, markt Gavere). The exhibit will be open daily from june 4 till june 20. The exhibit gathers 13 photographers, all having an indoor ànd an outdoor exhibit, in 12 different locations outdoor, 10 locations indoor.

My work can be seen in the entrance alley towards ‘Kasteel Grenier’ in Gavere, and in the horse-stables of ‘Kasteel Baudries’ in Dikkelvenne. The work that can be seen in the latter has been created during a one day ‘artist in residence’ session at the castle. The castle is not open for public, but you can see a glimpse of it through my images.

The exterior exhibit shows a selection of images from the last 3 years, ‘previously unexhibited’ work mainly.

Main theme of both exhibit remains ‘sensuality, femininity, fine eros’.

All exterior locations are free, there’s a common entrance fee of €5 for all interior locations.

a small impression of the interior exhibit:

Gafodif50_LD_interior


you are all very welcome!


ludwig


Silent sea

landscapes, Personal Pictures

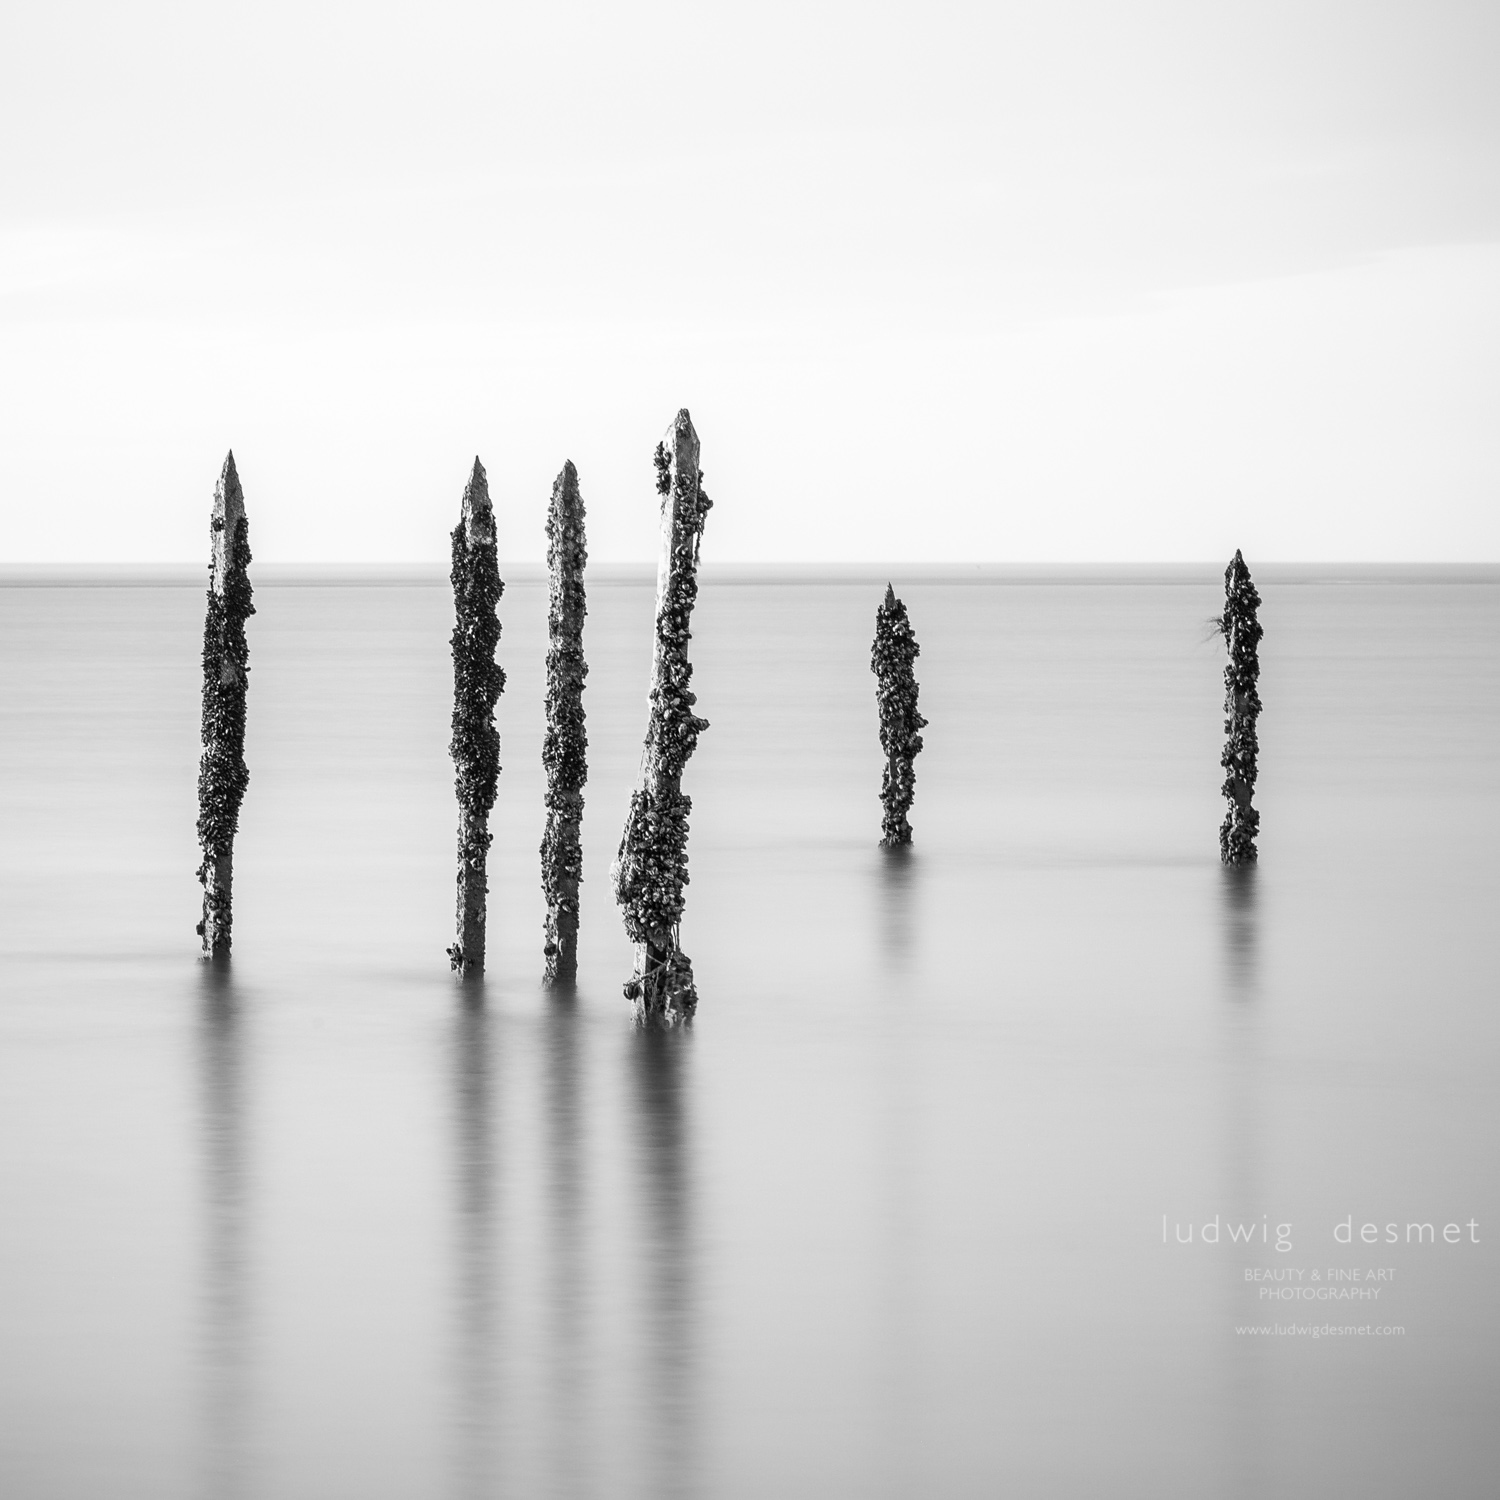
Image taken on a trip with my ‘landscape photography’ class, a couple of weeks ago.

In between tuition moments, I get to snap an image here and there.


Silent Sea

Ludwig Desmet_capgriznez-01
135mm at f11 – 30sec.

Image taken with Canon 5D II and Canon 135mm f2.0 L

Taken with a ND1000 (10stops) filter from B+W and converted to black and white in Lightroom. I only have a 10stops screw filter for 77mm lens diameters (for my Canon 17-40mm f4), the 135mm has a 72mm diameter filter thread. I simply positioned the filter in the back of the lens shade, worked fine, don’t tell anybody. 😉

The image depicts old mussel growing poles. they get floated at high tides, become apparent at low tides. taken a little east from Cap-Griz-Nez


thank you for watching.

Thank you!

exhibition, Nude, Personal Pictures

Thank you, …
for your overwhelming presence,
for your fine company and chats,
for your enthusiasm,
for the fine reactions in my guest book,
for massively visiting my web-blog,
for coming to DAMME in the last couple of weeks.

It was a pleasure to present my ‘madammen’ in this small gallery, to talk about my work and your interests, to show you my book, to hand over so many representation cards and to meet you all, wonderful people.

The ladies are gone, …

but hey, no sadness needed, from June 4th you can see another selection of my work on two locations in GAVERE and DIKKELVENNE.

In Gavere (entrance road to kasteel Grenier) I will present a selection of 4 years of work, black and white, printed on large format in an outdoor exhibit (thank you Gafodi!) In Dikkelvenne (kasteel Baudries) I will present an unpublished series , result of ‘A day in Residence’ at the Château, with two different models.
The prints are made, the frames are ready, …

hope to see you there soon,

ludwig
the ladies are gone

Be your own Master

beauty, Personal Pictures, personal tips & tricks, Tips and Tricks

In my evening classes photography, I often am confronted with students wrestling to make final selection decisions. Either for class-related photography, or for their own assignments or private photo experiments.

I had an interesting discussion about this last Thursday, with one of my groups. The question that came up was: “Do you have your clients, in my case my models or my corporate clients, take part in the final selection of delivered images?” (I do corporate photography jobs too, see www.renderhouse.eu ).

I do have to admit that the selection process is a difficult task for most photographers, including me. I have made selections for three upcoming exhibits the last couple of weeks, and that still is a time consuming task. I have a quick and efficient selection method for filtering my shoots to a workable number of images, using positive discrimination as a main tool. However, this still leaves a decent number of images that results in a representative number of finished images (Usually about 10 images per shoot-hour when I shoot digitally).

A more difficult task is to further cut down the number of ‘keeper’ images over several shoots, or even more so the very limited number of exposed images in an exhibit, spanning your entire body of work.

The task being already difficult if you do it on your own, becomes even more complex when you put two personalities together, each having their own ideas and preferences when it comes to image selection. A customer often can’t decide on which of two images to keep, not talking about giving him a dozen images from which he has to pick one.

That’s why I have concluded that for me, I am my own master, I decide, and no one else but me. You can never, as a photographer, meet the expectations of every viewer of your work, especially not if you do artistic or autonomous work, incited by yourself. Your decisions should be inspired by what you wanted to make in the first place, by what you want to show after creating your work, not by what ‘your’ or ‘any’ audience wants to see.

“Hey, but you cannot do so for customer related work, where a customer expects you to answer the job requirements, can you?”

For customer related work things are the same I think, except that there you have to meet at some point the client’s expectations. Therefore a very important step in doing client’s work is to listen to your clients needs or expectations before getting to work on a job. You can either withdraw from the job if you feel you will not be able to stay loyal to your own style, or you can do the job, and select the images that you feel happy with. If your customer is familiar to your work, then he knows your style, and if you listened well, things should work out well.

below a non-published image from the series ‘Aude at Bart & Anja’s house’.

happy viewing.

ludwig

Ludwig_Desmet_AVO-0147

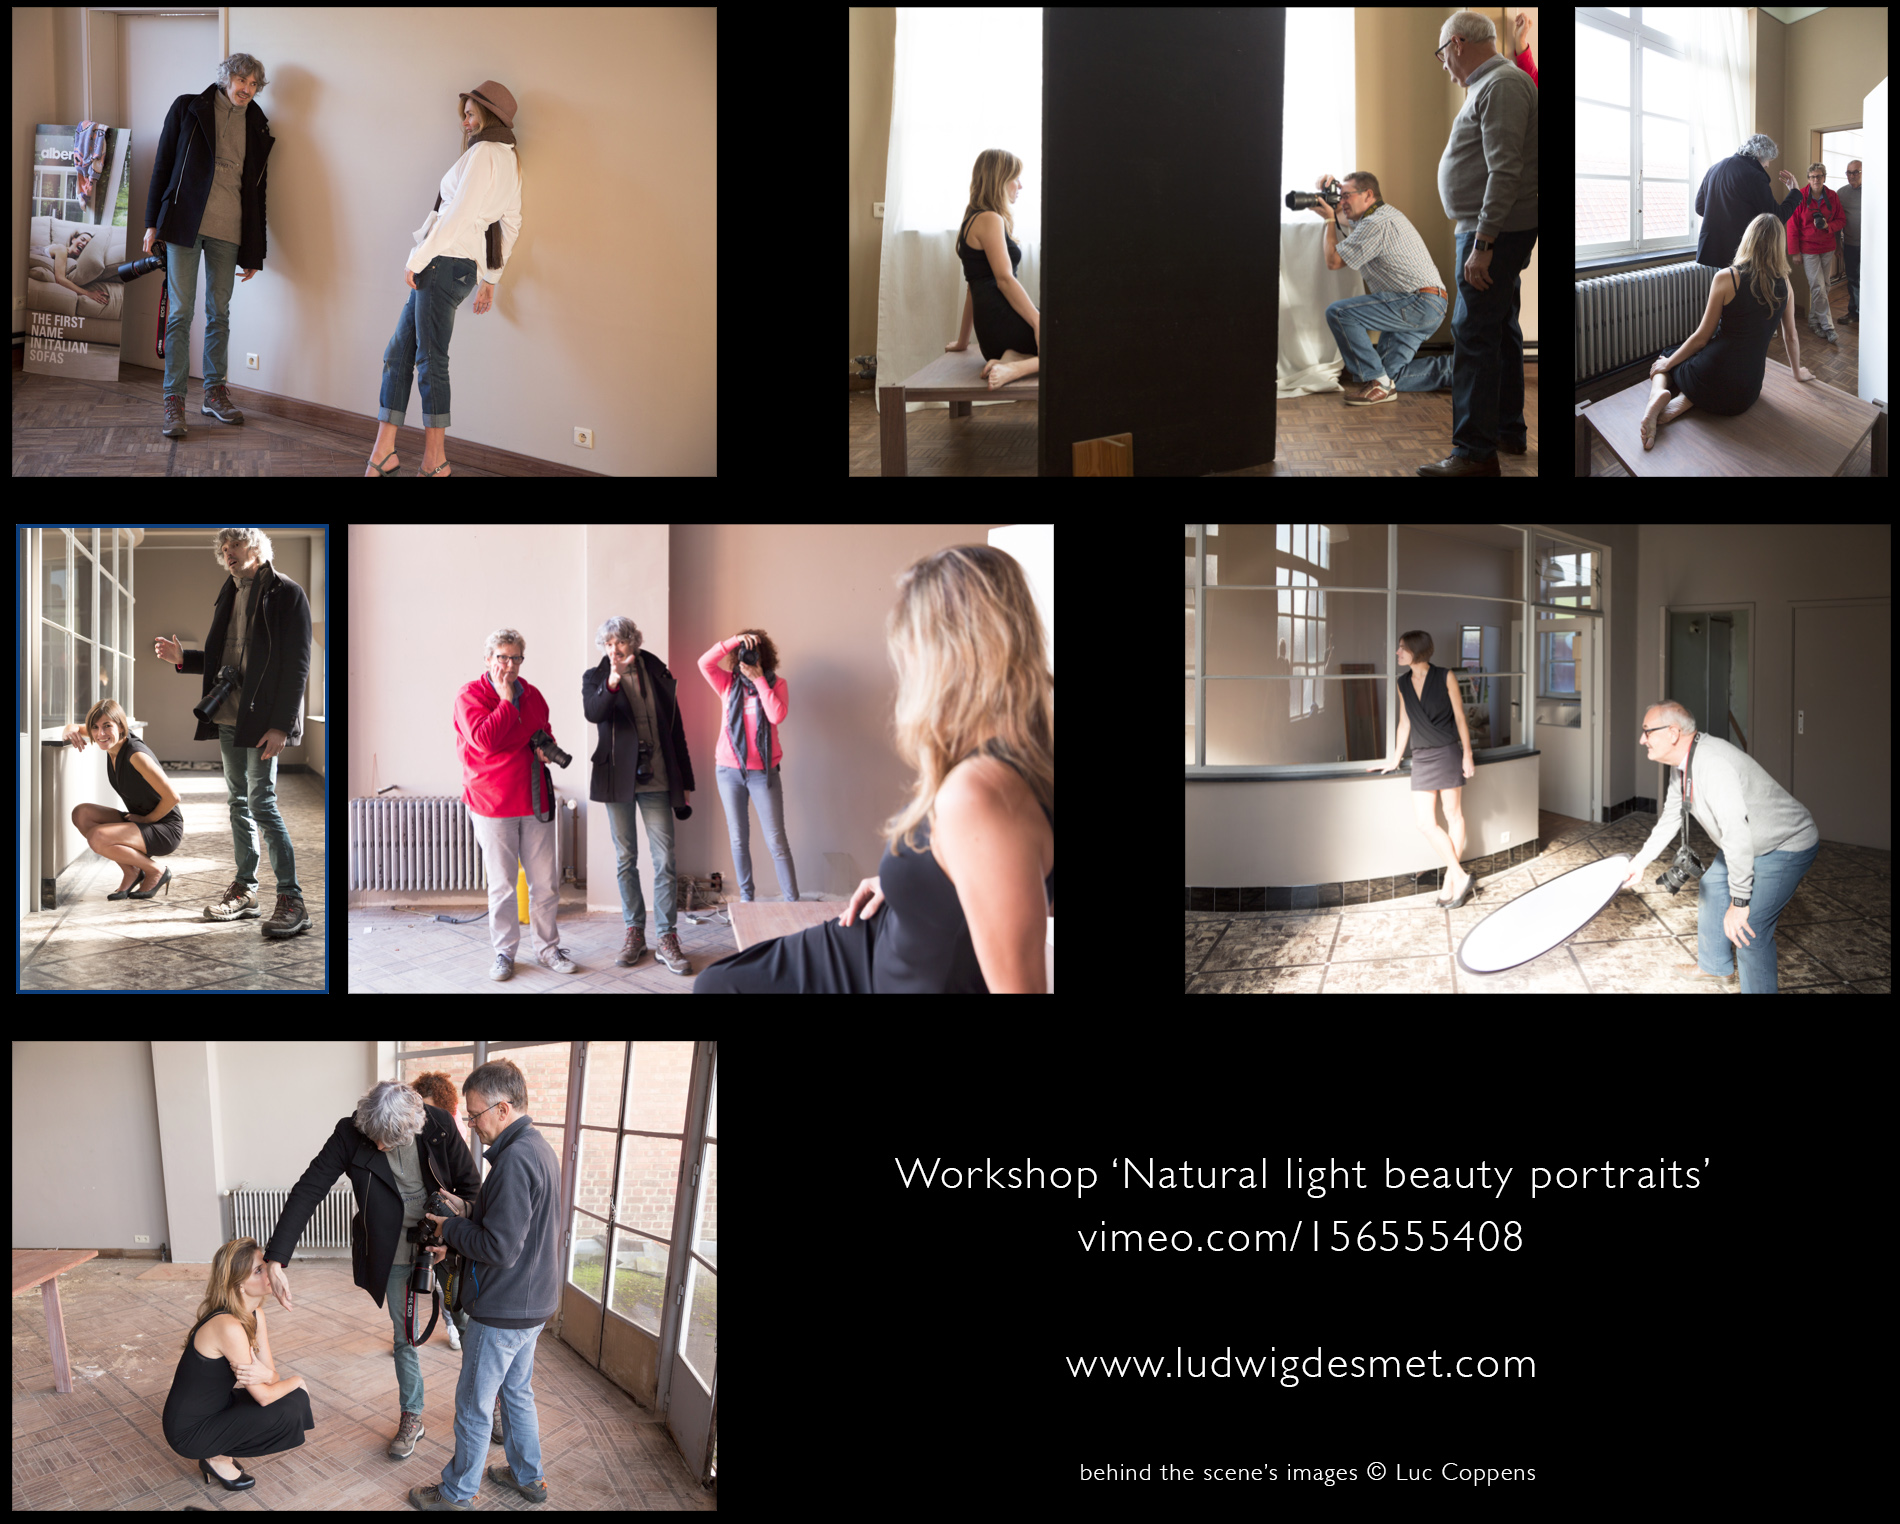
Summary video: Workshop – Available light portrait photography.

beauty, Personal Pictures, personal tips & tricks

A short summary about a workshop I did last year.
I finally found the time to make a short clip from the footage that was shot during the workshop.
You’ll see in this video:

A short briefing round, where I explain some different lighting situations
A behind the scene’s montage from the participants at work
Some resulting images from the workshop.

The Video!

Some images:

Gafodi workshop BTSHappy viewing,

Ludwig
Domain name change – Romina

beauty, Personal Pictures

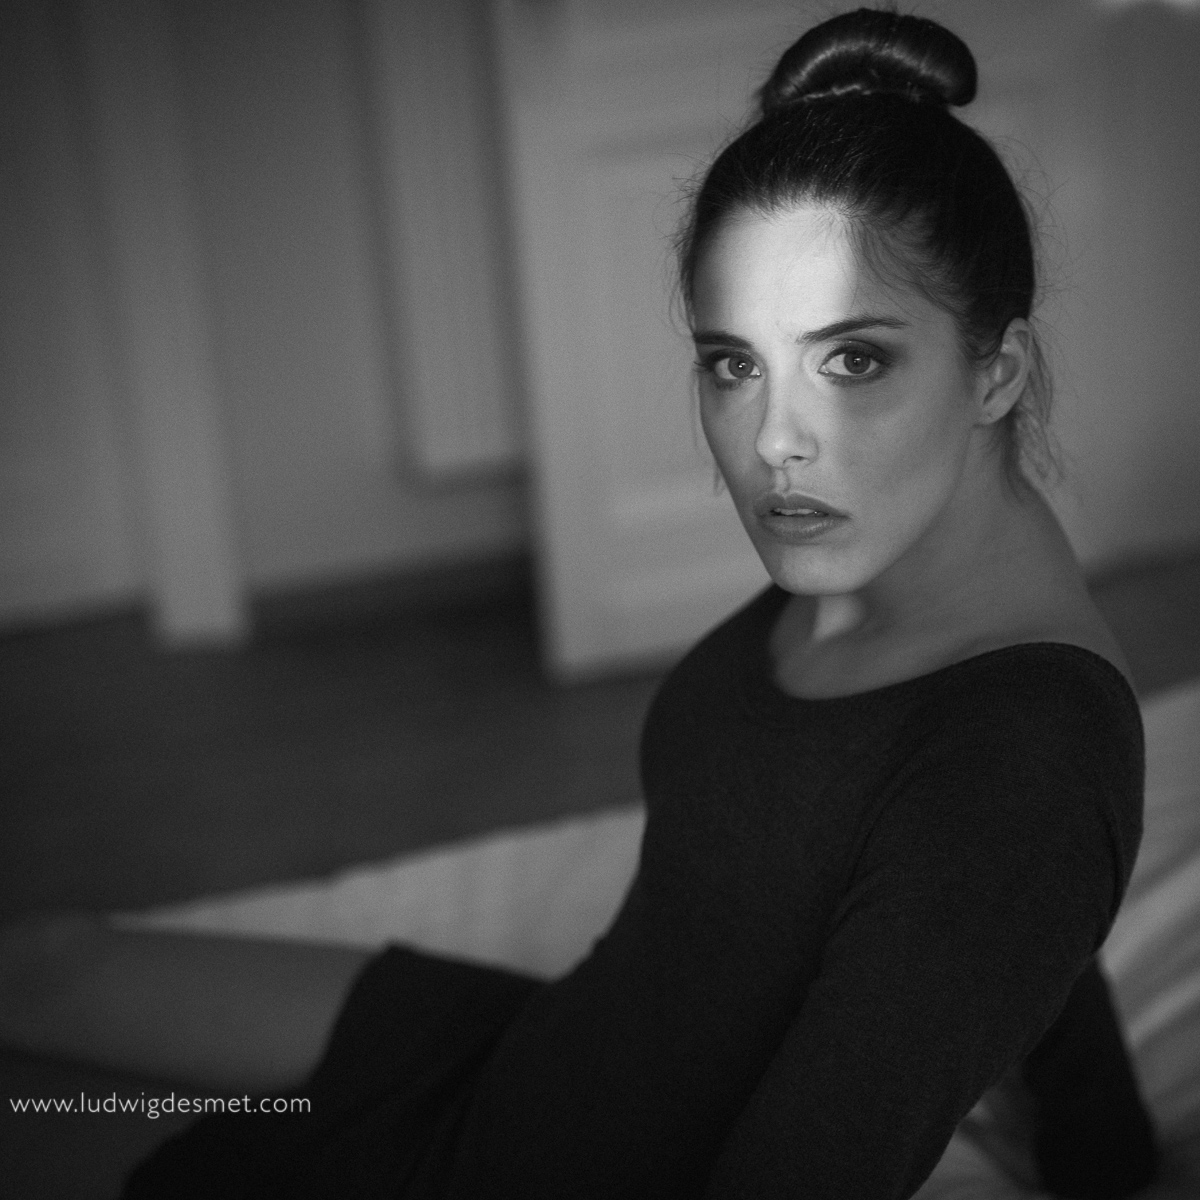
As all runs well, this domain should soon have its own name. I am taking steps to move the site to www.ludwigdesmet.com – the intention is that subscribers still get messages when new posts are made, but if you experience a longer-than-normal delay in new reminders from my side, something might have gone wrong. I’m not web guru by far, prepare for the worst.
please enjoy this first image from a shoot I did a couple of weeks ago. Romina has finished her studies in drama and theatre, has Italian roots, and was a pleasure to work with.


Romina

LD_RominaP_look_nb-


Canon 5D mark II with Sigma 50mm f1.4 DG A

1/50s f2.5 ISO500

thank you for watching,

ludwig

My body is my temple – nsfw

Nude, Personal Pictures

She hesitated to agree with publishing this image, but she did. Thank you Jane. It was a pleasure to work with you, and you expressed gratitude to what we achieved together. I’m glad I could bring you confidence.


Jane, my body is my temple …

ludwigdesmet_EDW-9329

© ludwig desmet

Canon 5D mark II with Sigma 50mm f1.4 DG A

1/30s f2.0 ISO100

Aude at Bart & Anja’s house – Analog

Analog, beauty

I have worked an entire day with Aude, so we did a lot of different things.

After the ‘Castle shoot’, both analog and digital, we went to see Bart’s house. A beautifully situated cottage house in the Flemish Ardennes. Thank you Bart and Anja, for having me in.

A new location is always a bit harder to work with, but gives you plenty new possibilities for images. Please enjoy these analog images, taken with an old Yashica 635 camera, on a dull grey day.


Ludwig_Desmet_AVO-002

Ludwig_Desmet_AVO-003

Ludwig_Desmet_AVO-004

Ludwig_Desmet_AVO-006

Ludwig_Desmet_AVO-009

and a ‘behind the scene’s image, remember, keep the lady warm.

Ludwig_Desmet_AVO-007

thank you for watching, have a nice year’s end all of you,

ludwig desmet

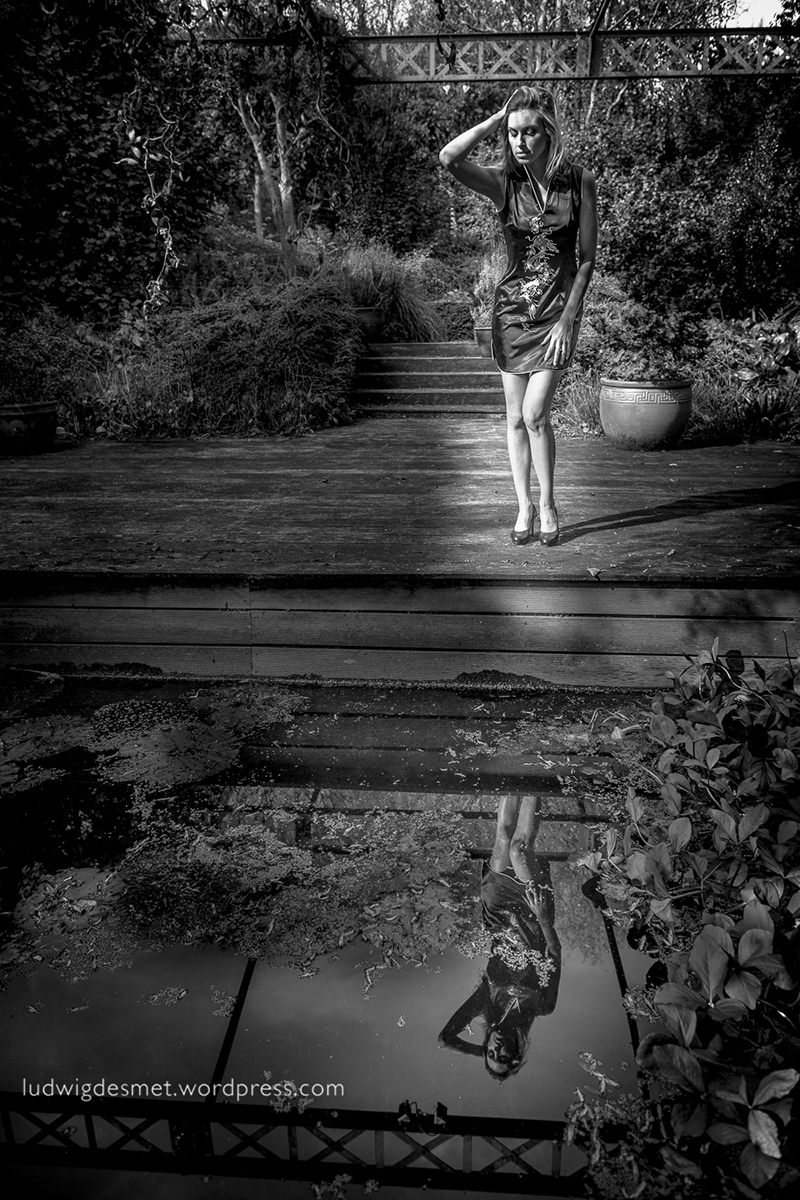
Where are you, my prince …

beauty, Personal Pictures

… hidden in the deep black waters of the garden pool.

ludwigdesmet_EDW-5853 ludwigdesmet_EDW-5876 ludwigdesmet_EDW-5886 ludwigdesmet_EDW-5894 ludwigdesmet_EDW-5898

Thank you Jane, for being my beautiful model on this cold but sunny afternoon.

Thank you to the owner of this magnificent garden we could work in.

Thank YOU for watching this post.

All images Canon 5D II and Canon EF 24mm f1.4 L II at f4.0 ISO 100.

There’s a lot to come, so come again soon.

best,

Ludwig

Analog on the attic

Analog, beauty, Personal Pictures

Hi there,

I have been developing some negatives from last summer lately.

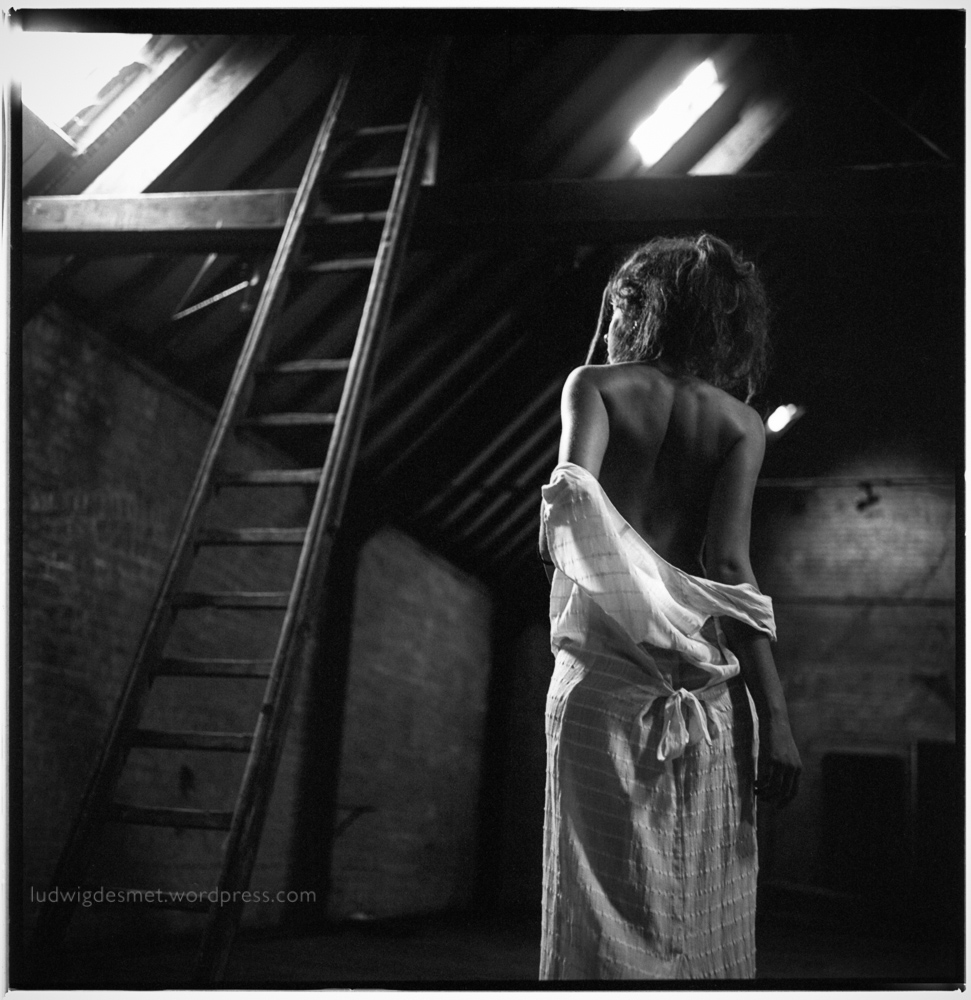
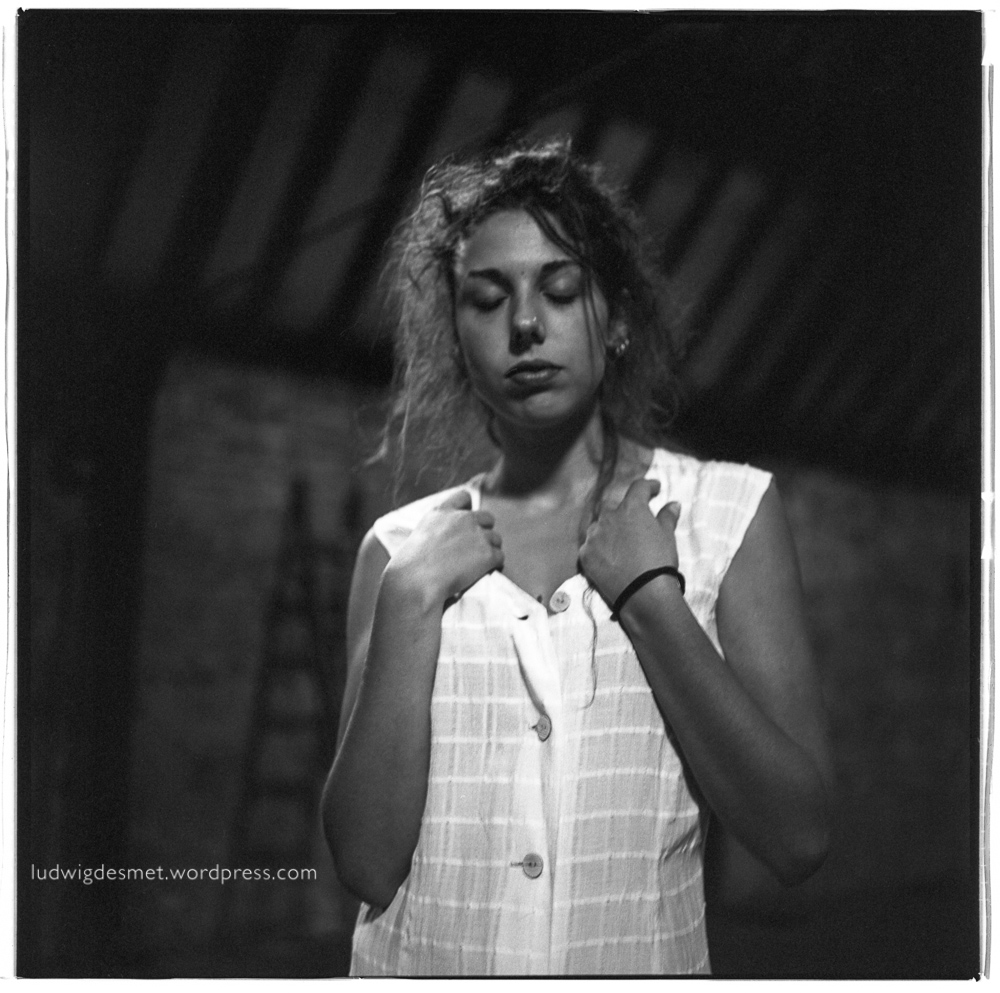
First a series of images I took in a dark attic, on a dusk day. Ideal conditions for film-work with an antique camera. (Not!)

Hard to focus, hard to get shutter speeds high enough for hand held shooting. I worked with a 400ISO film and had to push it two stops (underexpose when exposing, then get a ‘pushed development’ in developing the film) to get a shutter speed of 1/15th of a second. I’m not really very fond of the exposures, because I think they lack grey tones. The images are very contrasty and full of grain.

All images Rolleiflex 3.5 75mm on Kodak TMax400 film.

ludwigdesmet_EC_Argentiques-002WM ludwigdesmet_EC_Argentiques-003WM ludwigdesmet_EC_Argentiques-004WM ludwigdesmet_EC_Argentiques-006WM

Come again soon.

ludwig