Posing as therapy

Nude, people, personal tips & tricks

Last Friday I had a model expressing her feelings about her artistic nude shoot as such:

‘Every woman should do this at least once in her life. The images from the first shoot (which was a non nude beauty shoot) have given me enough confidence to do this, and this is such an empowering experience on the level of self-esteem and self consciousness that I would encourage everyone to do it.’ She took a lot of business cards. 😀

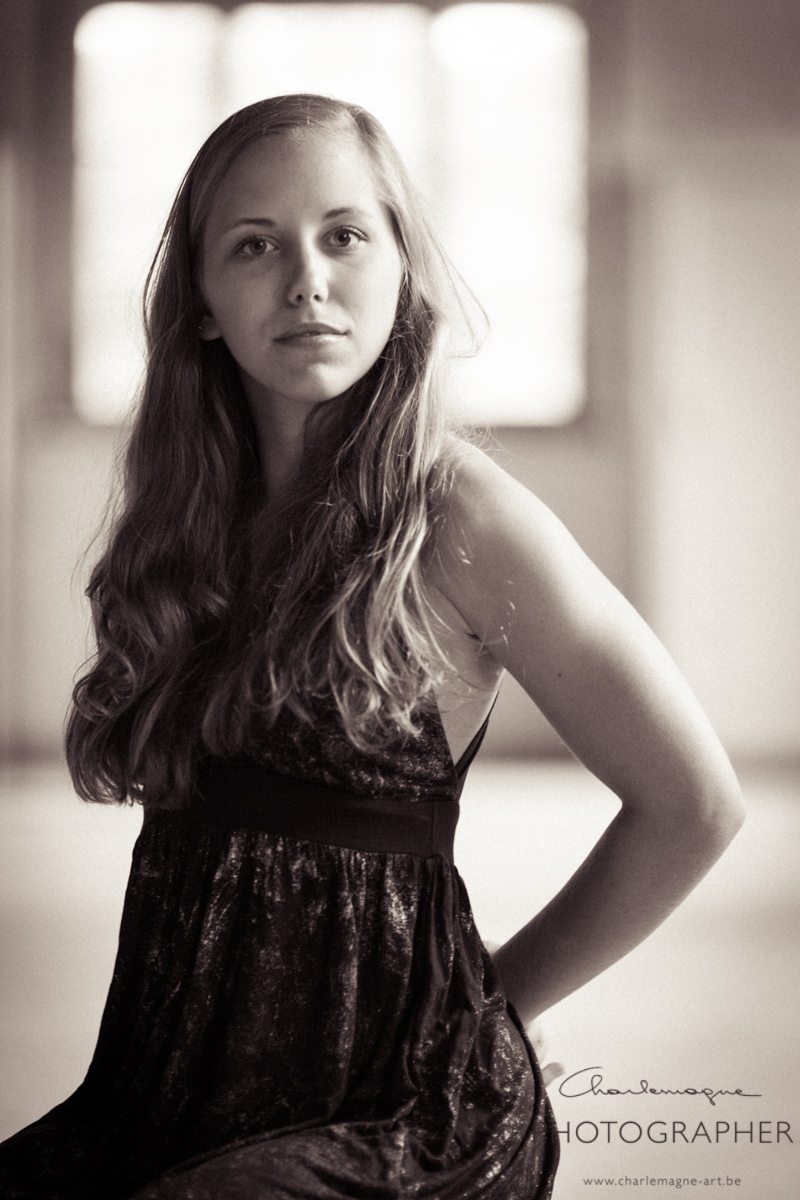
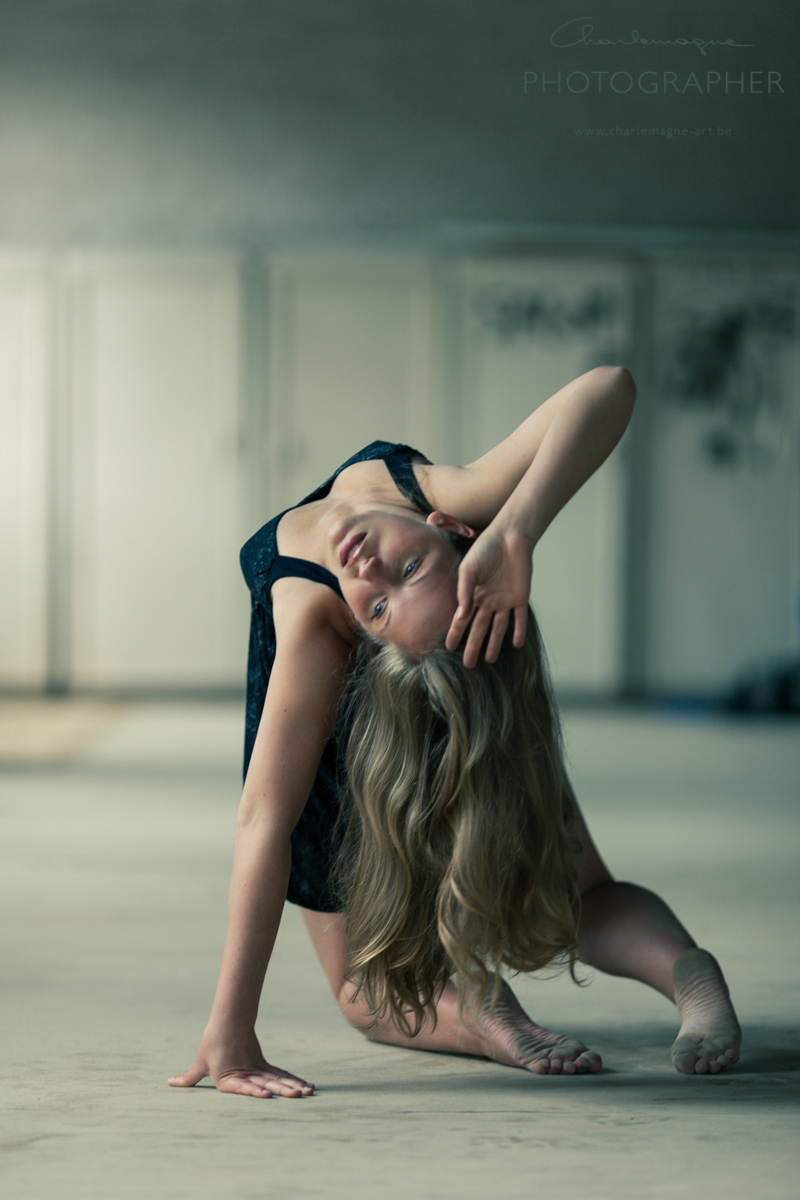
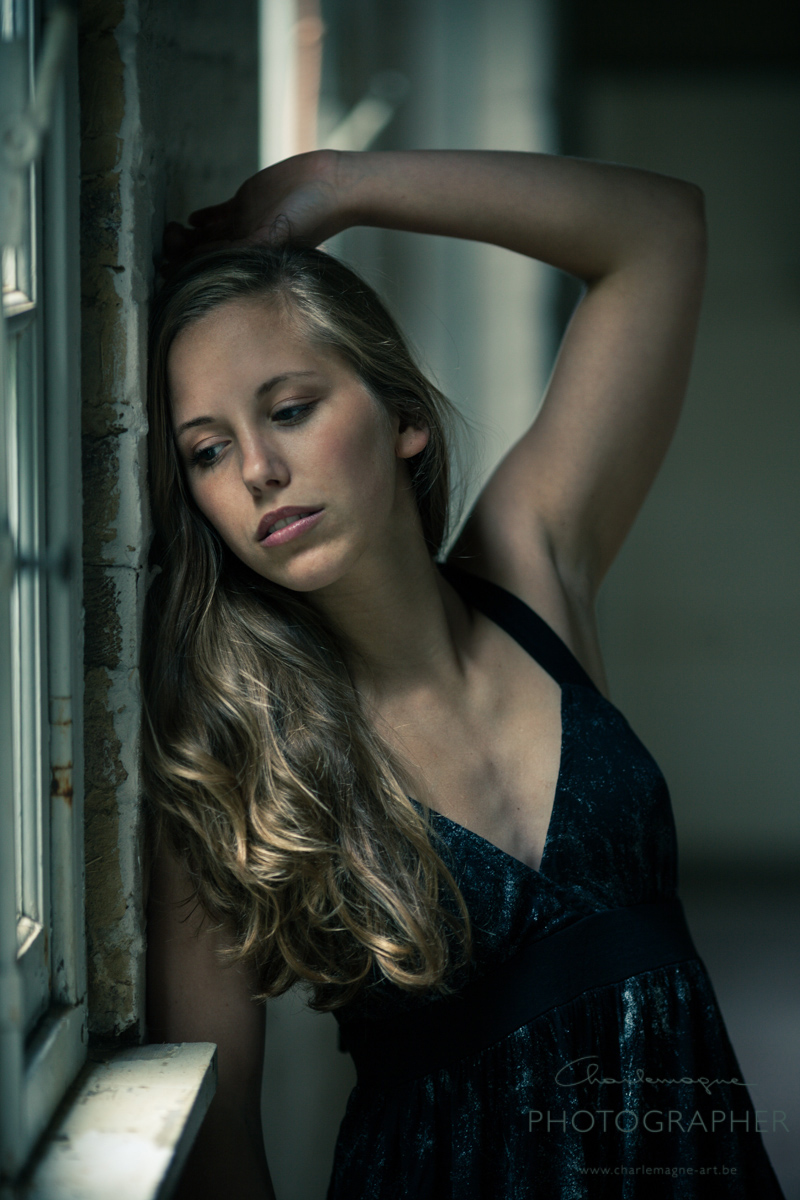
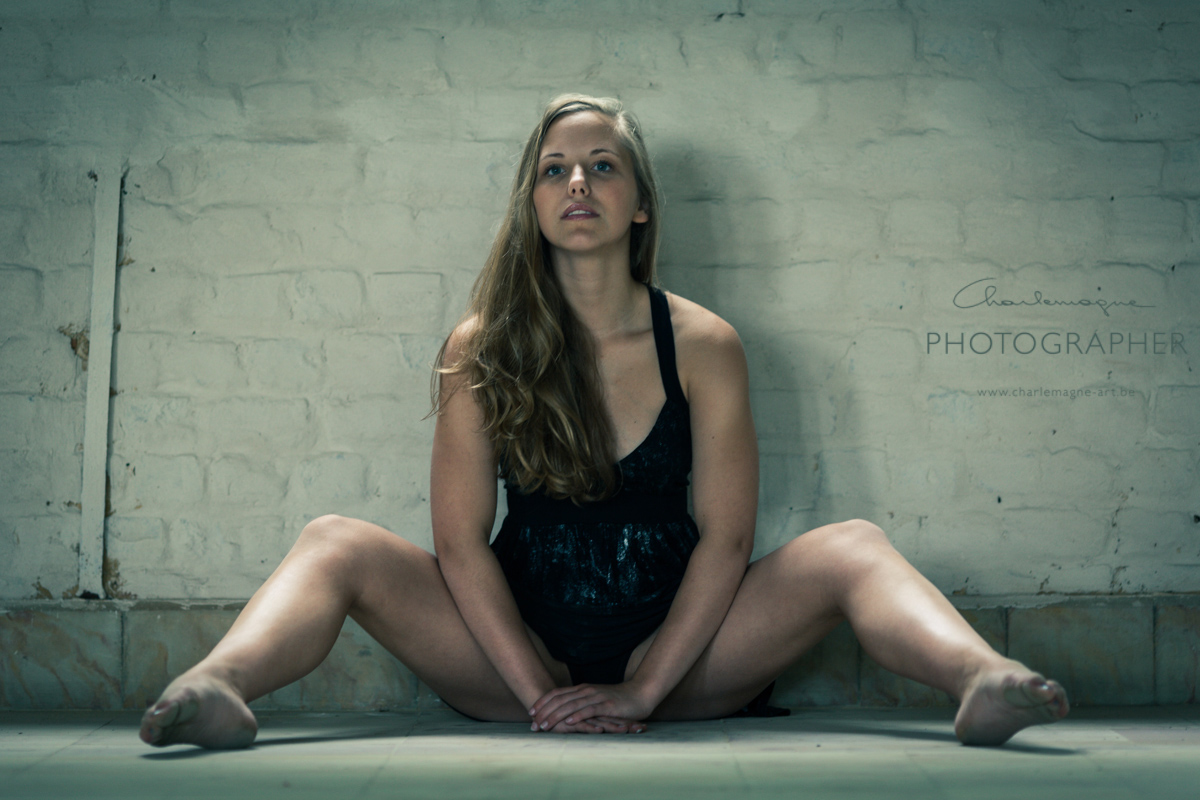
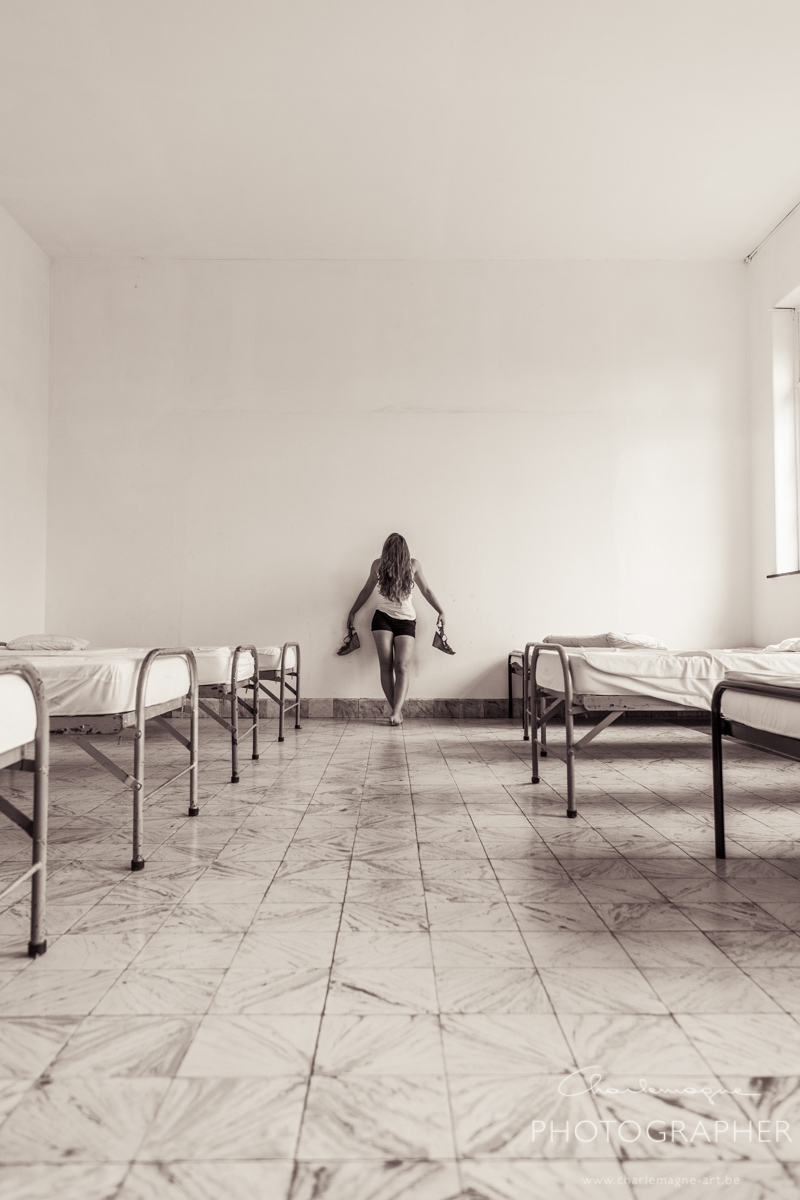
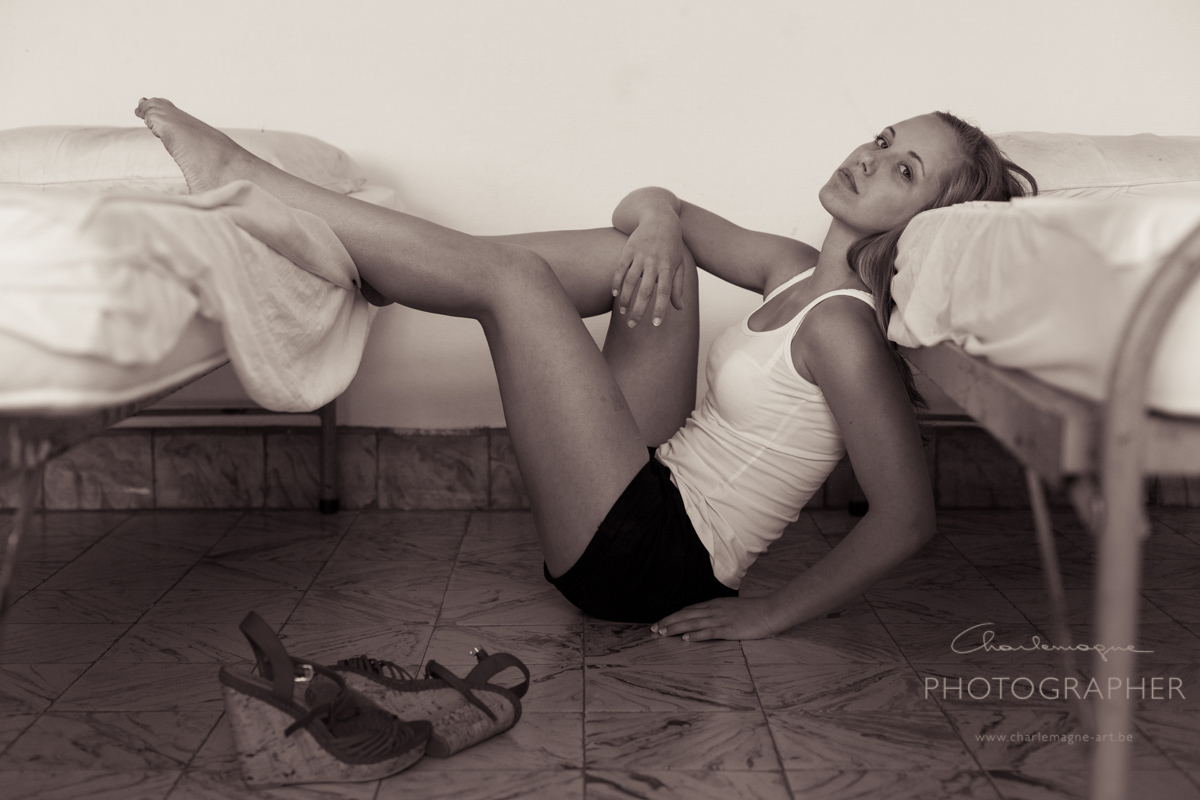
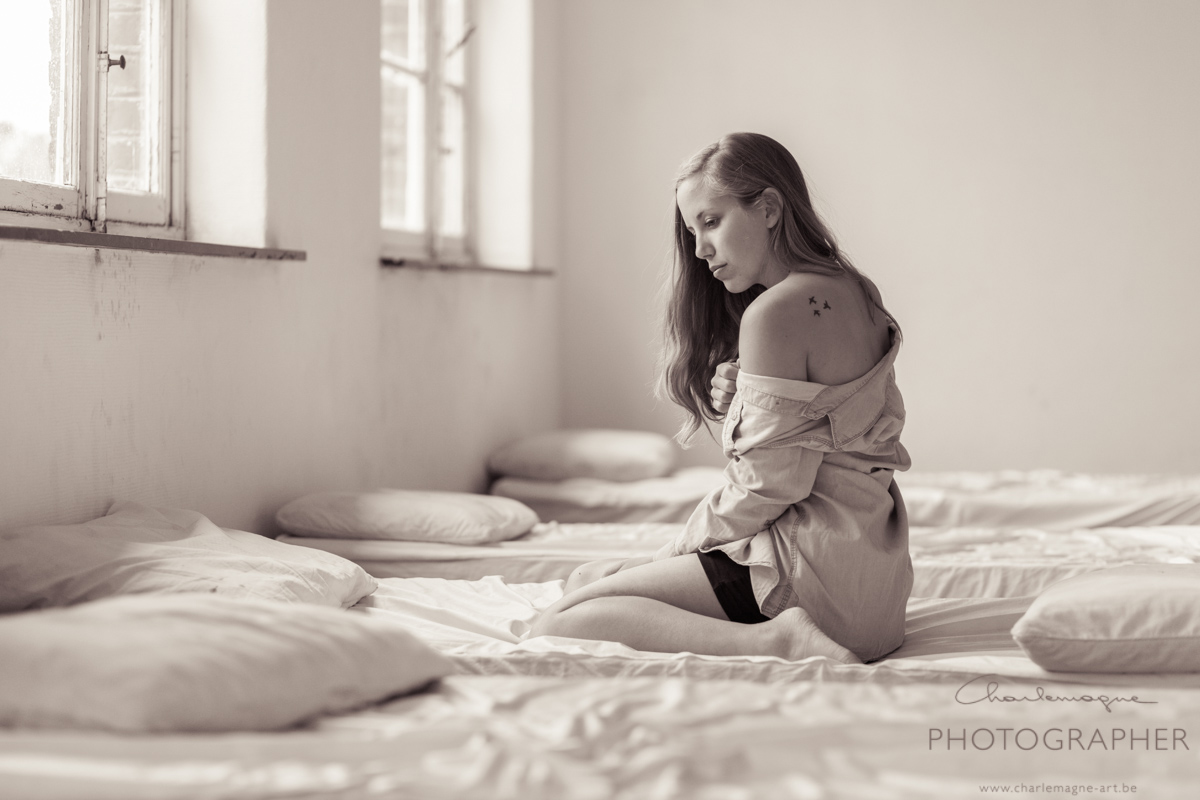
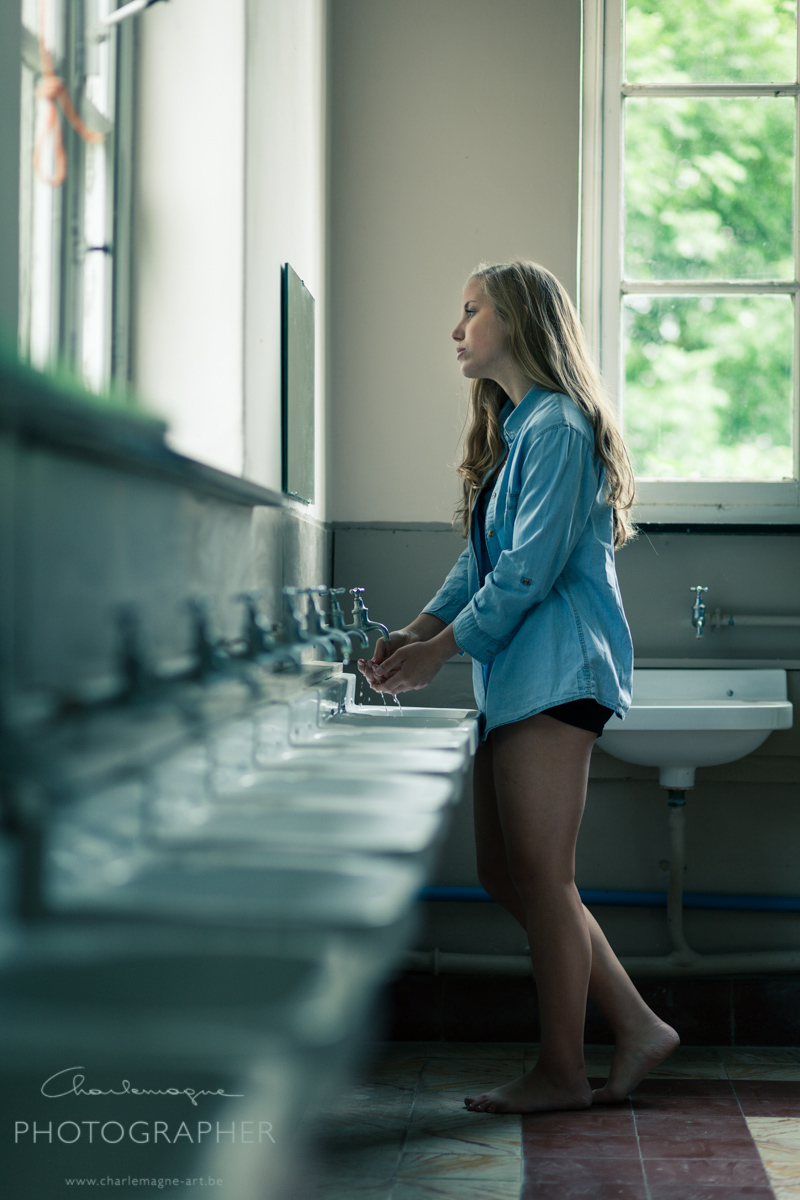
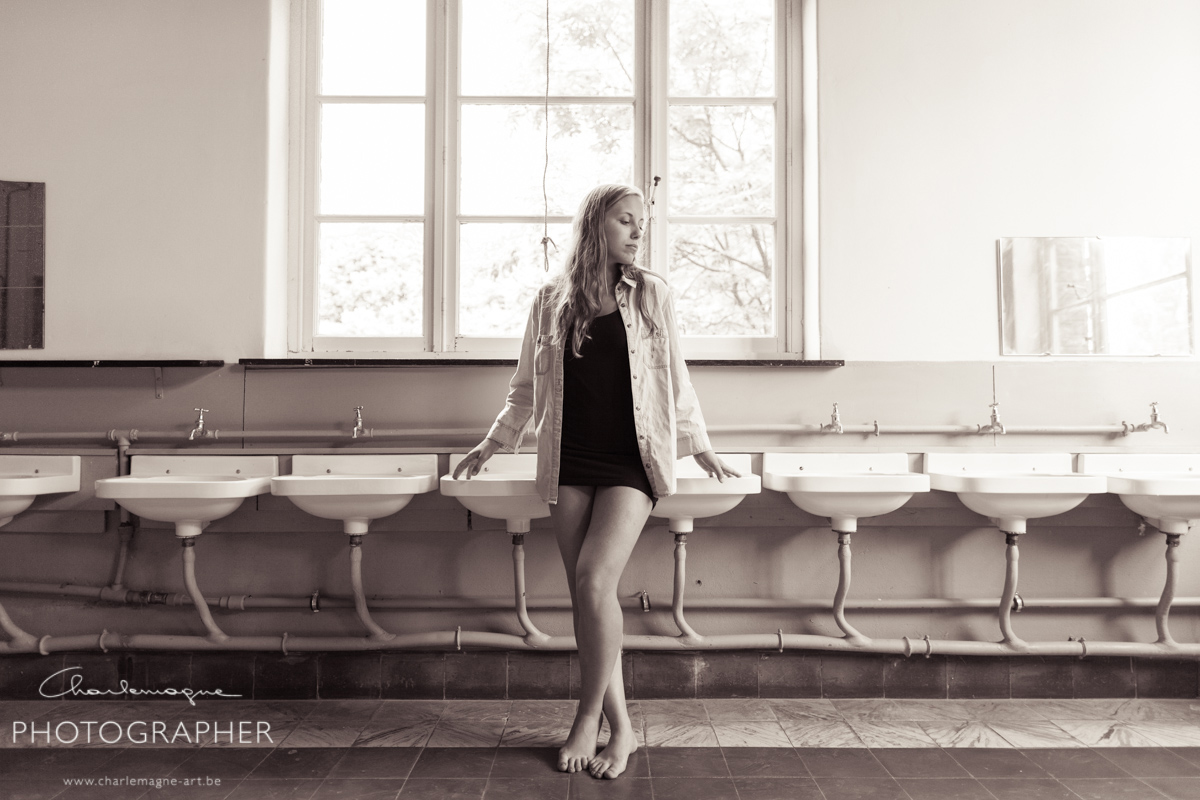
Body-language is a very important exteriorising of ones self-awareness, self confidence and self esteem. People with hanging and forward pushing shoulders are mostly the less confident ones, they have tendency to bend over to hide and protect themselves from the outer world. They are having a hard time opening up in a photoshoot. I received another testimonial where a woman said ‘I found it a very fine experience, but at the same time I was very much confronted with my vulnerability, my low self esteem and my lack of confidence. You’ll probably see that in the images. I’m very happy I made this step, but I sure have a long way ahead of me.’

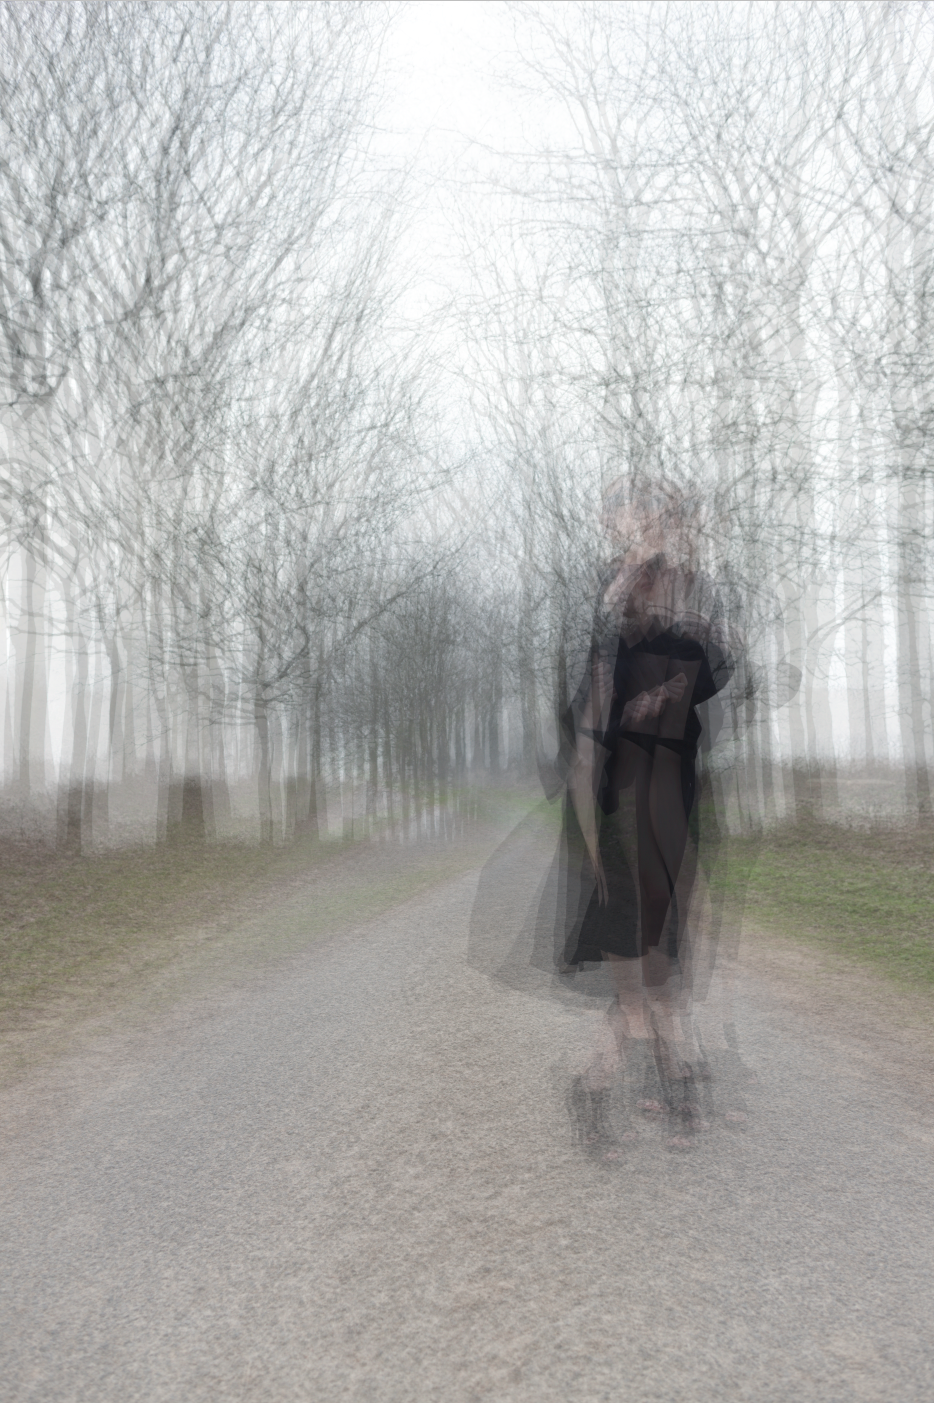
On another occasion I have had my model shout out loud in the open forest ‘I am open to the world, to its resources and its wealth, and I’ll give my talents, my beauty and my smile in return’. And I made some images she’ll never forget. I have given her the task to do that exercise on a regular base. When I sent her the first images she thanked me a lot, and told me she would use them for her daily exercise.

I have strong belief that by changing the body-language, even if it was only one time, making some ever lasting images of it, can change a persons vision on who she (or he) is, and more important, who she can be. In that aspect the role of the photographer becomes so much more than the one taking pictures, being able to handle light, exposure, lenses and camera’s. He has to be some kind of a therapist, being able to express comfort and thrust to his model, being able to understand feelings, emotions and personal barriers. He has to be able to pauze and give space when needed, work fast when the process allows. Learning photography is not a hard thing to do, learning peoples psyche is.

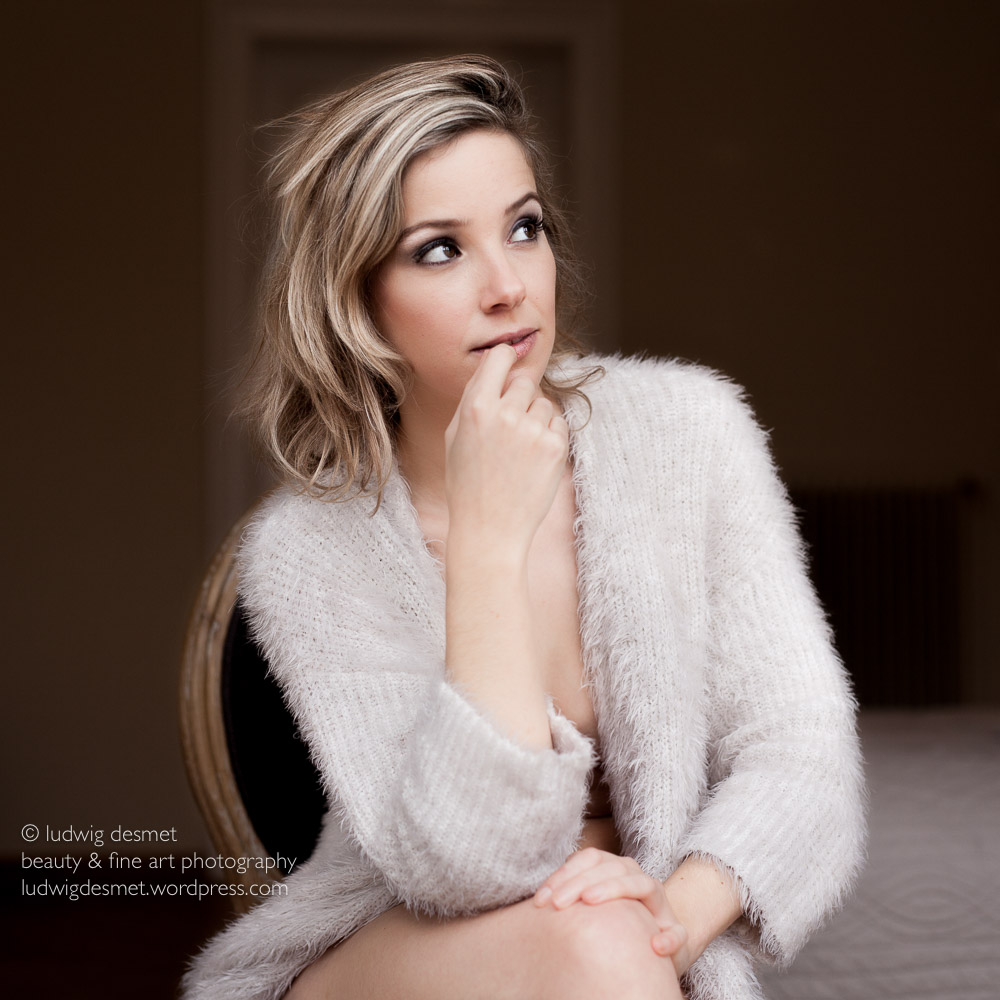
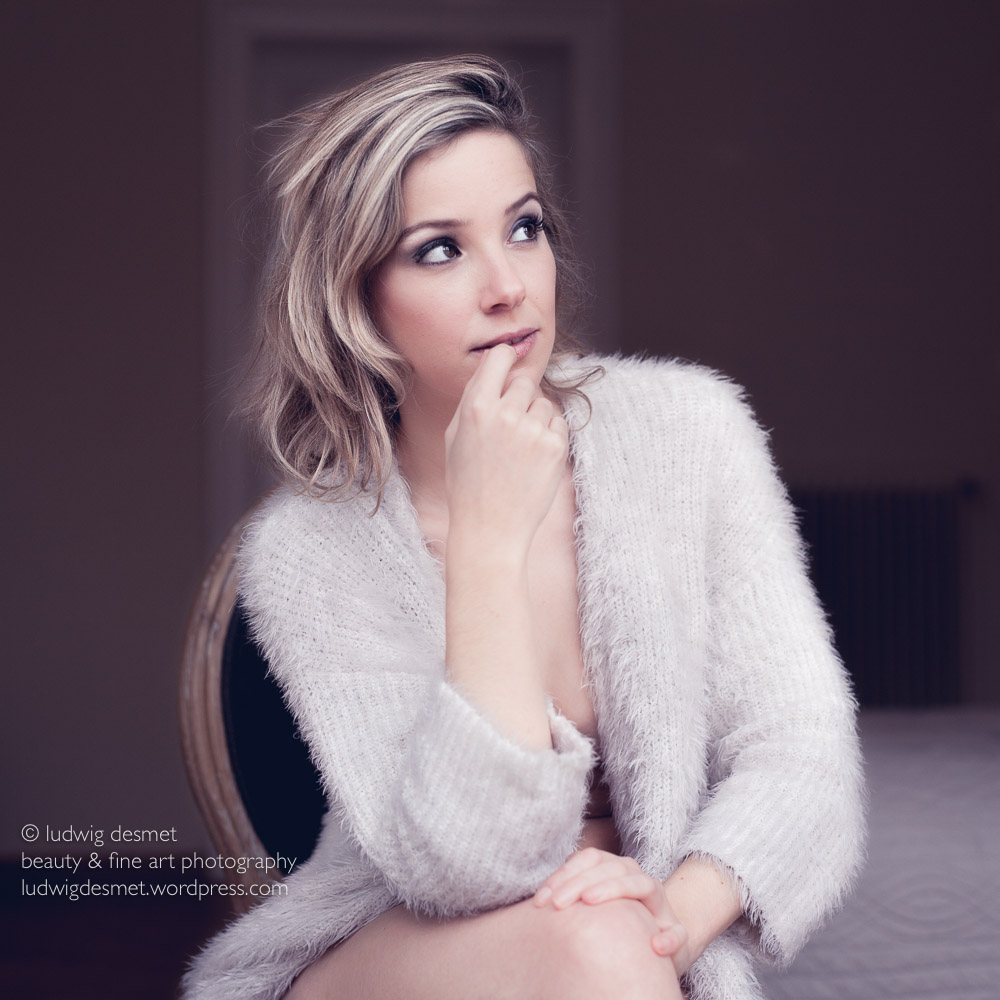
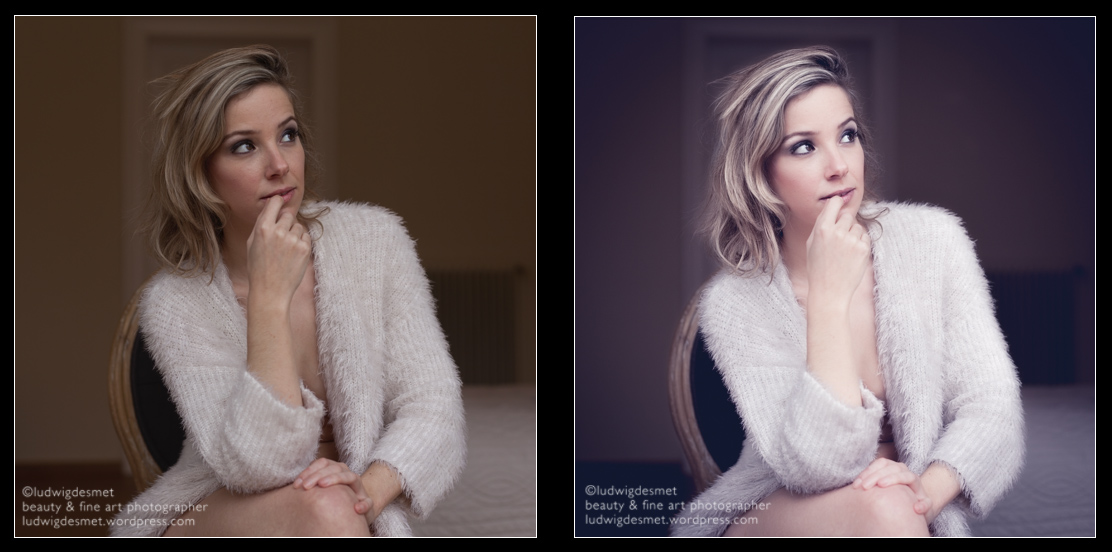
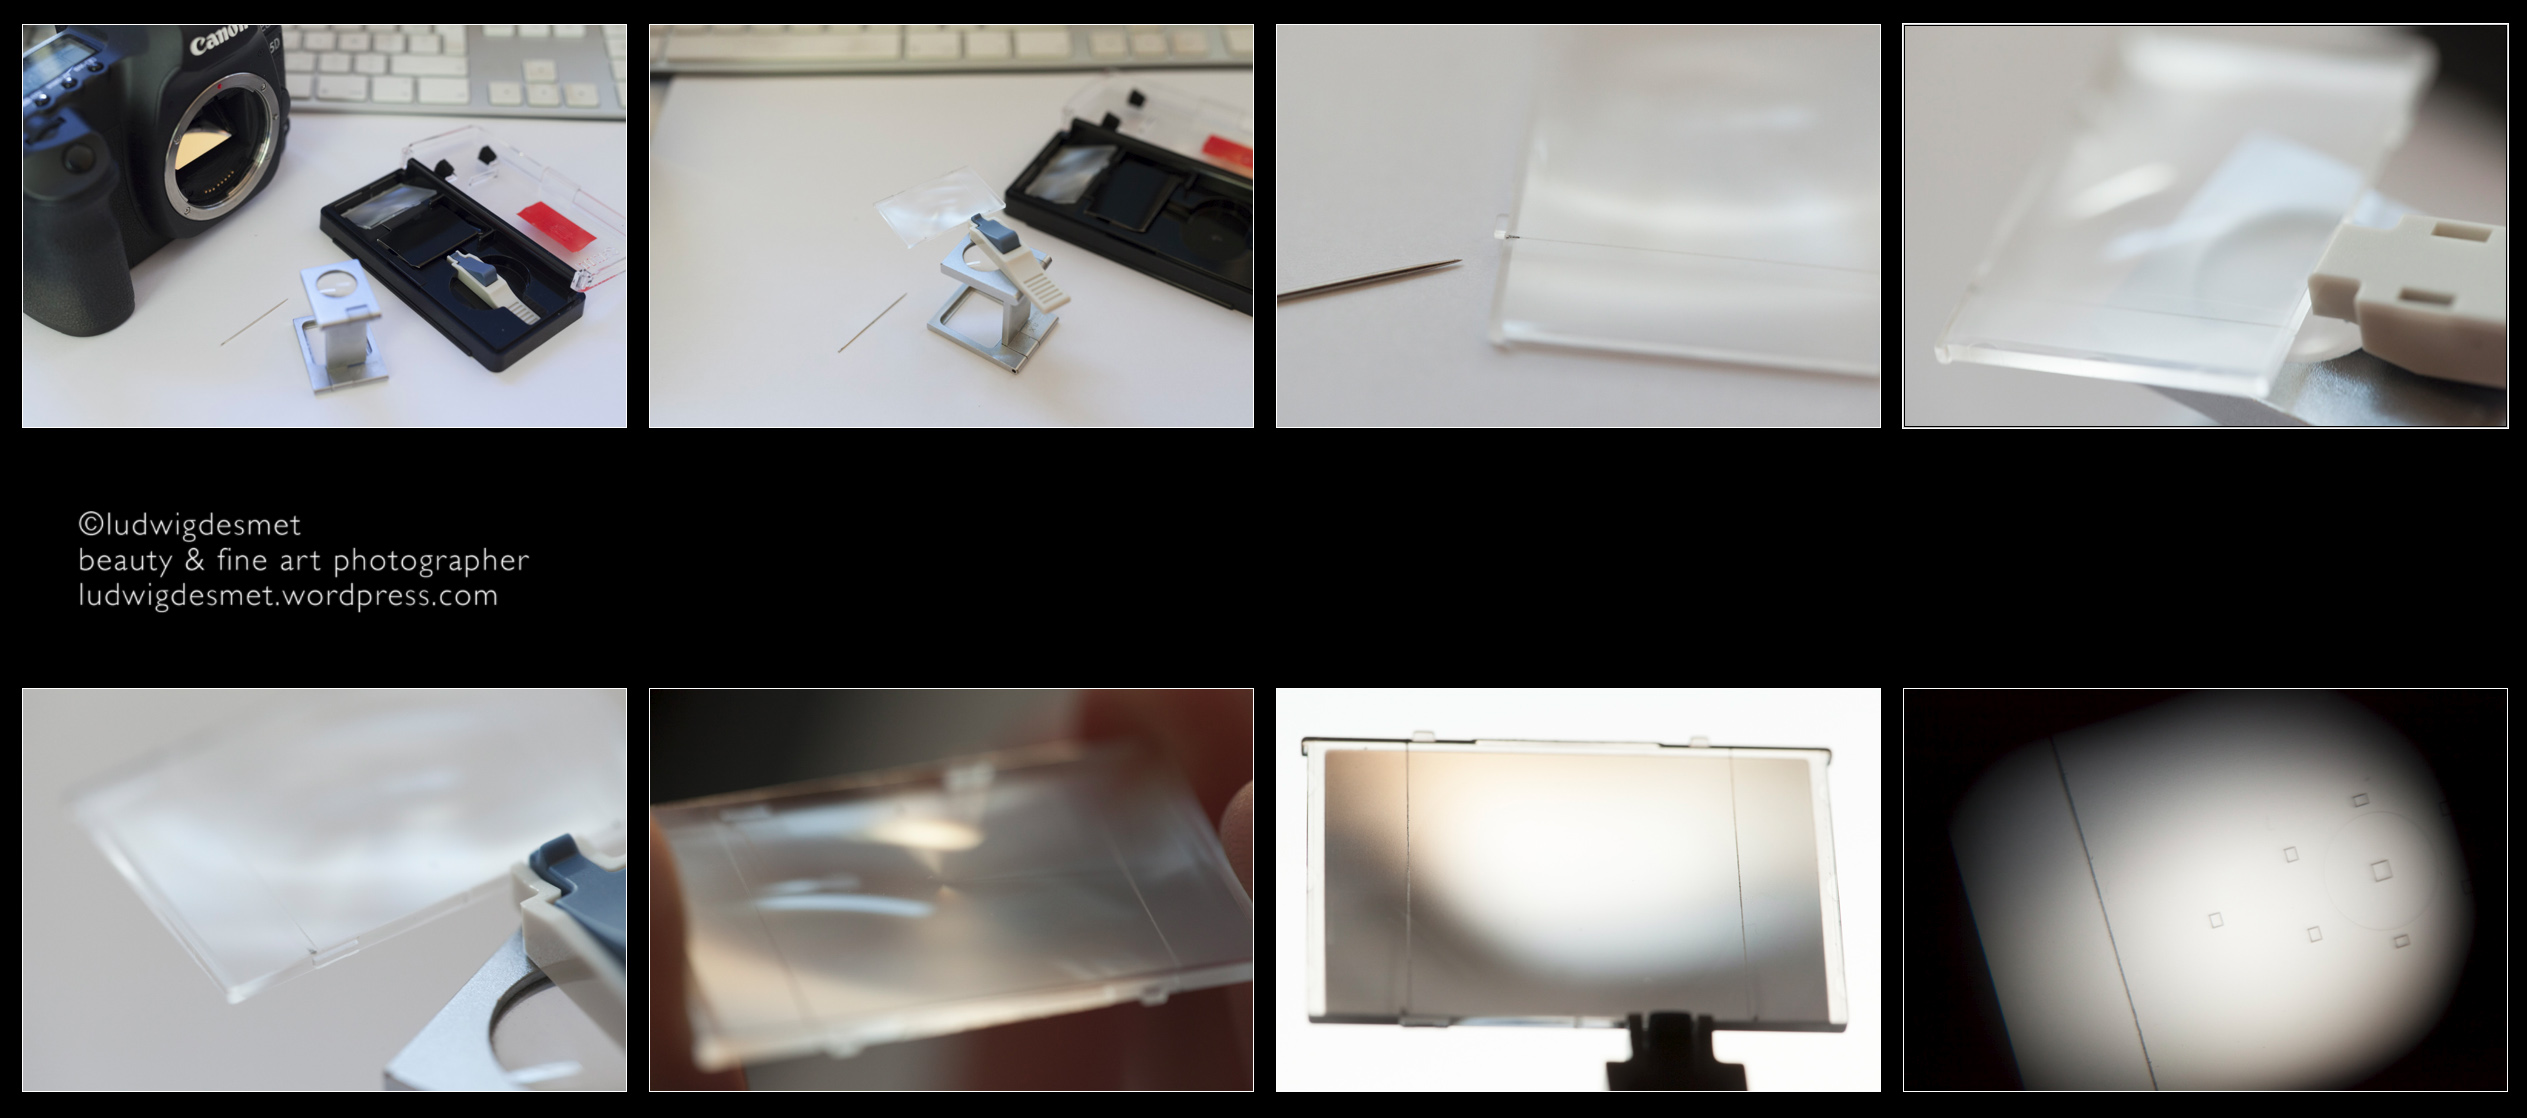
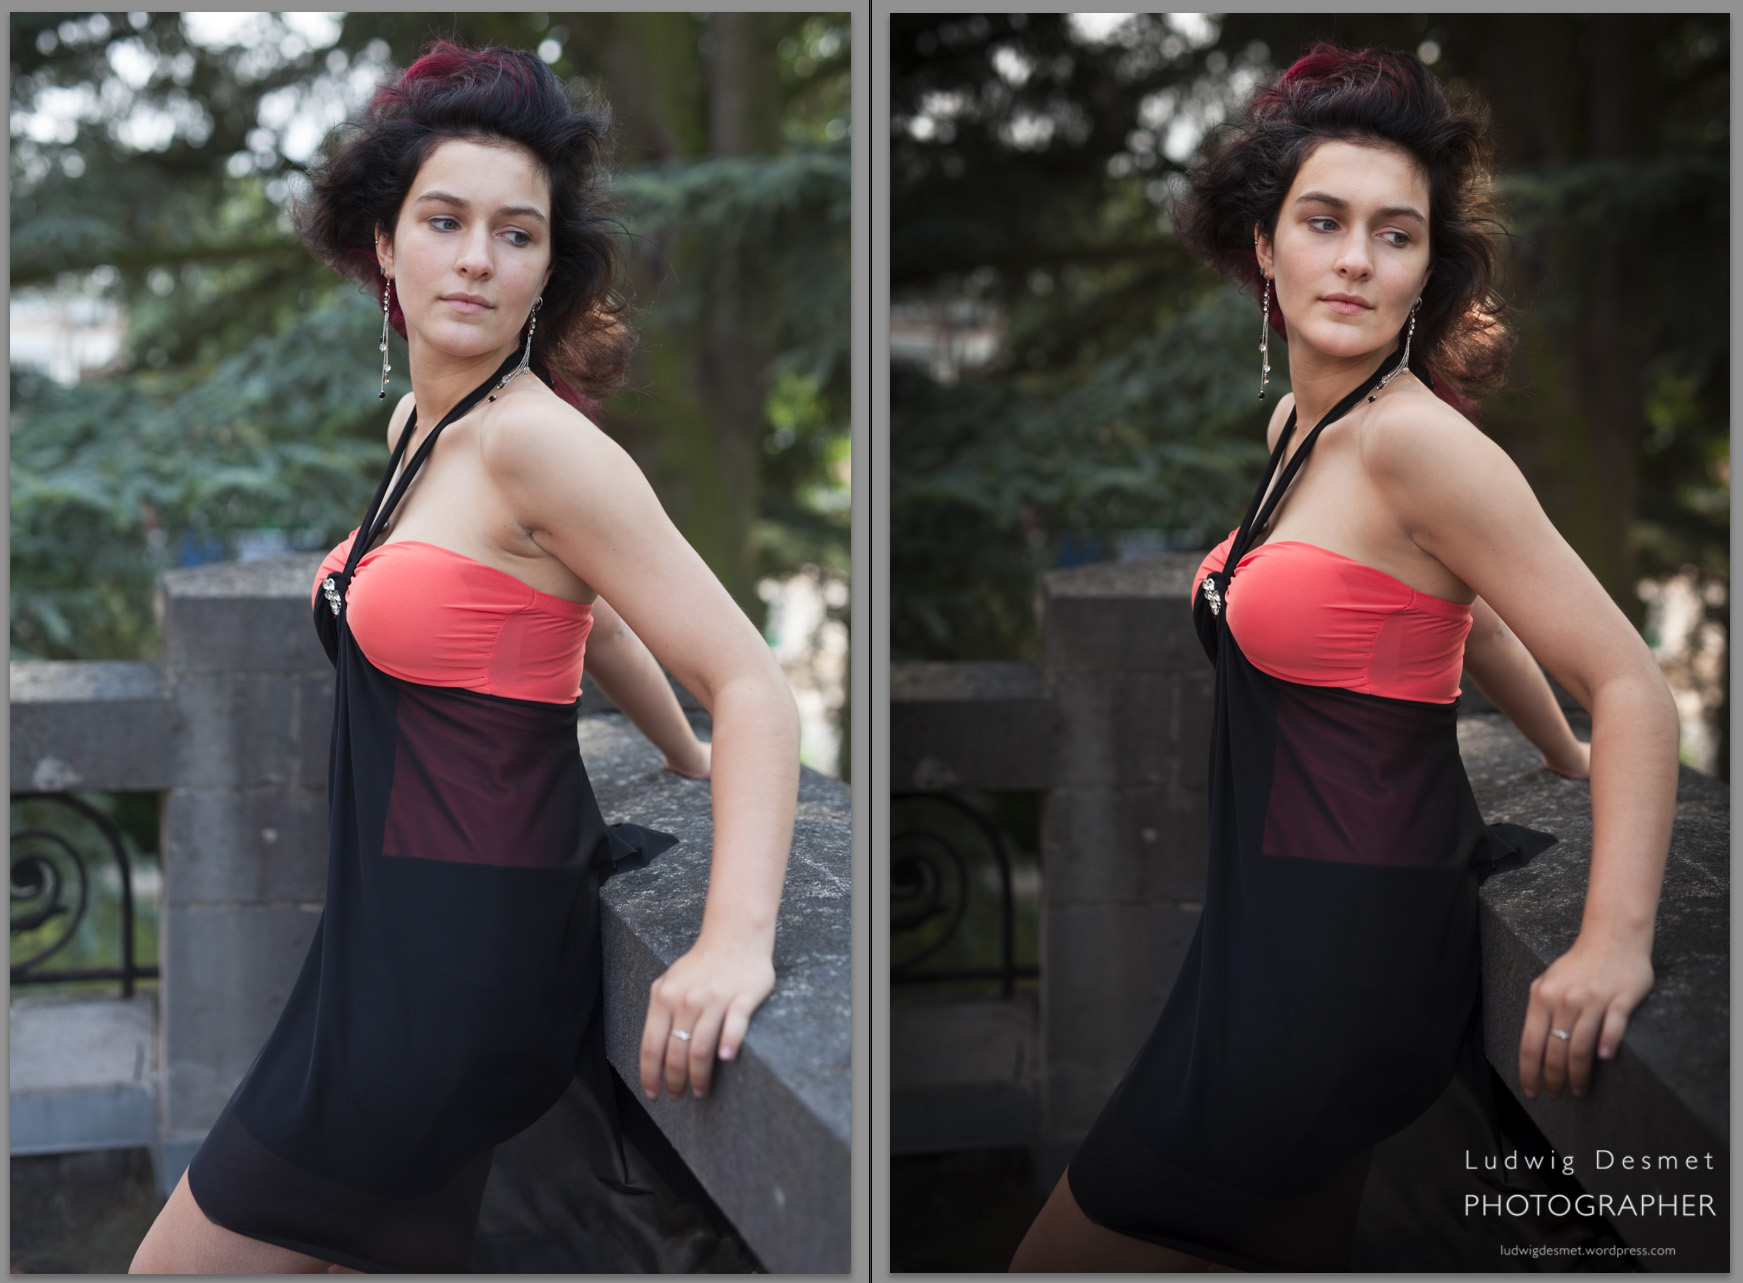
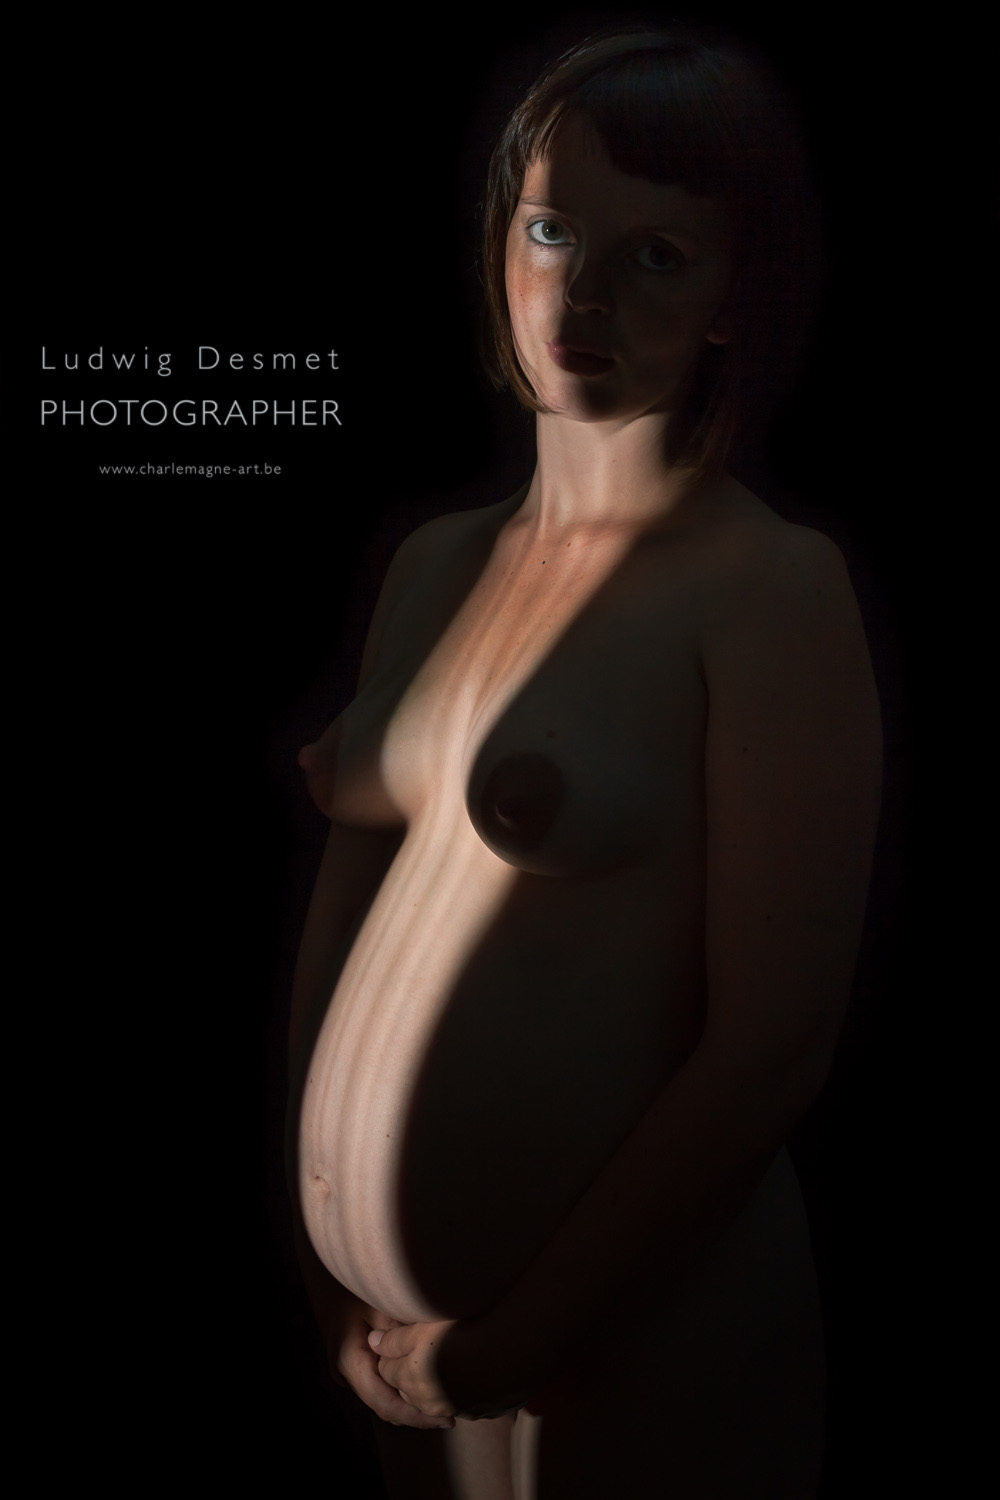
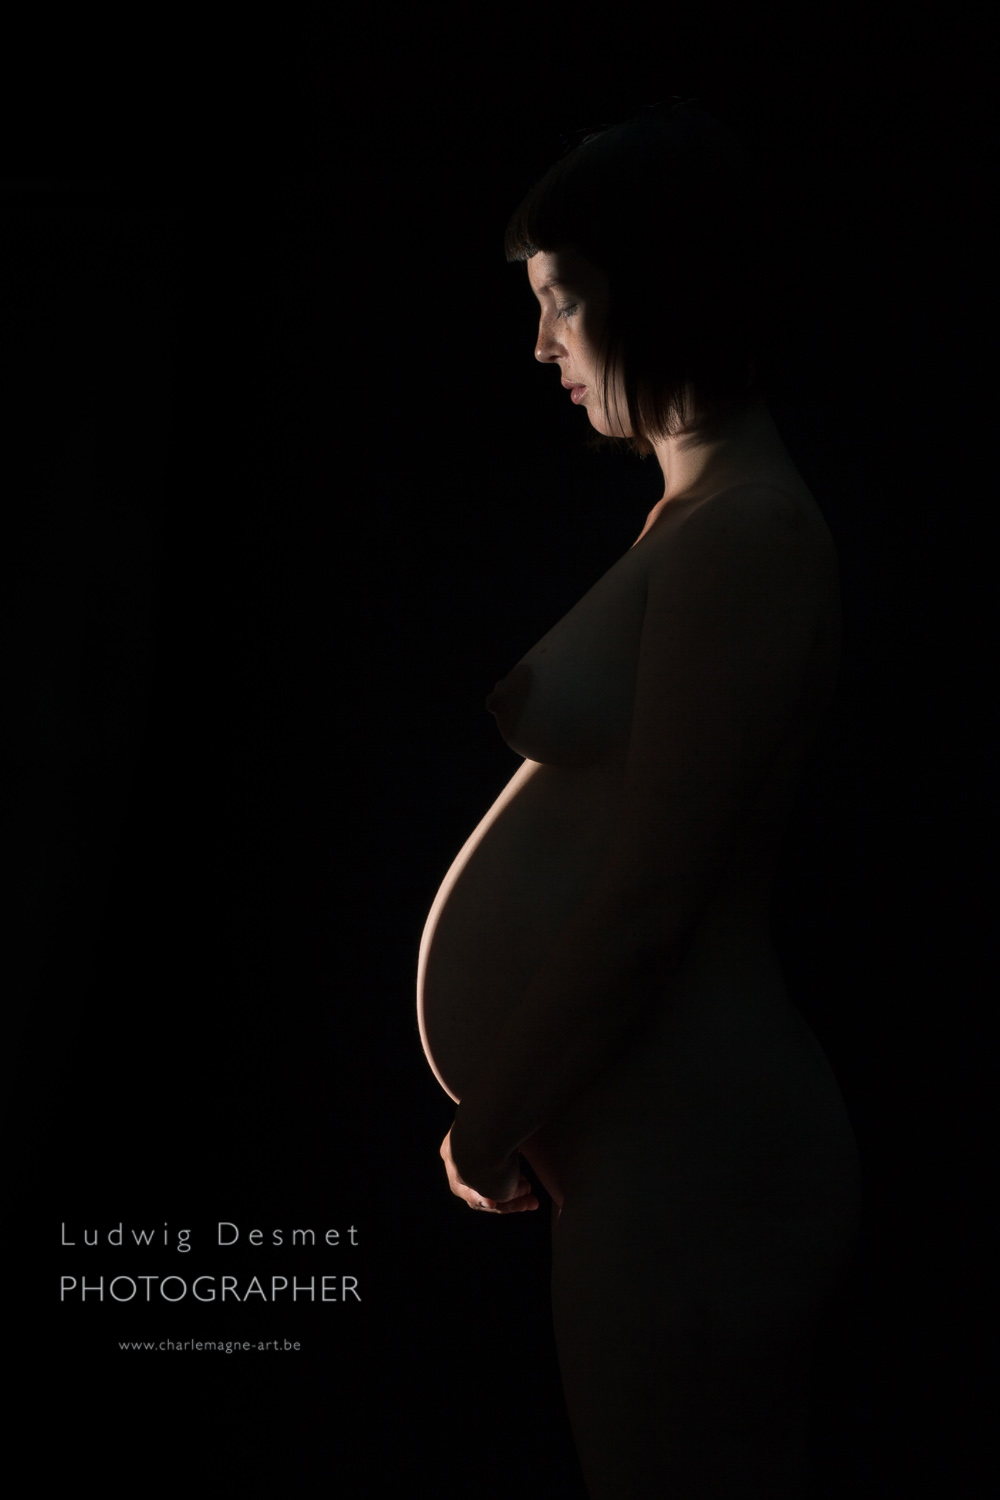
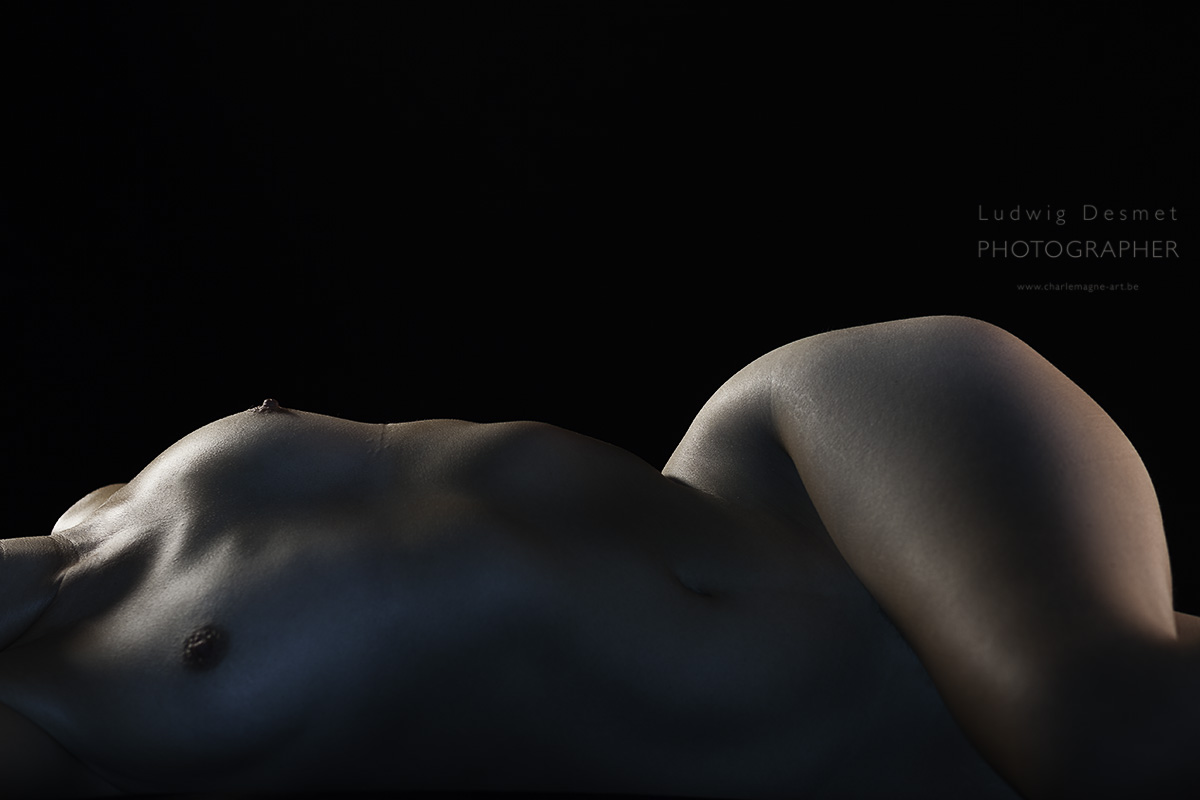
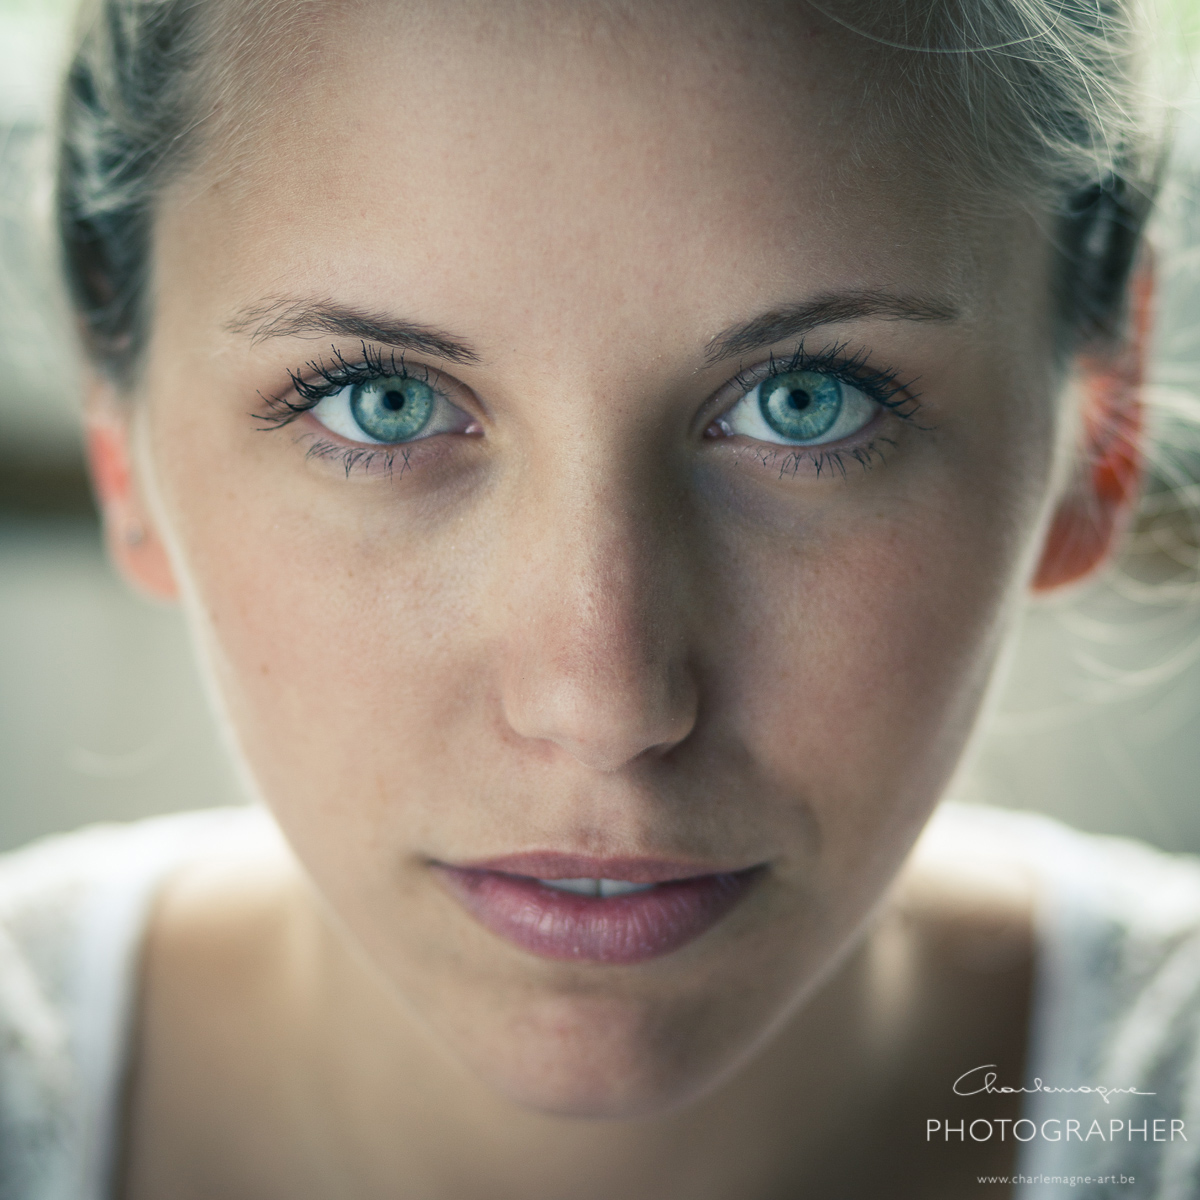
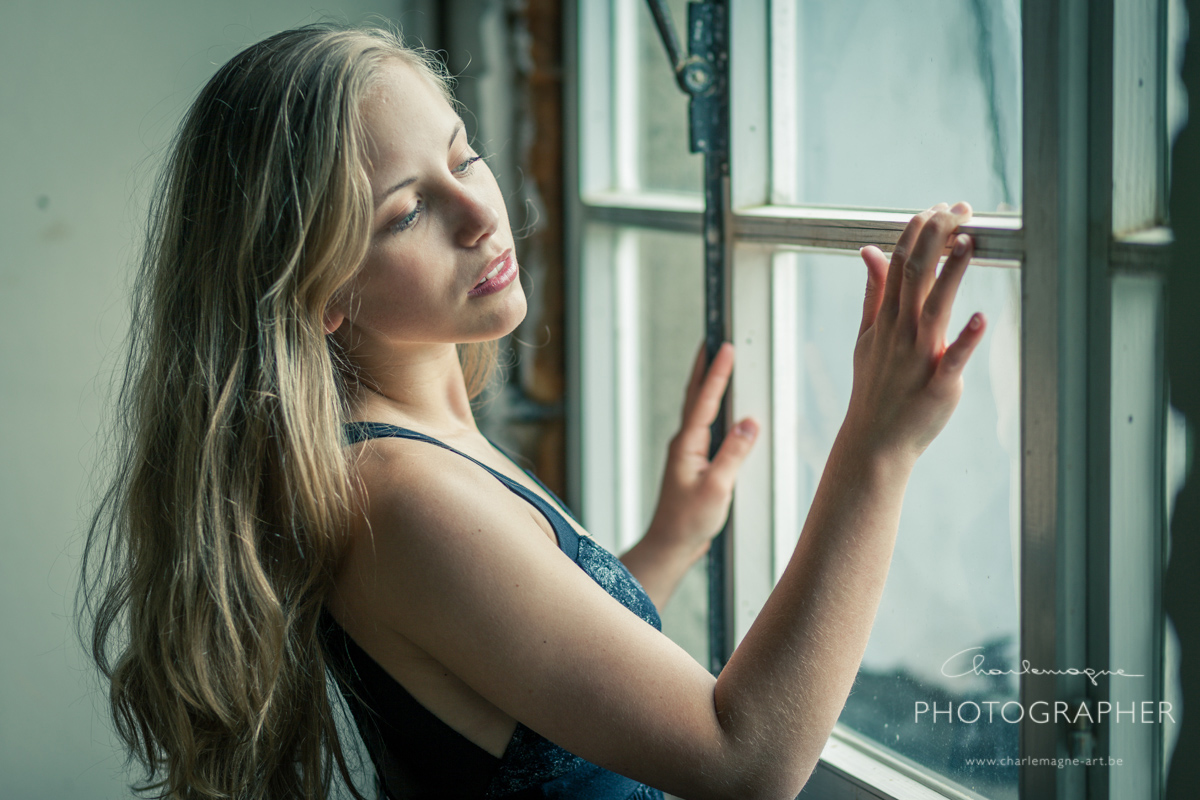
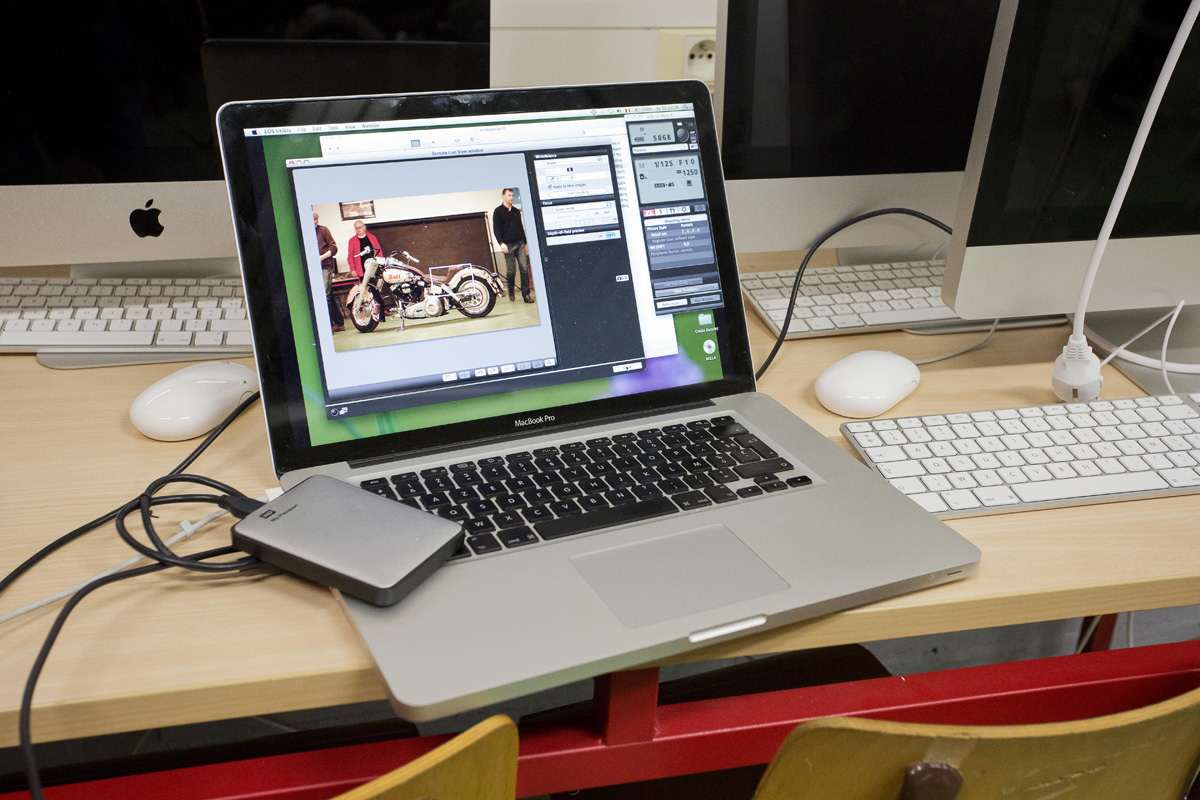
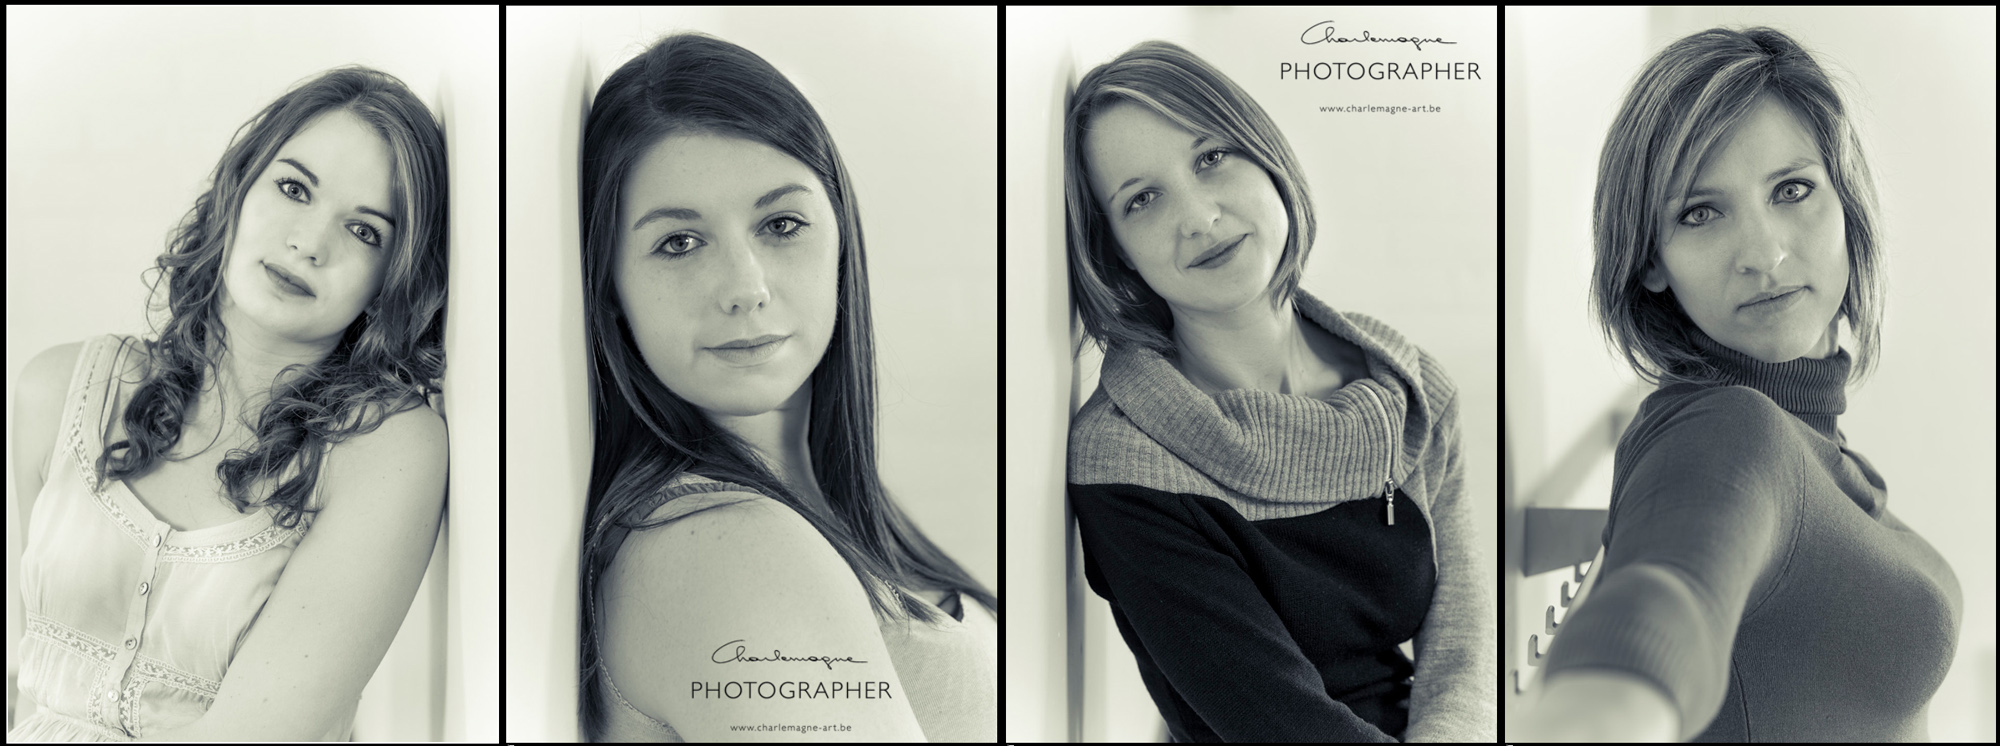
for reasons of privacy I choose not to publish any pictures with this post, except the two nameplates that are upon our front door. They match very well indeed.

thank you for reading, comment and share as much as you like.

if you feel like posing could do you good, please give me a sign. If you feel you need some other kind of therapy, contact Nathalie. 😉

Ludwig

Ludwig Desmet therapy

Jenn – Lightroom developed – Step by step.

beauty, Lightroom, personal tips & tricks

Some of my former students asked me if I could try to find out about a particular developing effect she was after, she sent me some sample images and a bit of an explanation what she needed. I tried to figure out what could be done only with the use of Adobe Lightroom Âź, I’m currently using version CC 2014. I looked for an interesting image in one of my earlier shoots and found one from this shoot: A very good morning – Jenn at house AdelaĂŻde NSFW ludwigdesmet_JK-3749 The image was rather dark exposed – blame on me. First things first: up with exposure + 1 stop. As I had seen in the sample images, the blacks were not really black anymore, and the highlights were really pale. I wanted to keep the background as dark as possible, so I changed general settings like this: Exp: +1 Highlights: +100 Shadows: -100 Blacks: -42 ludwigdesmet_JK-3749-3 A little harsh maybe :p lots of contrast, but not really appealing to me. to get a more snappy image, and to start trying to find that ‘washed out’ look, I further changed: Clarity: +25 Saturation: -14 ludwigdesmet_JK-3749-4 Then I added four local adjustment brushes, below are the respective masks 1 to 4: 1: The background: Exposure -0,8 stop, to get back to the original dark background (I could have done it the inverse way, and only have painted the model in stead of upping the exposure 1 stop overall.) 2: Skin to get it warmer and softer: Exposure +0,48, Clarity -70, Temp +7 3: Hair, and below eyebrows, to get more lively hair: Exposure 0,46, clarity 30 4: Pull over arm and leg, because I thought the arm was getting a lot of attention: Exposure -0,67 Jenn_local_brushes This is the resulting image after the local adjustments. ludwigdesmet_JK-3749-10 As all of the images had non black blacks, and a slight blue’ish color cast, I used the tone curve for further adjustment, where I changed to linear curve, I upped the left lower point for RGB, and I separately upped the left lower point for blue. (The left lower point are your blacks, by upping them, you make your blacks very dark grays, by separately upping the blue some more, you ad a blue color cast, especially in the blacks) ludwigdesmet_JK-3749-5 but I wanted some more, so I added a split toning effect in the shadow channel: Hue 244, saturation 15 ludwigdesmet_JK-3749-6 after that, some vignetting, sharpening and a little correction here and there, the final image: ludwigdesmet_JK-3749-9 and a small before and after image for your convenience: Jenn before after If you found this step by step developing instructions interesting, you might also like these posts: Kimberly before and after Developing beauty LR4 thank you for watching, I hope this has been inspiring to you.

ludwig

Model photography – Corinne Vionnet style

Personal Pictures, personal tips & tricks, Tips and Tricks

A former classmate from photography classes is currently still following courses in a different institute, to further expand his photographic horizons.

He came with the question ‘if I could figure out how to make a Corinne Vionnet image’ …

Corinne Vionnet has created a series of works, assembling a massive amount of tourists images (1000) into one single image. The resulting image is some kind of a condensed, time-spanning  assembly of the tourist spot at hand.

I’ve tried to assemble similar style images with a limited number of beauty shots. These are the results.

Vionnet style 02 Vionnet style 01


I got interested in this technique, and I thought that I could make a ‘universal female portrait’, so I assembled 45 different images into one portrait. Image here under. Looks funny, but I liked the originals more.

This made me think about ‘Das Parfum’, the novel by Patrick SĂŒskind, where the Jean Baptiste Grenouille tries to capture the essence of young women in a perfume, (he has to kill the women for his perfume) but instead of creating a perfume of youth, he became a monster.  Not that the below image looks like a monster, but it is not exactly a beauty either. 😀 A lot is due to the different angles in which the original faces are oriented in the image. I need to try with ‘straight facing’ portraits next time.

45 female portraits

I think I should experiment a little more with it, to see where I can get to with portrait work. Anyway, my friend was pleased with the results, and I have discovered something new. 🙂


thank you for reading,


Ludwig


I scratched my focusing screen – Square crop on Canon 5D II

personal tips & tricks, photo gear

Since photographing with the Rolleiflex camera, I have enjoyed it so much that I wanted a square crop compositing aid on my Canon 5D mark II.

I had read about Katzeye optics on the internet, mailed them, but they were unable to make me a replacement focusing screen for the 5D II.

After searching the internet, an alternative option seemed to be unavailable.

I have been using a special focusing screen replacement for a while (Eg-S, also called super precision focusing screen), that has a better visual reference for the actual depth of field.

This has left me with two no longer used focusing screens (the original ones for my two camera’s), so I thought I’d give it a go.

Brute force and an ‘I don’t care’ mind is the only thing left 😀  so I decided to ‘scratch’ my focusing screen with square crop lines.

What you’ll need:

A focusing screen that is of no importance to you (one you can do absolutely without)

A needle

An iron ruler

A loupe

A fine marker pen

fine motor skills

some nerve.

Some pictures of the process (I’m not responsible for any camera abuse that might result from this blog post)

focusing screen square crop

the following steps will be needed :  (FS=Focusing screen)

1. With the help of the focusing screen replacement tool (delivered with the Canon focusing screen replacements) you will remove the FS.

2. With a fine marker put a small reference dot at 6mm from the edge of the ground surface of the FS, this is not the edge of the FS.

3. With a metal ruler and a sharp needle (any kind of sewing needle will do) just slightly scratch the ground surface of the FS parallel to the edge of the FS.

4. Do this on two sides (left and right)

5. Put back the FS in the camera, with the help of the provided tool.

Tadaaaah, two vertical lines in the ocular view. They give at least an idea of where the square crop will fall.

thank you for reading, remember, I take no responsibility for possible damage to your gear.

ludwig

Fien at The Mansion – about light.

beauty, Personal Pictures, personal tips & tricks

After our outdoor forest shoot, we had some time left for a quick session ‘at The Mansion’.

The Mansion is still my favorite location for indoor shooting, since it has so many possibilities. Whatever moment of the day, there’s always a room that has nice light, the building is free-standing, which means that there are windows all around, and some rooms have windows on three sides. So besides choosing my main light source, all I have to check is my own position, the position of my model, in respect to the multiple windows I have around me. I can shoot with a window in my back, and still shoot against the light with the window just in front of me.

On the attic, I have rooms with only a small light, on cloud covered days that becomes very similar to what a softbox would do. On sunny days, I have a light spot on the floor, which reacts as an indirect light, and I still get the ‘softbox’ windowlight. On sunny days I rather not shoot in straight sunlight, because of the huge contrast ratios between sun-lit area’s and shadow areas.

Some images to illustrate my explanations:

1. One of the attic rooms, a single window at the right of my model, cloudy day, no direct sunlight, a door opening just left of the image, you actually see the door at the left side. Gives me enough light to create that small rim light on the hair and body, and it adds just that little extra light on the floor, to make the rest of the body shape stand out.

Ludwig Desmet-FienVH-2575

2. The office: A row of windows left as well as right from the model. Moderate light amount. There is an additional window light just behind the model, above the door. I added the extra bit of artificial light, available in the room. (some small bulbs) The artificial light creates a warm color cast, that can be annoying because the natural light is color neutral or blueish, depending on the weather conditions.

Ludwig Desmet-FienVH-2579 Ludwig Desmet-FienVH-3223

Same location, but I changed position.

Now I’m shooting against the light, but also with the light coming from behind me.  The windows are big enough to provide a soft overall light, slightly coming from above, the windows in the back produce a very beautiful contour light all over my model. Note that I position myself in a way that my model is in front of a darker background, otherwise the rim light would get lost. (this was the first picture actually, Fien still has the hairdo from the exterior shoot.)

Ludwig Desmet-FienVH-3148

3. The angels room. Named after a beautiful decoration above the wooden side panels, with angels and flower, …

I have my main window light just behind me, aimed west, this picture was one of the last, so not long before sunset. There’s two more windows on the right, one just behind the model, one a little further away. The window just behind the model was covered with curtains, so only the far right window remains. Again this window helps creating a nice hairlight and ‘sheds a little light’ to the back end of the sofa.

Ludwig Desmet-FienVH-2593

4. The main entrance. Here my model actually stands outside, under the porch covering the entrance to the front door. This is perfect soft light for nice portraits. It is evenly distributed from above and from below, and it prevents hard shadows under the eyebrows. I have no backlight, but the glass in the front door provides a little definition of the hair contours.

Ludwig Desmet-FienVH-3182 Ludwig Desmet-FienVH-3184

5. The stairway. The main light source here is artificial light, coming from above (slightly warm tinted) The rim light is coming from a window behind the model, higher up the wall, spanning from left to right. This gives the nice light on the hair, the side of the head, the cleavage and breast, as well as the wooden pillars. Again mixed light white balance, but to me it is ok.

Ludwig Desmet-FienVH-3218

6. Also taken in the angels room, this time the model is standing where I took picture 3, back to the window, The window is big and high, providing enough light for an overall well lit image. Now we opened the curtains of the opposing window, giving a beautiful fill in light from the left.

Ludwig Desmet-FienVH-3249

To all aspiring model photographers out there, I hope you learnt something from these short explanations.

To all the others, I hope you enjoyed the images.

A big thank you to Fien for her confidence and cooperation. She never posed before, I think she did really well. Above that she’s a charm to work with. A big thank you also to the owners of The Mansion, for giving me continued access to this magnificent building.

see you again soon,

ludwig

Lightroom 5 processing – before and after with Kimberly

beauty, personal tips & tricks, Tips and Tricks, Uncategorized

Hi there, as I promised before, welcome to this informal tutorial on digital development.

Not a tutorial pure sang, but a simple step by step example of a development of one of my images.

Just to make you aware that a good image from your camera can even get better with that little extra attention afterwards.

First a before and after screenshot from the image at hand.

I’ve uploaded them big, for your convenience. Click for full size.

Model: Kimberly D.

Photographer: Myself of course: Ludwig Desmet

LudwigDesmet_Kimberly beforeafter

A little evolutive comparison during development. First image is unmodified, straight from camera. First next step is general exposure and white balance corrections, second, the color balance corrections used for uplighting the model and darkening the greens, third is vignette and a graduated filter, to further darken the environment, thus uplighting the model again. Last step is local retouching and further local developing (darkening, lightening, contrast, clarity, 
)

LudwigDesmet Kimberley processing

I currently use Lightroom 5.5, but I think this development can easily be translated to a Lightroom 4 version.

Now for a step by step analysis:

First of all I wanted the overal image to be slightly darker.

This is done with a -0.75 stops correction in exposure. It is always better to lower exposure in post than to have to crank it up. My metering might have been fooled due to the dark dress, the background foliage and dark grey concrete elements in the image, resulting in a slight over exposure. I also corrected white balance, from 4650°K to a slightly warmer 5313° K, no color shift correction needed (-2)

Screen Shot 2014-08-18 at 17.45.42

Because my model also darkened with the overall exposure correction, I played with the color luminance sliders to lighten her up again. These sliders allow for color based luminance (or hue or saturation) corrections, without the need for selecting parts of your image.

By getting up the red/orange/yellow sliders, I could bring the exposure level for the skin/dress back towards the original exposure levels from the un-edited image. I do not want to get all the way back, but just want to have my skin tones come back up again slightly. I have a warmer tone in the skin due to the white balance correction from the first step.

Screen Shot 2014-08-18 at 17.46.09

Next comes a rather blunt vignette effect, -48, Highlights priority, with the highlight protection set at 51. This gives a strong darkening vignette in the corners, but it keeps the highlights present trough the foliage.

Screen Shot 2014-08-18 at 17.52.11

I’ve also added an extra darkening gradient to the left, to further make my model stand out in the image. -0,69 exposure, gradually fading over the centre of the image. Here’s how it has been applied: Running from the left at -0,69, having half the correction on the line with the dot (approx -0,35 stops) to nil at the right line.

LudwigDesmet Kimberly gradient

next come the local corrections, first I remove some small skin imperfections, actually this model had very smooth skin, so no much work needed here, but I also tried to soften the armpit wrinkles a little. I do so with the spot removal tool. Here I chose to soften gradually with a healing correction in several steps.

LudwigDesmet Kimberly Spotremoval

And then for the final touch, I added quite some additional local adjustment brush corrections.

What I did:

Added exposure to the face and hair, eyes (separate brush) and earrings

Added contrast and clarity to the hair and earrings

Added clarity and saturation to the lips

Added highlights, and warmth (local white balance correction) to the sun-lit hairs.

Sculpted a little with make up like techniques (shadows and highlights applied in different facial zones), like darkening the lower cheeks, below the eye brow to the center, just below the chin line, uplighting the upper cheeks, below the eyebrow to the outside, the forehead, chin area, …

I added a little light in the black dress too.

LudwigDesmet_kimberly_localadjust

I hope you’ve learnt something, especially interesting if you do work with Adobe Lightroom of course, but also if you would like to do some development in other applications of course.

And by the way, should you be interested, I do give Lightroom classes in Gent, at KISP.

Hope to see you soon, don’t hesitate leaving a comment.


Ludwig

HDR composited image workflow

architecture, Personal Pictures, personal tips & tricks, Tips and Tricks

Making a panoramic image in Photoshop is pretty simple, in the menu you go to file->automate->Photomerge, there you select your images, press enter and photoshop does it all for you, no hassle. You’ll just need to crop afterwards and your done.

Making a HDR image in Photoshop is pretty simple too, in the menu you go to file-> automate->Merge to HDR Pro, follow some easy steps, choose if you want to work 16 bit or 32 bit, choose wether you want to edit in Adobe Camera Raw or just save a 32 bit file, and further edit in ACR or Lightroom (since version 4)

Now making a panoramic image that has been shot in exposure bracketing, is a little more complicated, although a logic iteration of the above two workflows.

Here’s what needs to be done (Lightroom/Photoshop workflow)

000. Work with your Autofocus off for your exposures, focus once, then leave your focus be, work manually, work on a tripod, with preferably a panoramic head, or, as in this case with a Tilt-Shift lens.

00. Make sure you get sufficient overlap in between images (1/3 of your image is a good average)

0. Make sure you get the same exposure bracketing series in all your images

1. Grab your first bracketing series in Lightroom, right click and Edit in -> Merge to HDR Pro in Photoshop.

2. Photoshop will run trough a series of actions, and will bring up the HDR pro interface.

3. Now you’ll choose 32 bit, remove ghosts if necessary (only available from 3 or more images, and good if you have moving elements in-between images.) and just click OK.

4. Your 32 bit tif file will appear awful in Photoshop, no panic, just click the save button. (not save as, as this might save your image in a different directory than the original one)

5. Back in Lightroom, you should be able to see your image as filename-edit.tif You can edit the image just the way you edit RAW files, except now you have 10 stops exposure range up and down. Work with exposure, highlights, shadows, blacks and whites to get your image correctly edited. It might be a good idea to do lenscorrections in at this stage. (lens deformations and chromatic aberration, no perspective corrections)

6. Do this for all your bracketing series, try to develop the different images the same way. Avoid too many local corrections, as you will not be able to synchronize them because they will need to be applied in a different spot in every different 32 bit image.

7. Now the final step is just to make a panoramic image from all our previously edited images: select all your edited 32 bit files and right click -> edit in -> Merge to Panorama in Photoshop

8. Photoshop will gather all images and nicely align them out, make layer masks according to the images content (actually it searches for places where there’s no geometrical difference in two consecutive layers, to make the transition at that spot. That may lead to awkward layer masks, but the result is generally good.

9. Crop the image to get rid of white edges (photoshop will do transformations to compensate for lens corrections, or to get the perspective in-between images working ok)

flatten and further edit if needed (sharpening, filters, 
)

10. Sit back and enjoy your work.

Visual representation of the workflow (click for bigger):

workflow

A small version of the final image.

This is the entrance hall of the Antwerpen Centraal train station:

Ludwigdesmet_HDR_PANO-2

Thank you for reading, you might as well follow my blog now you’re here :p

Ludwig

Nude Studio Setup – 1 light

Personal Pictures, personal tips & tricks, Tips and Tricks, Uncategorized

Continuation of my series of ‘portfolio shoot images’ Behind the scene’s.

For this setup I used only one studio flash, with reflector.

In order to create a really small light bundle, you need to work with solid elements blocking the light.

For this I use some of those huge styrofoam boards (they can be bought in the build supply shops, they are used for insulation, crappy for this purpose, but very handy in studio) of 120x220x6 cm. I paint them black on one side, and around the edges. I made some simple stands from fibre wood panels to hold them upright.

They weigh virtually nothing and are easily stowed away.

here you can see one white side front, one back side front (I pushed exposure a bit here, because they are really nicely black):

LudwigDesmet-studio-6597

So a very simple setup here:

one flashlight on the left, with standard reflector, two styrofoam panels, black side towards the flash (you don’t want light bouncing of the white side, don’t you?)

model standing right in the middle, a little further back. Because the reflector is a quite big light source, you’ll need to put your panels really close to eachother (2 cm apart for instance) and you’ll still have the light spreading out further away from the panels.

Portfolio studio setup2

two images with this setup:

LudwigDesmet-studio-080

LudwigDesmet-studio-081

thank you for reading, see you soon for a new post.

Ludwig

Nude Studio Setup – 3 lights

beauty, Personal Pictures, personal tips & tricks, Tips and Tricks

Hi there,

I’m planning on a series of posts with some explanation of the studio setups I’ve used for my portfolio shoots.

Here’s te first one. The model has some massage oil on her body, just very slightly. A slightly colored setup.

Portfolio studio setup

A triple light setup for a body shape portrait.

Model is laying down on a black velvet cloth, which literally absorbs all light. It is positioned in a infinite floor to wall shape.

1. On the left, studio flash with reflector, gridded. Gridded to keep the light from spilling all over in the studio. Reflector for those nice highlights on the body.

2. On the right, studio flash with small softbox (60x60cm) partially covered with a red cloth, for a slight color shift. I discovered that the use thin colored cloth works in a similar way as gels, and it is easy to just move the cloth a little bit (a wooden clothespin works just fine) to have a stronger or weaker effect. I currently work with some kind of very thin colored cloth pieces, like a magician would use. This second flash not as strong as the first one and aimed a little more off the model

3. just next to the camera, I’ve put an additional flash (Speedlite 580), again with a colored cloth in front (blue-ish) to slightly fill in the shaded areas.

Camera is just above the floor (me lying down).

Setup:

Studio setup 1 - Ludwig Desmet

85mm – 1/125th – f3.2

I probably would have been better of aiming for a smaller aperture for larger depth of field, but this is the way it is 😉

hope you’ve found some inspiration here.

see you soon,

Ludwig

How to find a good location – shoot with Karen

beauty, Personal Pictures, personal tips & tricks, Tips and Tricks

Some people ask me about these locations I work in.

I have been into urban explorer photography (also called urbex) for a short period of time. I din’t really get far into this. Not that it didn’t please me, but modeling work pleases me more, because you work together with at least one other person to a result. There’s not much conversation possible with an abandoned building or a landscape. (another discipline in photography, that I still do from time to time)

In urbex, most of the locations are very abandoned, and you might get in with permission at rare occasions, but most of the time, you just don’t ask permission, don’t know who to ask to, or just simply don’t bother. This includes the risk of being ‘discovered’ by the owner, the housekeeper or even the police, … (never occurred to me 😉 )

As soon as I started doing model work, I convinced myself that it would not be a good idea getting the police behind my back whilst my model is working on the next intimate pose, or while she’s changing clothes, or some other awkward moment during the shoot. Finding locations is not easy, by far not. It has to be accessible, not too far driving from where you as a photographer are based (preferably), give plenty of light possibilities, give nice decorative possibilities etc. … And you need to get access at the times you want to shoot at.

My one and only advice in this matter is: Try to find the owner of the place, contact him or her, try to make a mutual beneficial agreement. Most people have shown great willingness whenever practically possible. I now have 4 different locations I regularly shoot in, and all 4 owners were very quickly sympathizing with the idea. I mostly offer free photo work – to some degree – if they would need any, be it for family or business matters.

This is what happened with the location of the shoot I’ll show you pictures of in this post:

While riding my motor trough the flemish ardennes (a part of our region called so because it resembles the ardennes – but actually it is more beautiful) I see this beautiful complex that seems like an old cloister, nursery school, orphanage, … and I decide to halt and look if I can find signs of people around.

After peeping trough some windows, knocking on the door, some kind of housekeeper gets his head out on the second floor, talking to me in a foreign language. (Being a Belgian citizen, I do speak and understand quite some languages, but clearly not this one) Impossible to talk to him, but he’s able to point me to a information panel hanging on the wall, that contains different phone numbers of the owner of the place. I have called the owner a couple of days later and she said:

“sure, no problem, I have been a model myself in my younger days. Just call me whenever you want to get in. When there are no groups (the location is rented as a summer camp house for big groups) you’re welcome.”

Easy as that, and something similar happened with the mansion, the old villa, the warehouse and the storage building. So, just ask, don’t ask for the impossible, be polite and be willing to offer some service in exchange. After that, be clear in your communication (when you want to shoot, for how long, with how many people, etc. …) and you’ll have a good chance for a lasting relationship.

One last remark about sharing locations with other photographers. Well, I’m very reluctant about that, and mostly for one reason. It is not because the owner granted me permission to shoot in a certain building, that he/she is also interested in receiving other photographers, or in being bothered by a different photographer every day, … Besides, the exchange offer they get from me, they won’t need it from another photographer, don’t they? 😉

So, enough about locations. I worked with Karen for the first time, first time in this new building too. The sky was cloudy, so there was really not much light inside. It required some searching, trying a lot of different angles, but we managed to get some really nice images after all. Karen told me afterwards “the pictures are really superb”. Thank you Karen.

All images taken with Canon 5D II at ISO 200 (except one at ISO 100), Lenses used in this selection: Canon EF 24mm f1.4 L II, Canon EF 50mm f1.4, Canon EF 85mm f1.8, Canon EF 135mm f2.0 L. All natural light.

happy viewing

charlemagne-art-KarenW-0560

charlemagne-art-KarenW-0330

charlemagne-art-KarenW-0374

charlemagne-art-KarenW-0381

charlemagne-art-KarenW-0397

charlemagne-art-KarenW-0428

charlemagne-art-KarenW-0435

charlemagne-art-KarenW-0461

charlemagne-art-KarenW-0475

charlemagne-art-KarenW-0489

charlemagne-art-KarenW-0501

charlemagne-art-KarenW-0517

charlemagne-art-KarenW-0533

charlemagne-art-KarenW-0539

charlemagne-art-KarenW-0589

Any questions about this post, just ask!

Ludwig

Photographing the Harley

Personal Pictures, personal tips & tricks

As an end of study assignment for my studio/object module (photography courses at kips.be (Ghent Belgium) we had to propose an object to photograph.

amongst the possibilities were ‘perfume’ or ‘jewels’ …

I wanted to do something more ‘tangible’ and proposed a Harley Davidson motorcycle. My mentor could choose if he categorized it as being a perfume or a jewel. I guess both of the categories apply.

The Harley is not mine, its a customized 1981 Electra Glide from a friend of a friend, and hardly recognizable from the original. François is the owner of the bike.

the subject

I had surfed a bit for inspiration too. There’s not so many studio shots of motorbikes on the internet, here are a few:

inspiration

I had made some preliminary studies in 3D rendering (thats still my main job). I had discussed with my teacher that it would be best to lit the subject indirectly, with a large soft box from above. Since we don’t have softboxes that big at school, I had to come up with something else.

the virtual world

and then the ‘thing’ arrived.

I had shown François where in the school we wanted to shoot the bike. (I had three other classmates doing their work in the proper school studio, so I had to move out to another class) And he just drove it trough the hallways of the school. All students were awake at once on this early saturday morning.

3R7A0589

So, what’s next? You see me setting up the tripod and camera.

3R7A0596

Checking on the framing, remote shooting with a portable mac, to be sure not to touch the camera in between shots. (I wanted to be sure I could compose different shots together in photoshop afterwards)

3R7A0600

Me setting up a flash light for indirect flashing on the cloth. The cloth will serve as a huge soft box area.

3R7A0603

The setup, seen from the backside, you can see the tripod in the back:

3R7A0607lores

A big thank you to Serge (classmate) for these splendid behind the scenes pictures!!!

These are the original shots used for composing the final image. Note the shot with the white paper on the floor, for extra light from underneath.

For those interested, the shots were made with the Canon 85mm f1.8 at f10 shutter speed 1/125, ISO 100. Three 600Ws monoblocks at 3/6 upto 6/6 power, indirect on the cloth above.

originals

then the photoshop layered file for compositing. I named the layers in english, for your convenience (dutch is not really an understandable language)

photoshop compositing

and then at last, the finals, click to see them bigger:

charlemagne-art-Links final

charlemagne-art-Rechts final

A big thank you to Anita, for bringing me in contact with the owner of the bike,

a big thank you to my assistants of the day – classmates Stef, Serge and Geert,

a big thank you to the owner of the bike, François, for driving about 60 miles to the studio, on a cold morning.

hope you’ve learned something.

take care, and see you soon,

Ludwig

Developing beauty – LR4 – example.

beauty, Personal Pictures, personal tips & tricks, Tips and Tricks

Since september this year I started giving Lightroom 4 classes. I have a group of 18 students, and they manage quite well.

Although there’s quite a lot to learn, most people with a normal level of intelligence, and some motivation and a basic knowledge of computer usage must be able to learn all the techniques available for developing in Lightroom.

The biggest problem however is to get a feeling about what decisions to make when developing. Actually what steps to take to improve an image.

Without claiming that I can give you a perfect example of a perfectly developed image, I would like to show just an example of a image development I did just recently.

I chose to turn it into a black and white image, and used some tinted processing. This is all very individual, and you should always adapt to your personal choice. That’s why this is the most difficult thing to learn I guess. It’s by no means an exact science.

First of all maybe a small light setup diagram, to show you how this image was lit.

Left you see the light diagram. I have two monoblock heads with soft boxes headed straight at my model. (one octa and one smaller square box) They are about equally powered, both on the lowest setting to allow for a large aperture setting. EXIF: ISO 100 – Canon 85 mm f1.8 at f4.0, 1/125 sec. Canon 5D II.

You can see two behind the scene’s pictures from my friend Michel. In the middle You see me metering light at the approx spot where my model will be, and at the right you see me working with the model. -Click for bigger image-

Location light setup

I have fairly evenly lit images with this setup, with the white wall bouncing back a lot of light to the shadow side of my model.

Next image shows the four stages of development:

Left: straight out of camera, no development settings applied in LR.

2nd: just some basic overall adjustments

3rd: Conversion to BW and split toning applied

last: final, local corrections applied

-Click for bigger image-

charlemagne-art LR4beauty developing process

Some more into the details:

2nd image corrections:

I adjusted white balance to 5500 (5D II chooses 5600 for flash)

Added some contrast +20 to give some more punch to the overall image

Shadows +26 to brighten up the shadow side of the model

Clarity +15 I feel like using clarity slightly makes the details stand out more

that’s all

3rd image corrections:

I rather bluntly converted this image to black and whit by dragging all saturation sliders in the HSL to 0.

Furthermore I experimented with the split toning colors and came to this setting: Highlights hue 67 – saturation 24 – balance 0 – Shadows hue 235 – saturation 19

This gave me a rather flat (for the skin) black and white – toned image.

The Split toning (or cross processing) is a good feature, but is often used to create a wow effect on an otherwise not so interesting image. Beware of it’s use!

About the black and white conversion, the image could have converted with some more lightness in the oranges, to lighten up the skin, but I did it afterwards with local brushing.

In between these, I applied some local retouches to the face, to remove some blemishes and imperfections. I worked around the eye and just under the lips. Far from correct, but just a quick edit.

Settings: Heal, with an opacity of 66

Charlemagne-art_developing_local blemishes

and then for the final corrections. I have used different brushes, and will show them all stripped apart. Here are the brushed images for each of the corrections. Sometimes I have to search for myself what is the best setting, so some brushes may undo some previous ones. Unfortunately you don’t see the image change, since I have all effects applied on every image. This is just to show you the different area each brush is applied to: -Click for bigger image-

charlemagne-art_processing_local_adjustments

then from left to right, what did I apply in my brushes (local adjustment tool):

1. Exposure 0,41 – Shadows -30 A rather bluntly applied overall skin enlightenment, also applied to the hair, but there I took some away again after.

2. Exposure -0,71 – Added some extra volume to the arms and face.

3. Exposure -0,27 – Contrast 54 to give some additional punch to the facial features. (eyebrows, eyelashes and lips)

4. Exposure -0,53 To accentuate some volume in the female shapes (I’m not into plastic surgery, but this is something I sometimes do)

5. Exposure 0,70 Idem

6. Exposure 0,26 To highlight the iris a little bit

7. Exposure 0,71 To soften the eye rings

8. Exposure 0,61 To clear up the eye whites a bit.

I’ll leave it up to you if this is a better image than the one I started with. Again, this is to each and everyones personal taste. Most of my images I don’t process that much, and this took me some 5 minutes all together.

Finally some more images from the same shoot, processed in the same way. -Click for bigger image-

charlemagne-art_processing_beauty

Thank you for reading, come again soon!

Ludwig – alias Charlemagne –

Simple setup for kids shoot

people, Personal Pictures, personal tips & tricks, Tips and Tricks

I did some kids shoots in the previous weeks and I wanted to share this simple setup for nice pictures.

I was asked to do some portraits for a cousin and then with the same setup I took some pictures with our two boys together. Setup is the same and is like this:

I have a simple black cloth as a backdrop, a flashgun EX 580 II with a small softbox on a stand as a main light, a large styrofoam board (220×120 cm) as a reflector panel and a second flashgun (snooted with a self made insulator foam snoot in the back) to provide some rim light.
The results look like this (not the outdoor shot, nothing to do with this setup):

After the ‘brothers’ shoot, we had some fun with a balloon. They threw it up before their heads, and I shot it when it just passed their face. (I admit, we had to repeat this several times) I had some fun in photoshop afterwards.

Hope you liked this post!
Ludwig

North Sea

landscapes, Personal Pictures, personal tips & tricks, Tips and Tricks

Hi,
long time since I posted some new images. I have been busy preparing the two exhibitions and that is now over, with the last exhibition opening this saturday evening. You are still very welcome to come visit the exhibition. (wednesday, saturday and sunday from 14:00 h till 18:00 h. in ‘de Oude Brouwerij’ Ronse.)

I have been to the North sea on april 22nd, and I wanted to show you some images I brought with me. I have further experimented with the ND Grey filters, I used them before in Calais/Cap-Griz-Nez too.
Here I used only the ND 1000 filter, which blocks about 8 stops of light, and let’s pass only 1/1000th of the light. This allows for long exposure times in plain daylight.

The technique is quite simple: you setup your tripod (best a good sturdy one, because when the sea surface is coming over the breakwater, you get some nasty winds blowing you almost out of your clothes.) and make your best composition possible. Verify your normal exposure. Now without further touching your camera, switch to manual focus if not already done, screw on your ND filter and calculate your new exposure time. In my situation, I had to lengthen the exposer time x1000. E.g. 1/100 sec without filter became 10 seconds with filter.
Then wait for the sea tide to come up. Get cold, try to protect your camera from waves splattering on the rocks, almost get blown over, get wet feet, get a rain shower on your head, and then decide you tried your best and try to find some shelter.

All images taken with 17-40 mm on Canon 5D mark II, exposure times of about 50-60 seconds. Aperture f1/16 up to f1/22. The first shot is composed out of 4 exposures, I converted the images to BW in Lightroom, then added a blue’isch color cast in Photoshop.

Hope you liked them, click for bigger version!

ludwig

Workshop announced

personal tips & tricks, Tips and Tricks

I just announced a new workshop for starting photography enthusiasts. It will run over 4 saturday afternoons, and will cover the basics you’ll need to improve your summer holiday pictures. More information on www.charlemagne-art.be .
If you happen to know somebody who’s interested in improving his/her photography skills, this is the occasion. Spread the word.

Hallerbos shoot – BTS

landscapes, people, Personal Pictures, personal tips & tricks, Tips and Tricks

A 10 minutes behind the scenes video from our shoot in Hallerbos.
Some parts are english spoken, in-video conversations are mainly dutch, without subtitles, but nevertheless great to look at. 😉

thanks to Martine and Raf for filming

Enjoy!

struggle for a portrait

people, Personal Pictures, personal tips & tricks, Tips and Tricks

Hi,
I’m at number 15, people who have come at my studio to pose for the professions project. All people I have photographed are un-easy with posing, and it has been a challenge to make them feel comfortable enough to get a good portrait and a nice depiction of their professional occupation.
Last I had a directors assistant and I would like to show you a bit of the shoot in evolution. I always ask people to bring something related to their job, and to be creative in what they bring (otherwise everybody brings a computer nowadays). She had brought a small calculator and a cellphone, because she does a lot of pricing calculations and she is on the phone half of her working time.

First of all I do a shot to verify my light setup, a quick close portrait will do to check on the detail in the highlights and the shadows.

First we tried with the calculator and a portable home phone I have here at hand. Phone in left hand, phone in right hand, didn’t work out to my feeling.

Ok then, let’s try only the calculator, maybe we’re going to get somewhere, … duhhhh, nope, nothing ‘directors assistant’ alike.

Maybe when we use only the phone, the pose will be less ‘forced’ and more natural, try putting a hand on your hip, nice, but not so ‘verymuchbusywithalotofthingsatthesametime’. This looks more like a well dressed woman calling her friend.

Now what do you really do in your job, I asked Ellen, …
Well, I’m often occupied with a lot of papers, trying to fix a date for an appointment in my bosses agenda, whilst running from here to there, …
Oh, okay, let’s find you some papers, an agenda, a pen, and hold that calculator and phone while I go find what we need.
I gave her some invoices strolling on my desk (she gave them back after the shoot 🙁 an agenda, a pen, …) and I quickly grabbed my camera.
While she was struggling to get all those things comfortably in her hands, I took a shot, MY SHOT! We did some less panic’y shots for her too, but I had my shot! The directors assistant, getting thrown ten things at the same time to her head, and trying to deal with all of them.

I have no proper background system yet, so I need to do some retouching on the background, painting some areas black, next I do some local adjustments for some extra exposure to the hands, the shadow side of the face, the shadow side of the dress, I add some more exposure to the orange tones and that’s it for my final image.

After that, I took a picture of Ellen and her husband Bart, as a bonus, because I made her work so hard. Thank you Ellen, thank you Bart!

more professions – light setup

people, Personal Pictures, personal tips & tricks, photo gear, Tips and Tricks

And my project on profession portraits goes on.
I have quite some people spontaneously offering to pose for my series of professions. A classical portrait with a – small/not so small – glimpse of the job they do.
Below, you’ll see the library assistant, the plumber, the health coach and the actuaris. For you to find out who’s who, can’t be too hard I guess. – click on the images to view larger if you have difficulties finding out –

for my fellow photography enthusiasts, I’ll include a more detailed light setup, which is actually very simple:

1. I have a black cloth hanging up in the back of the room 3 to 4 meter behind my subject.
2. I have a reportage flash (Canon 580 EXII) in a 70×70 cm softbox from Lastolite on the right of my subject, which is my only light source. It is set at 1/4 +0.7 power and very close to the subject (maybe half a meter). I put it so close because this allows me to lit only my subject, and have the background almost black, thus reducing the post-processing. it is at the subjects head hight, slightly aiming down.
3. I have my large Lastolite tri-grip on the left side, on the ground + my diy reflector on a small stand, I had to use this extra reflector, because otherwise I don’t get enough light on the shadowside, and I recon my own reflector is just a bit more reflective than the trigrip, which is larger but softer.
4. I’m at about 3,5 meters distance from my subject, at about hip-height, to make my subject seem larger and fiercer, more ‘standing out’ I use my 85 mm 1.8 lens, at f8 on a full frame camera, to get a decent sharpness overall.
5. I have different subjects 🙂 They are all uncomfortable with posing, believe me! I ask them to turn their body slightly towards the main light, looking at me. Then we do about 15-25 shots, until I think we have a good shot, representing both the personality and a good pose.

The images are taken in colour, as raw files, and treated in LR afterwards. I use the standard BW settings, but have some minor local corrections with adding or removing exposure. I then remove the unwanted parts in the image (my background is not large enough for this distance, so I need to remove some ceiling that is not black, sometimes I need to move a small part of the reflector on the left.

I hope you like the pictures, if you are willing to pose for me, please give me a sign trough email or by reacting to this post. In return, you’ll get the chosen image in high resolution, free for personal use.
If you have any questions about the setup, ask it.

ND filters

personal tips & tricks, Tips and Tricks

Hi,
I bought 2 neutral density gray filters some weeks ago. I would like to show you some results.
ND filters are used to take away light from the scene, to a certain amount.
There are two different types of ND filters on the market: fixed stop value filters, and variable filters. The latter work with two polarizing filters rotating over each other, and they have a stopped down value between 3 and 8 stops. The fixed value filters consist in a single sheet of shaded gray plastic or glass or whatever. The Polarizing filters version has the advantage that you can vary the number of stops of light blocked, they have the disadvantage that they create an interference pattern when used at the darkest setting (showing as a darker cross in your image, especially when used with wide angle lenses on a full frame body)
I have bought a 3 stops (also called 8x because it allows only 1/8th of the light to pass) and a 10 stops (also called 1000x) ND filter, for my 17-40 mm wide angle lens.

a 1000x ND filter blocks 999/1000 of the light, this makes it possible to use long exposure times in full daylight. The examples below are from 20-80 seconds for the exterior images, 400 seconds for the interior images. This makes all moving subjects fade away, to the point of becoming invisible if they do not halt during the exposure time. I have taken images of a crowded train station hall (Gent St.-Pieters) a very crowded shopping street (Gent Veldstraat), the E40 Highway on a very busy day, … without moving subjects visible.
One remark, the 1000x ND filter creates a lot of vignetting and a white balance shift towards red, I’m not sure if this is a typical ND filter thing or specific for the ones I got.
I also joined two images without the use of the ND filter, to make obvious what the effect is. Click for full size!


DIY reflector

personal tips & tricks, Tips and Tricks

Hi,

everybody will know the difficulties of shooting a model in bright sunlight. Working with the model aimed at the sun will get you peeping eyes, working with the sun in the back will get you dark faces, unless flashed. Most fashion/model shooters use reflector screens to overcome this problem. Model with the sun behind, light reflected towards her/him to light up the model. Most famous make is Sunbounce. A decent reflector will make your purse at least 200 euros lighter, similar size as the one described here.
I’ve made a diy reflector last week. Cost to me: 0 Euros, because all re-used materials. Cost if materials bought new, probably below 10 euros. Time to make it: 15 minutes.
1. Take a insulating board, styrodur, (polystyrene) or similar, in a handy size. Mine is 60 cm x 125 cm. (approx 25 x 50 Inch) Make sure it is rigid, not styrofoam, since this will more prone to breaking.
2. Use some dots of silicone/adhesive, spread all over the board, slightly more concentrated on the edges to ensure a good fix. Rather use dots than lines
3. Cut a length of radiator reflector foil (the kind of foil you fix behind a radiator, to prevent the heat from entering the wall in stead of heating your room) , slightly longer than your insulating board.
4. Spread it nicely over the insulator board, reflecting side outwards 😉 . Press gently all over the surface, to make sure the silicone or similar gets well spread.
5. Trim the edges of the reflector foil to match the size of your board. Let stiffen the silicone.
6. Done.

I’ve been using it in my last shoot, works very well. Can’t compare to the real thing however because I don’t have one, but I saw my model peeping eyes when I came too close with it.