The best possible add-on for your dslr.

beauty, Personal Pictures, photo gear

I give evening classes for adults, teaching them the very basics of photography. They learn about aperture, shutter speed and iso settings, the basics of composition, light metering, Depth of Field, how to handle their camera etc. …

In about 5 months, they become a bit more aware of the ins and outs of digital photography.

Soon, after a couple of months, the same question comes up in every group: ‘I’m willing to invest in some more equipment, what should I buy?’.

You should see this question in the understanding that most people bought a DSLR (digital single lens reflex) without any technical knowledge about photography, and mostly they have followed the sellers advice of buying a body and a kit-lens (or two kit-lenses).

These zoom kit-lenses generally have a maximum aperture of about f 1:4.0 closing further down to f1:5.6 on zooming.

Especially when we talk about DOF (depth of field) and the relation between the aperture setting and the span of depth of field, my students quickly realize that with their zoom lenses with relatively small maximum apertures, they will never get the result they want.

A bigger aperture setting gives a more shallow depth of field, this means that the bigger your aperture is, the blurrier the background will be. An effect often sought after, to make the subject ‘pop up’ from the background.

So my advice mostly is: ‘buy yourself a good portrait lens, that is a fixed focal length lens, 50 mm for a camera with crop sensor, 85 mm for a full frame camera. It’s cheap, it’s lightweight and small, you can shoot in low light conditions, because the big maximum aperture lets in a maximum amount of light, and it will allow you to work creatively with the shallow depth of field it can give you.’

The best value for money you get with a 50mm f1:1.8 lens, which will cost about 120 € in Canon and Nikon.

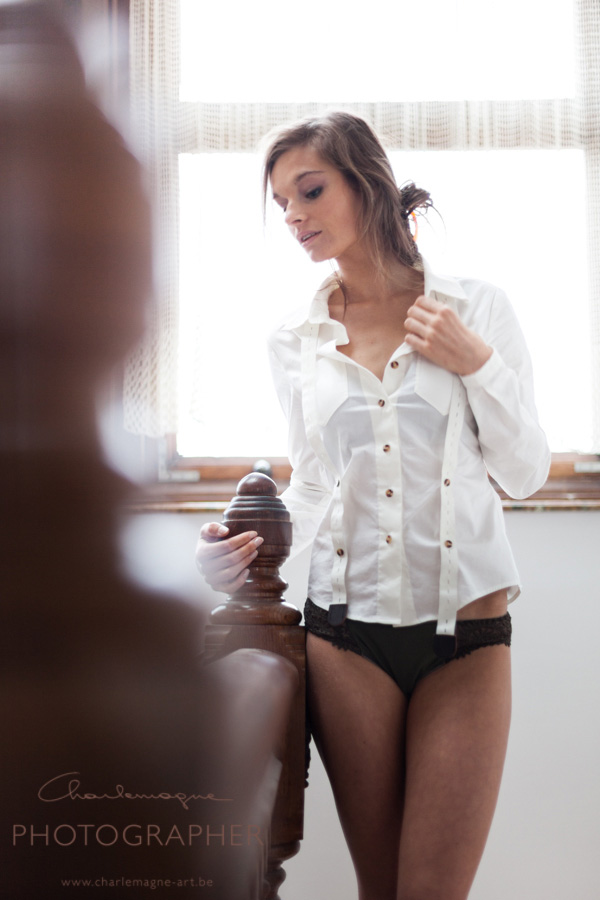
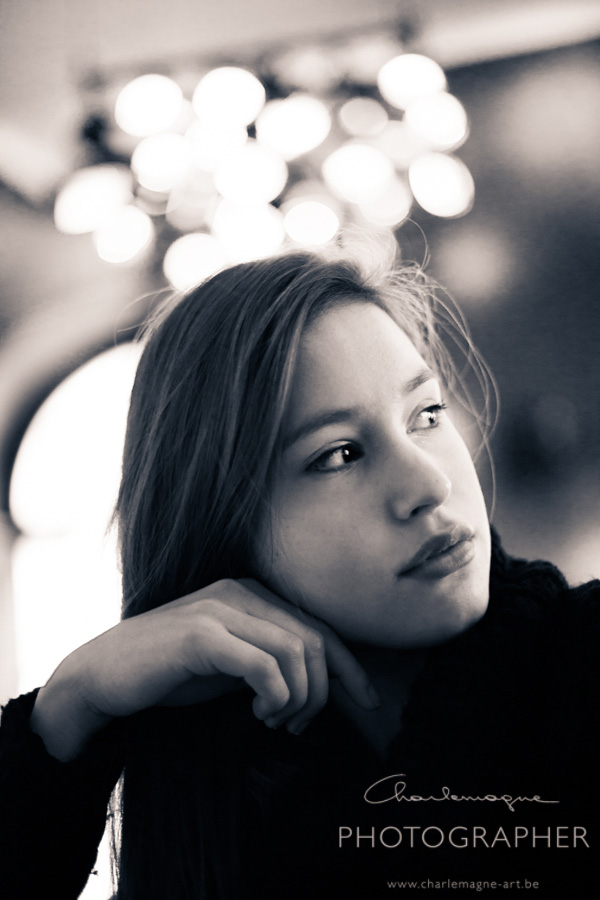
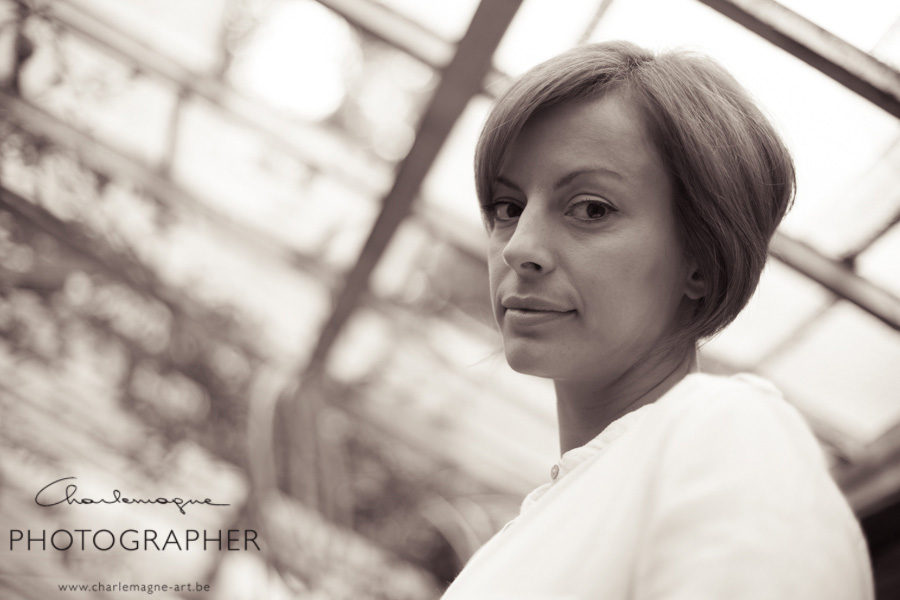
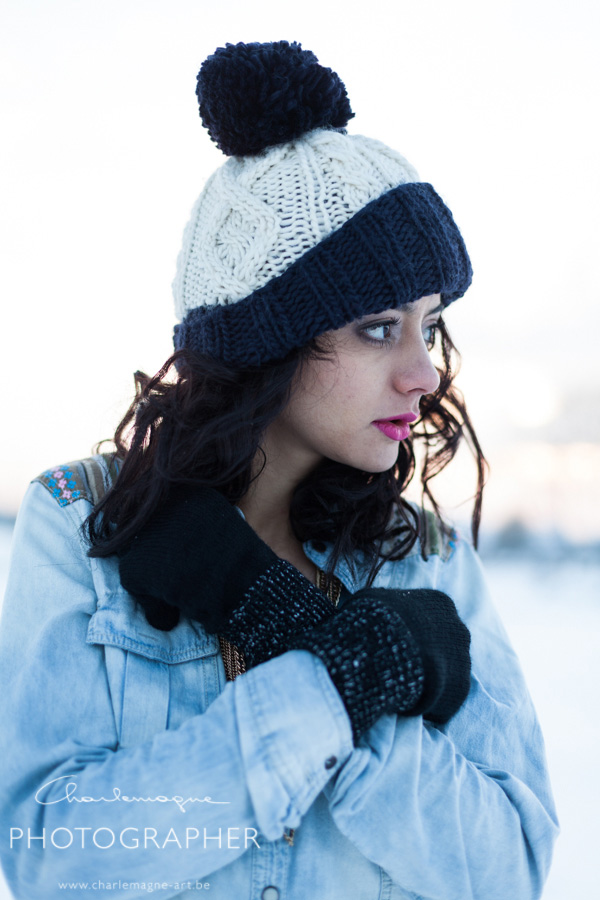
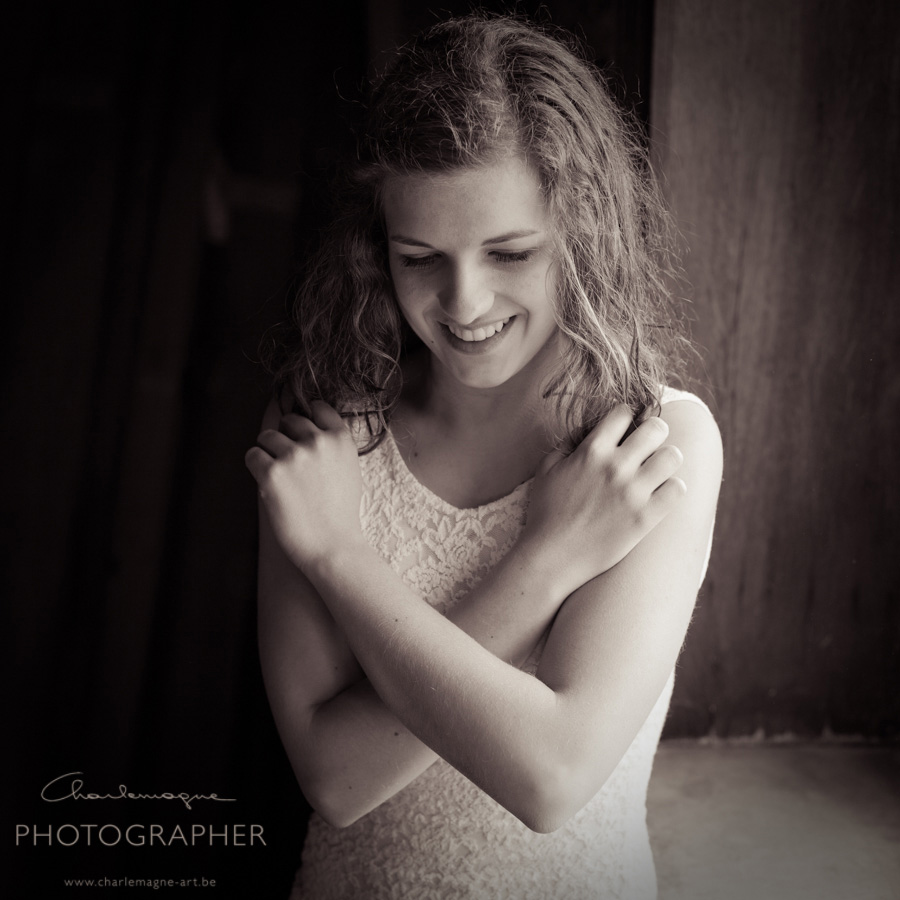
Some examples with my Canon 50 mm f1:1.4

charlemagne-art_50mm-1794

charlemagne-art_50mm-1826

charlemagne-art_50mm-6546

charlemagne-art_50mm-6976

charlemagne-art_50mm-7821

charlemagne-art_50mm-8226

see you soon for more pictures!

Take care and happy shooting!

Ludwig

Free lensing

Internet tips and tricks, Tips and Tricks

Hi,
I found out about free lensing yesterday. Checked some references on the web.
This is what I found. Free lensing is the technique where you take pictures with the lens off the camera !
So, you get your camera, screw your lens of, and hold it before the cam to take pictures. Crazy huh!
What are the consequences:
No communication between camera and lens, so no aperture settings, which means you’ll work with full aperture opening of your lens. (unless you use an older lens with aperture ring)
No AF (you could have guessed that yourself, couldn’t you?)
No IS (image stabilization) of any kind. You’d be happy if you manage to keep lens and body more or less stable.
risk of dropping your lens while manipulating your camera.

so what on earth would make you want to do this?
by taking of the lens, you can play with the image DOF plane, like with a technical camera, a tilt-shift lens, or whatever system that allows to move the lens independently from the film plane (sensor plane)
this means your sharpness plane no longer runs parallel to your film plane.

a bit difficult to understand maybe, but look at the images.
You’ll see that I get sharp and unsharp in the same depth plane. Text on monitor is supposed to be flat, although only some lines are sharp, the others are not.
The lamp cover has some pearls sharp in front, some in the back, none in-between.

I’m not sure this is the best technique for tack-sharp images, but it can produce very artsy images at least. I took these some moments after I read this post, so I’m an absolute beginner. I will possibly never do something serious with this, but I thought it was funny enough to share.

If you want to give this a try, please note:
I won’t take responsibility for damage to your camera or lens.
Keep i mind that the sensor is at some moments disposed to the outside environment, never attempt this in a dusty area.
Lenses developed for a full frame camera will give better results, due to their bigger image circle.
try using some old analog lenses, they are cheap, and always developed for full frame negatives.