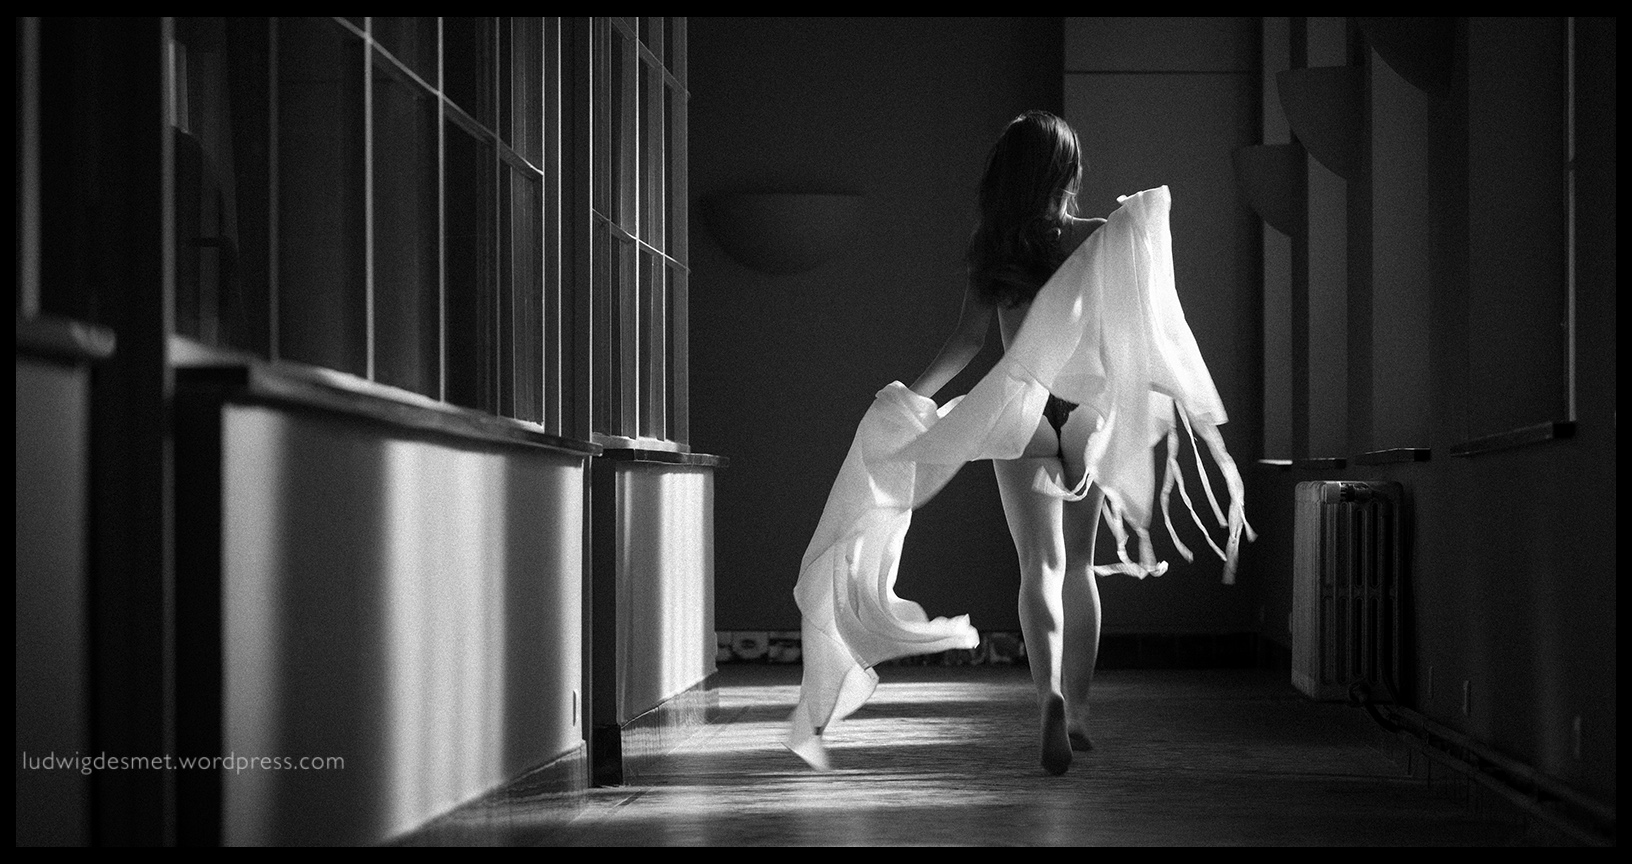
• The Spirit of Ecstasy •
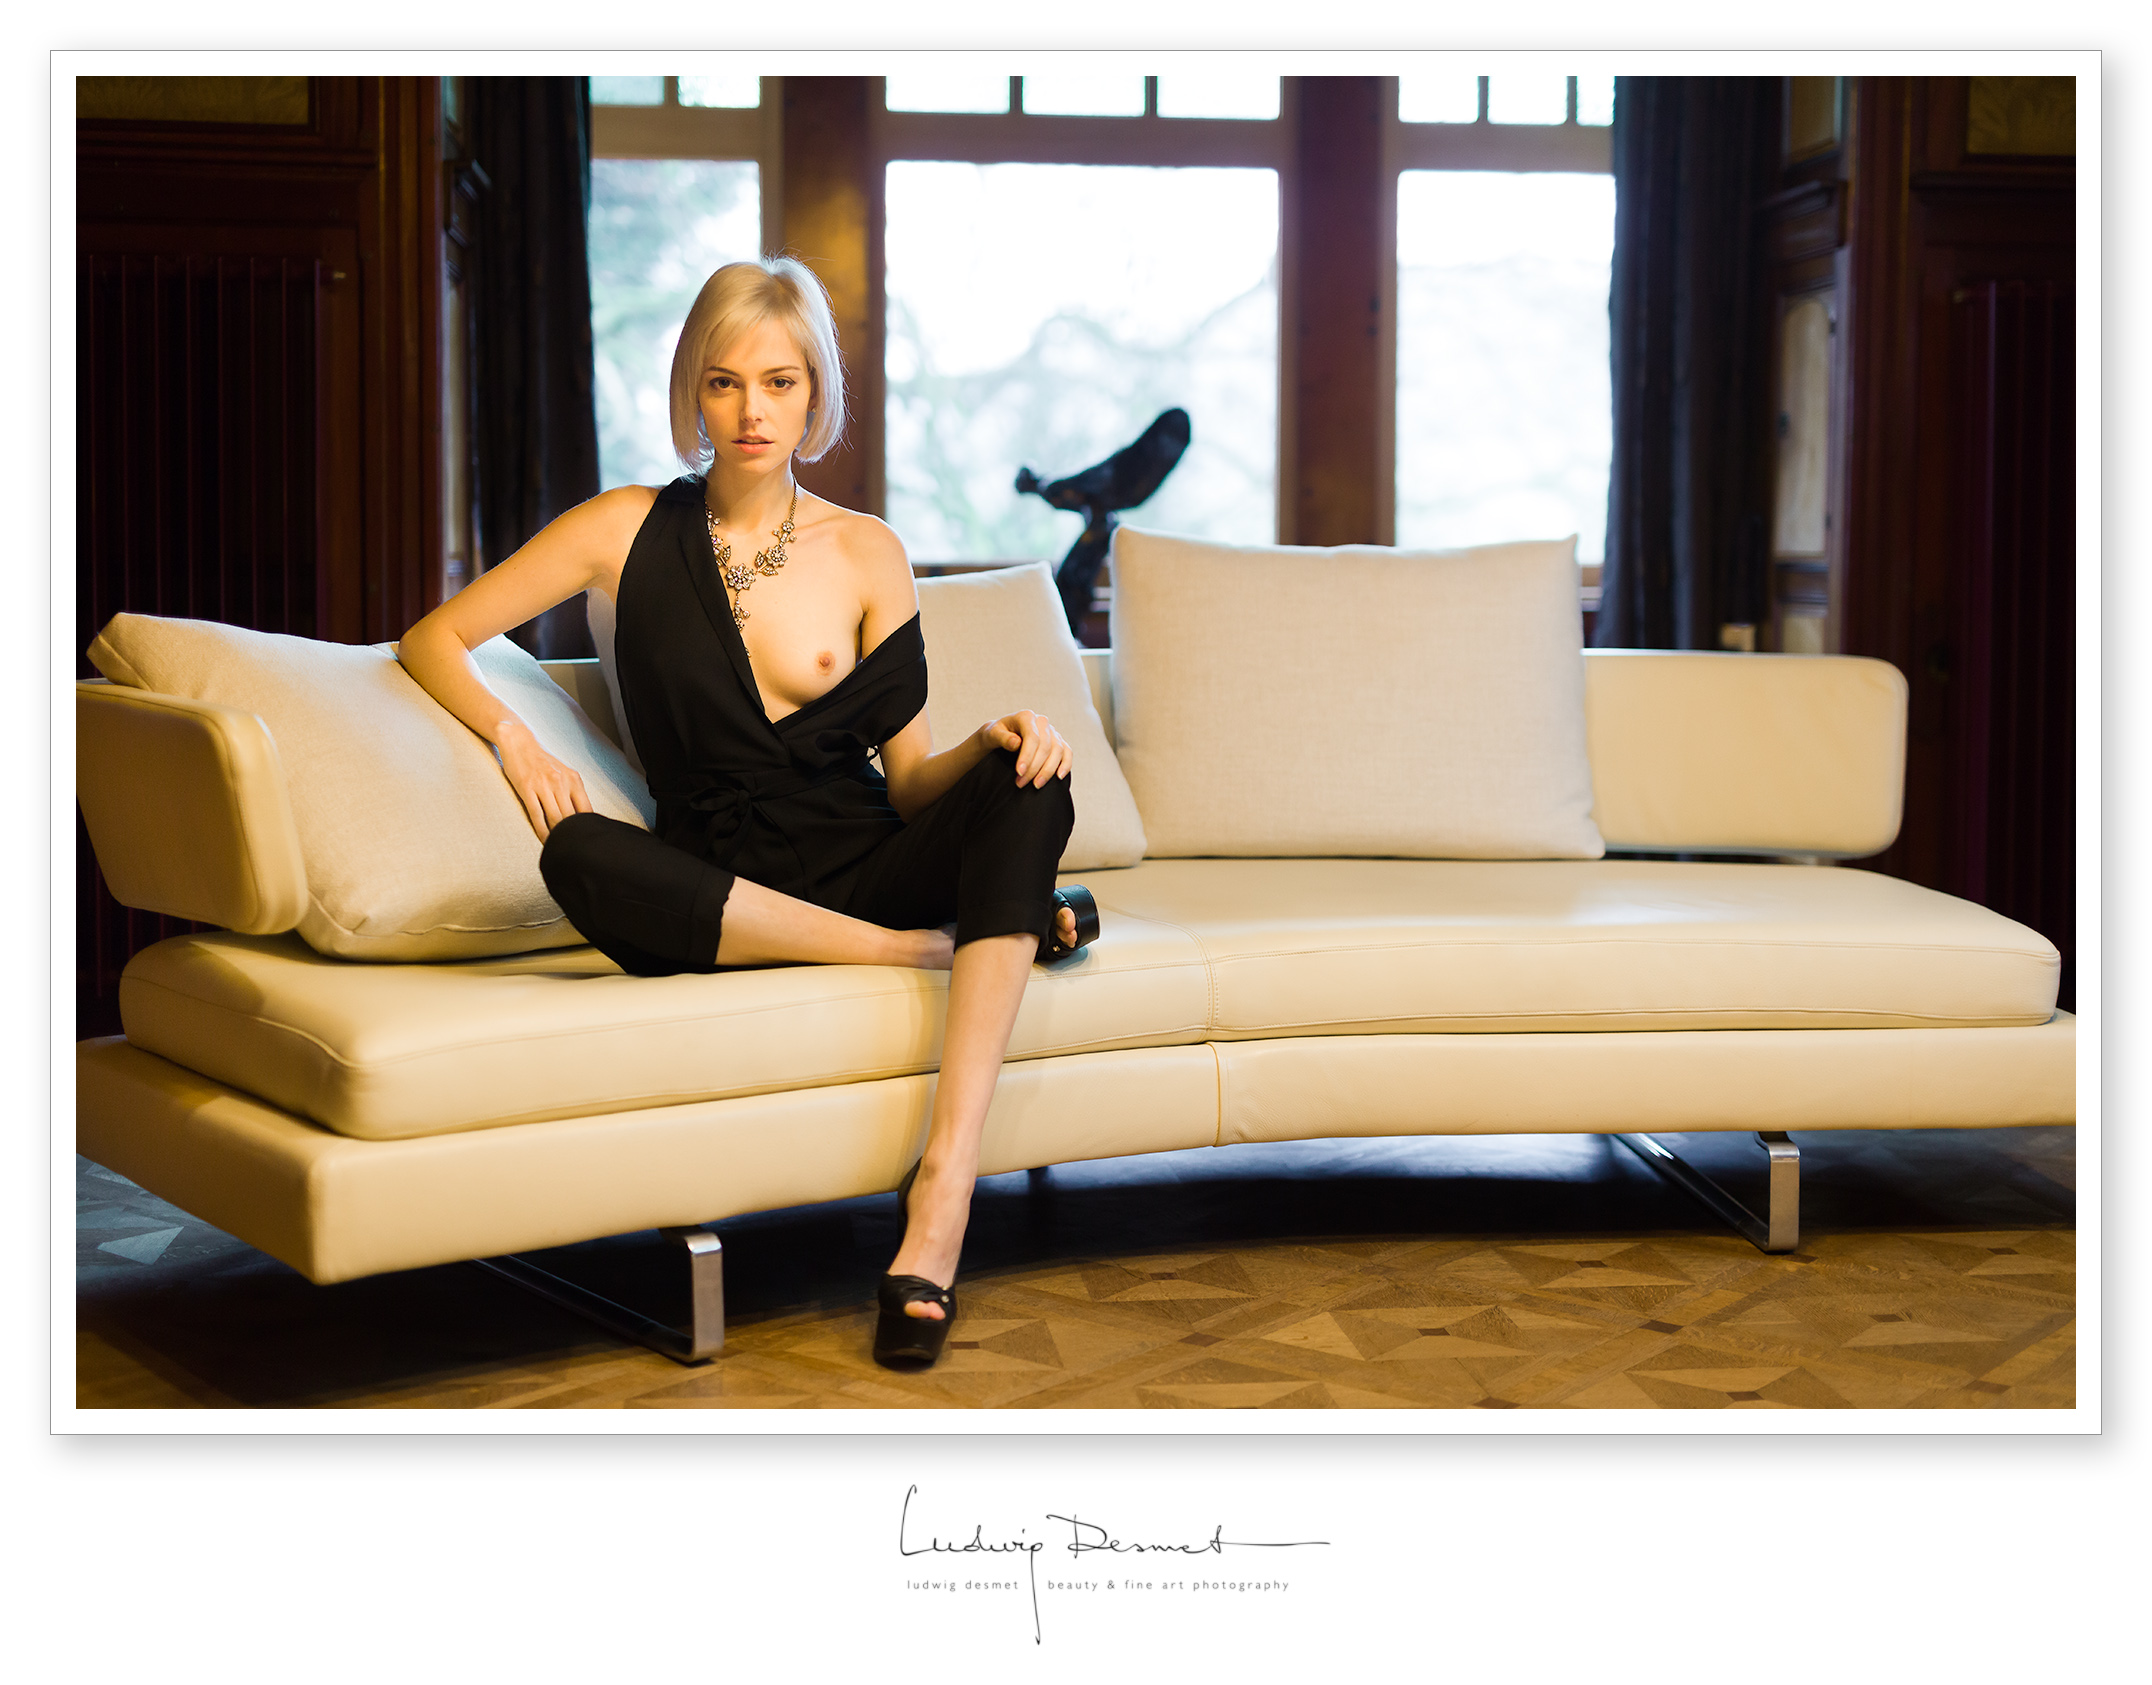
Model and make up: Riona
Hair and assistance: Nathalie
photography: me 🙂
thank you for watching.
• The Spirit of Ecstasy •
Model and make up: Riona
Hair and assistance: Nathalie
photography: me 🙂
thank you for watching.
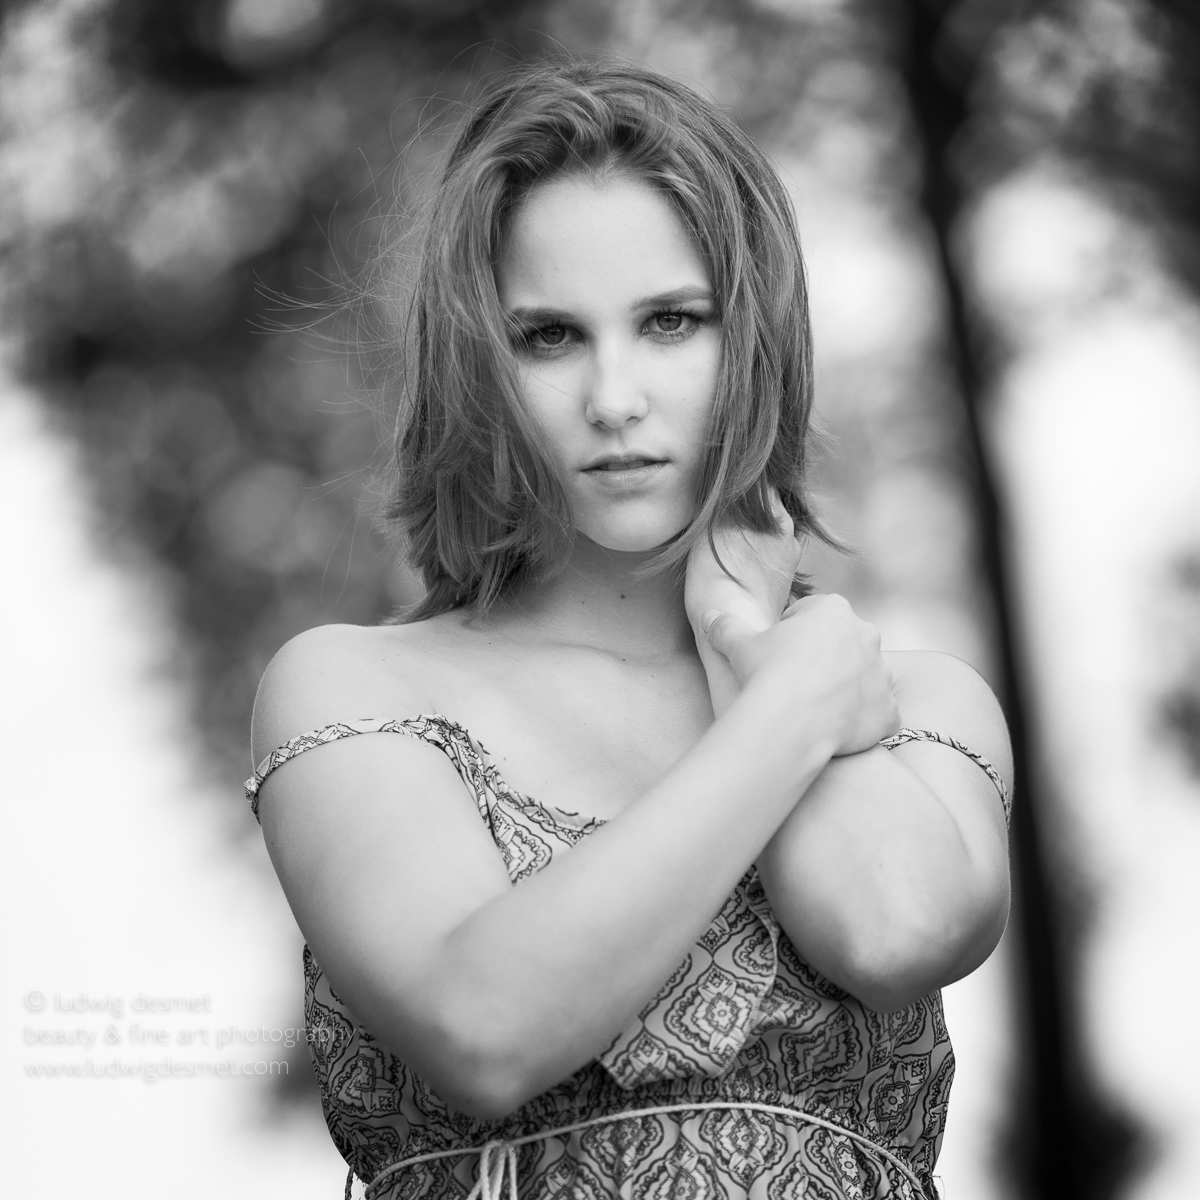
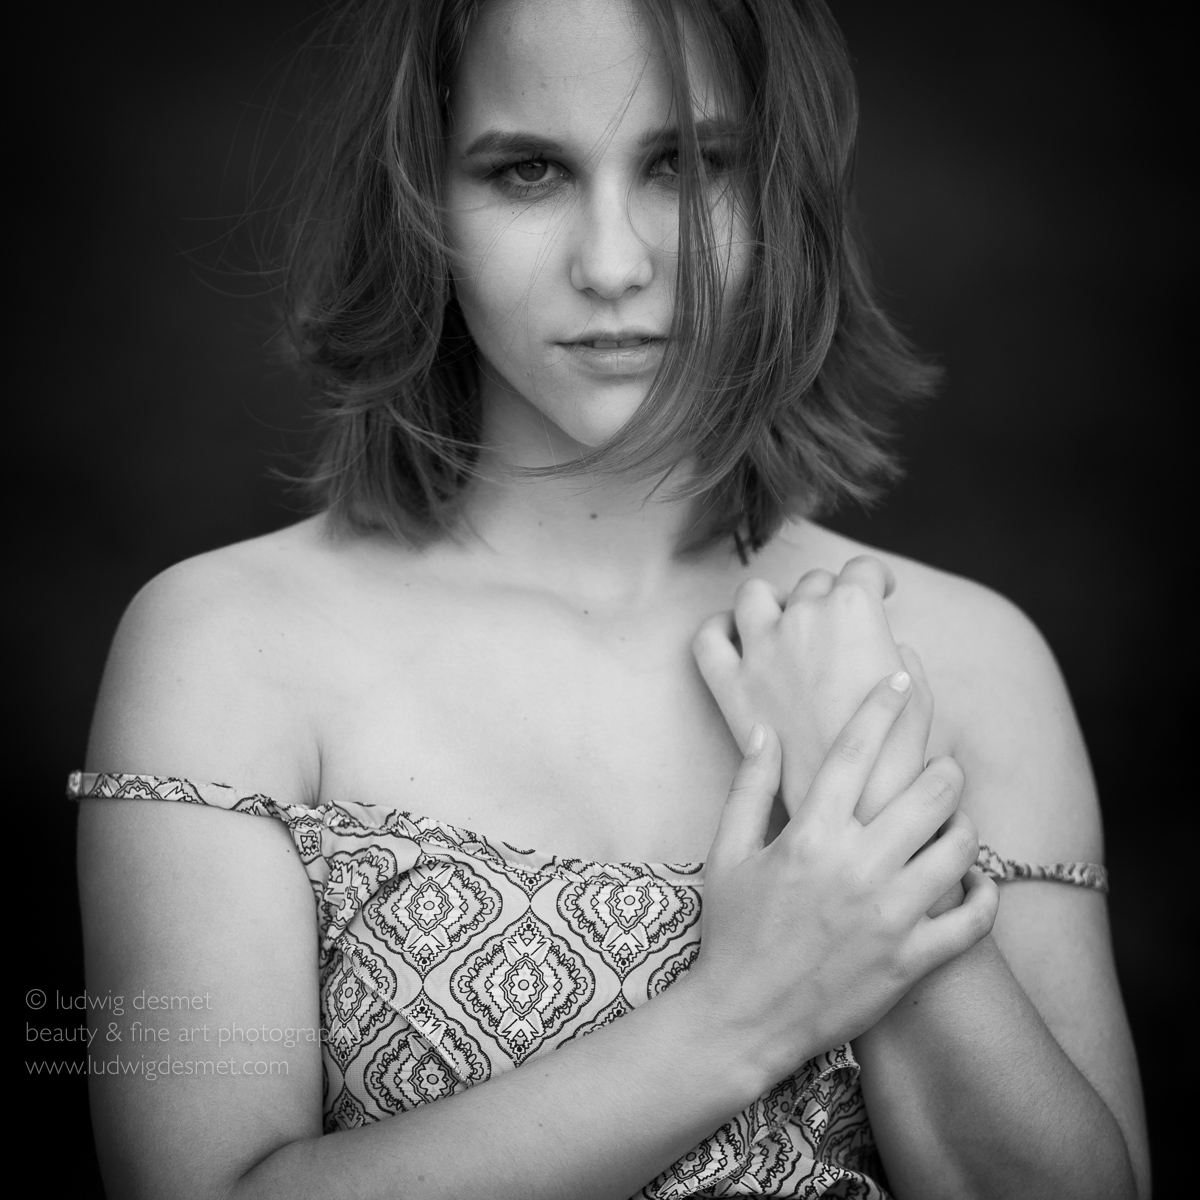
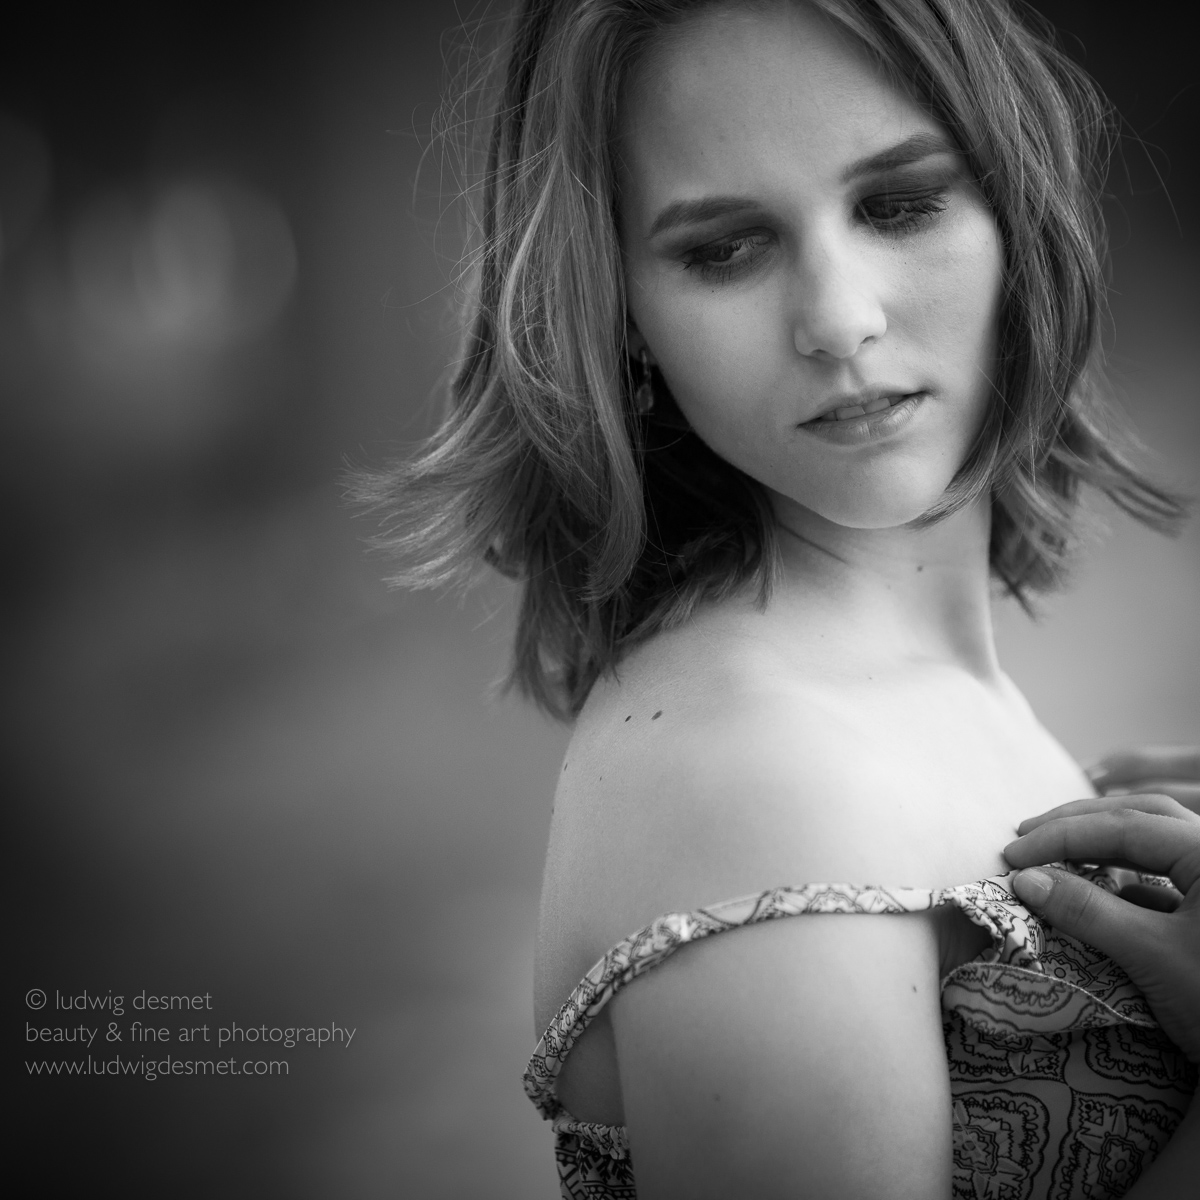
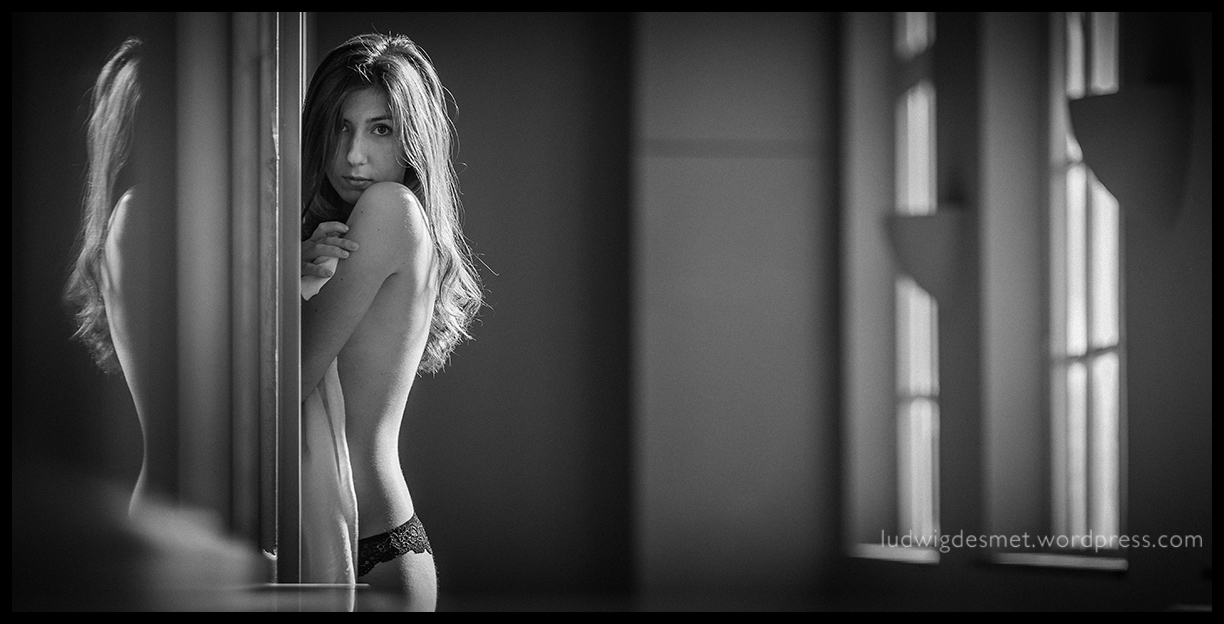
Remember ‘Pearls’ ? Wow, one and a half year ago already. Time to meet Pearls II, with beautiful Eva this time. Hope you like it.
• Pearls II •
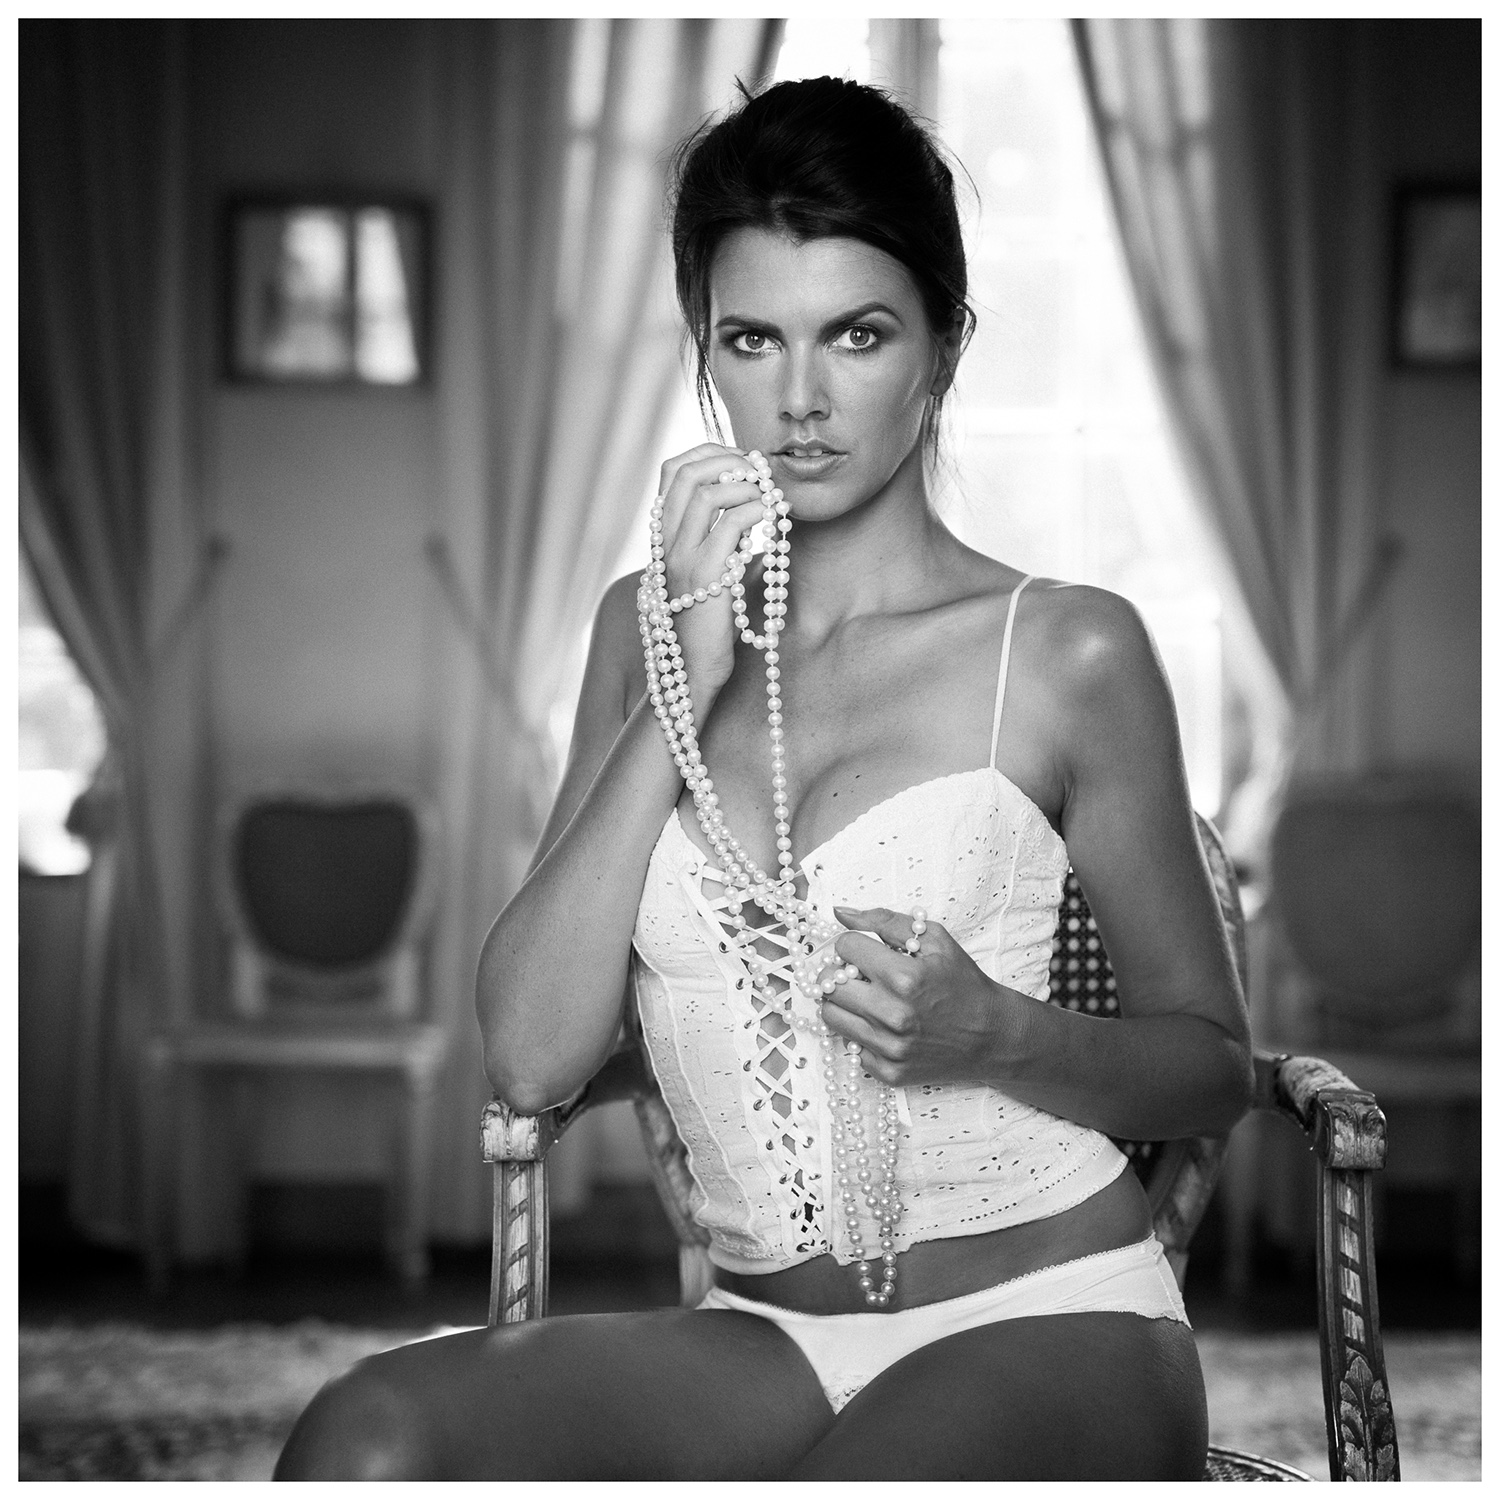
Canon 5Ds with Sigma 50mm f1.4 A DG. 1/80s f2.0 ISO100
Shot on location in Tournai – Belgium.
Model: Eva
Make up: Danitsha
Assistance: Nathalie.
Photography: ludwig desmet
hi there,
this below image had quite some succes on Facebook and different groups I published it onto. Actually people were asking about the way I did the high key development.
It was a rather straightforward and easy process, a little explanation below.

The lighting conditions where not good, NOT. 🙂
I needed an ISO setting of 2000 to be sure to have sharp images, that’s at least way over my usual limits. (I rather keep ISO settings below 800) You’ll see that the image has some noise in the shadow areas (like the throat area).
the original image looked like this: quite even light conditions, although the light was a little directional (from the left), there were no hard lights, no deep shadows.

I work in lightroom, my settings:
exposure: +2.10 / contrast: +40 / highlights: +67 / shadows: +36 / blacks: -42 / Clarity: -11 … that was about all I did. The image looks like this now:
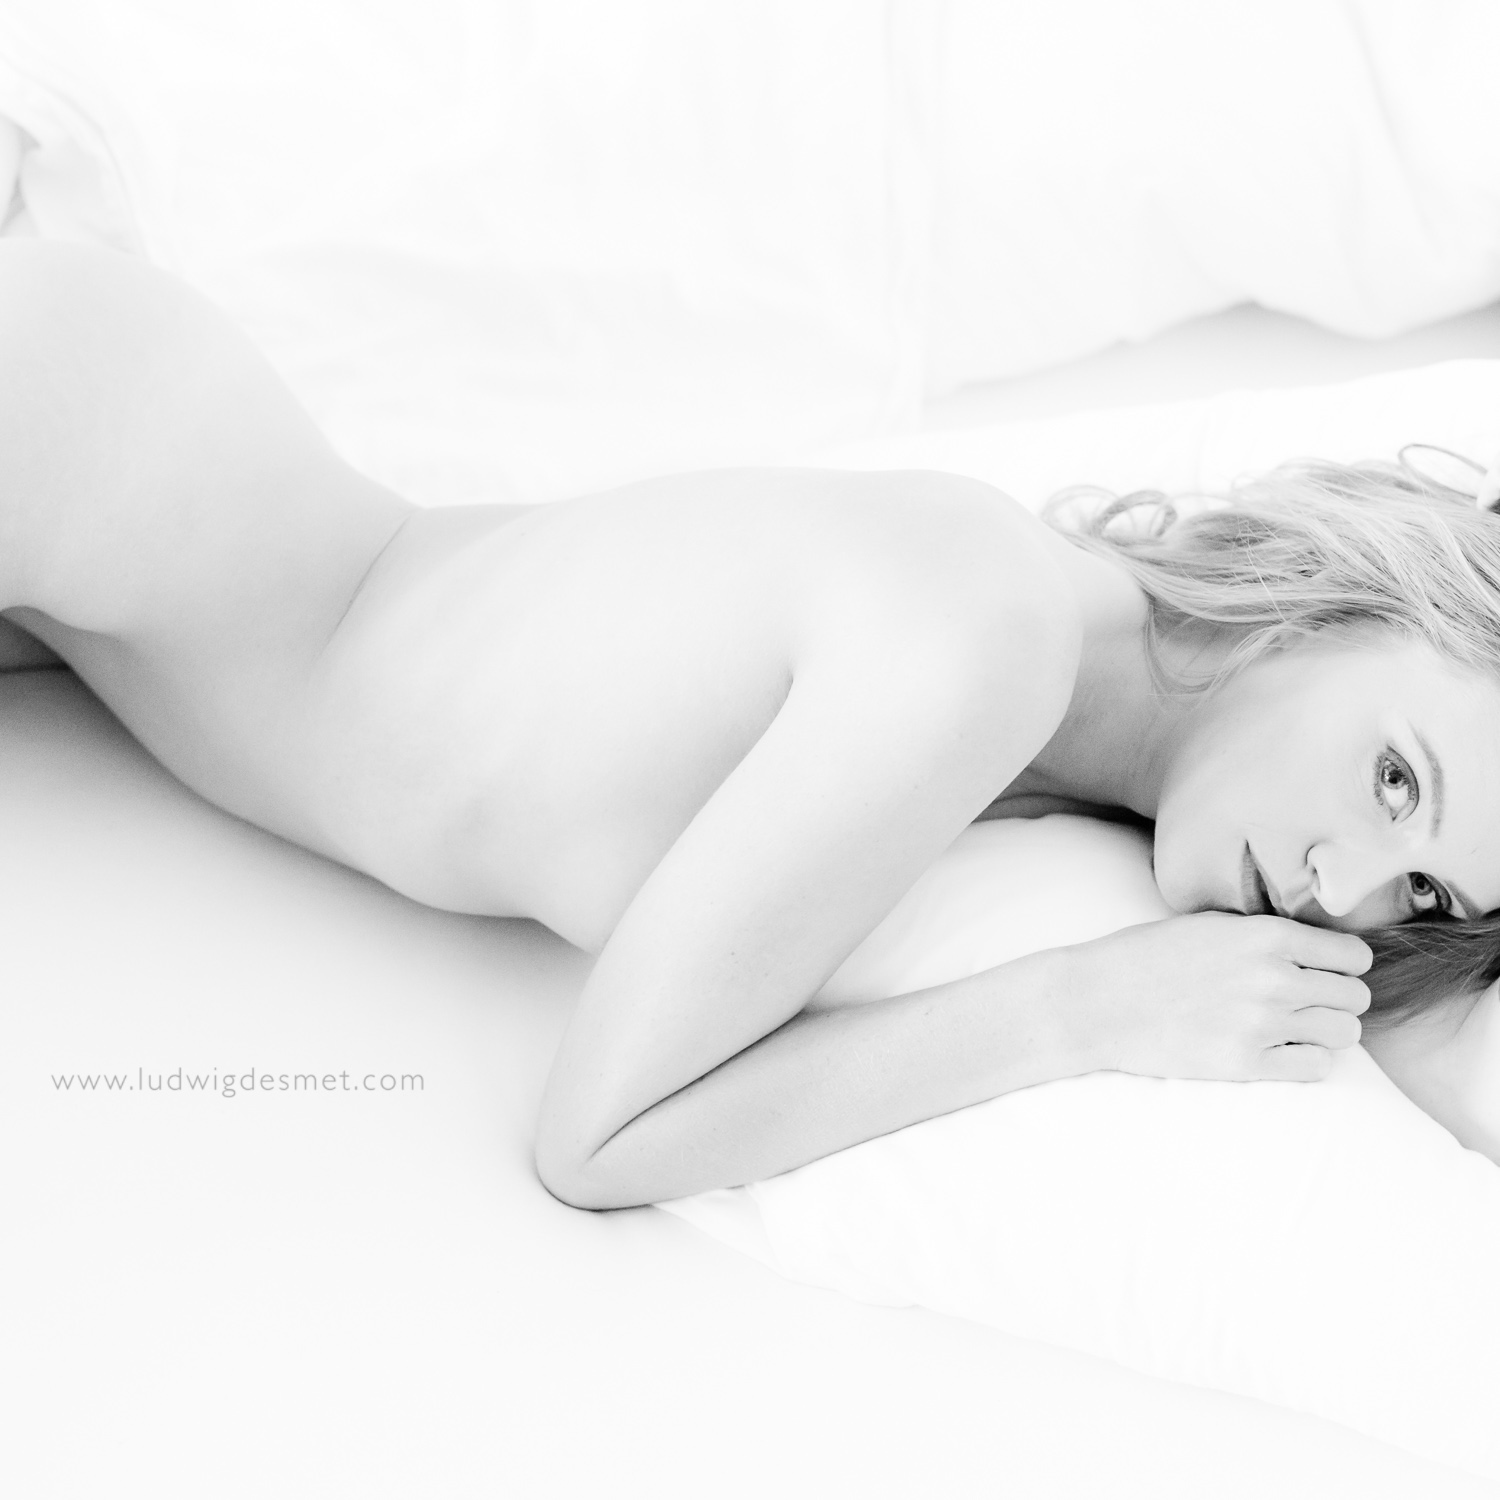
next I added some light using a local brush with + exposure, to get rid of the remaining bed sheet shading. No big secrets, just add plenty of exposure to make things white.
At last I added some noise reduction to get rid of too much grainy noise in the shadow areas. …
I hope you like the image, I certainly do.
The image was taken at a private tuition day with Sacha Leyendecker.(http://www.sacha-leyendecker.com) The model is Steffi Rubia Stringsi, from Brussels. The image was taken in an available light studio in Köln, Germany.
see you soon.
ludwig
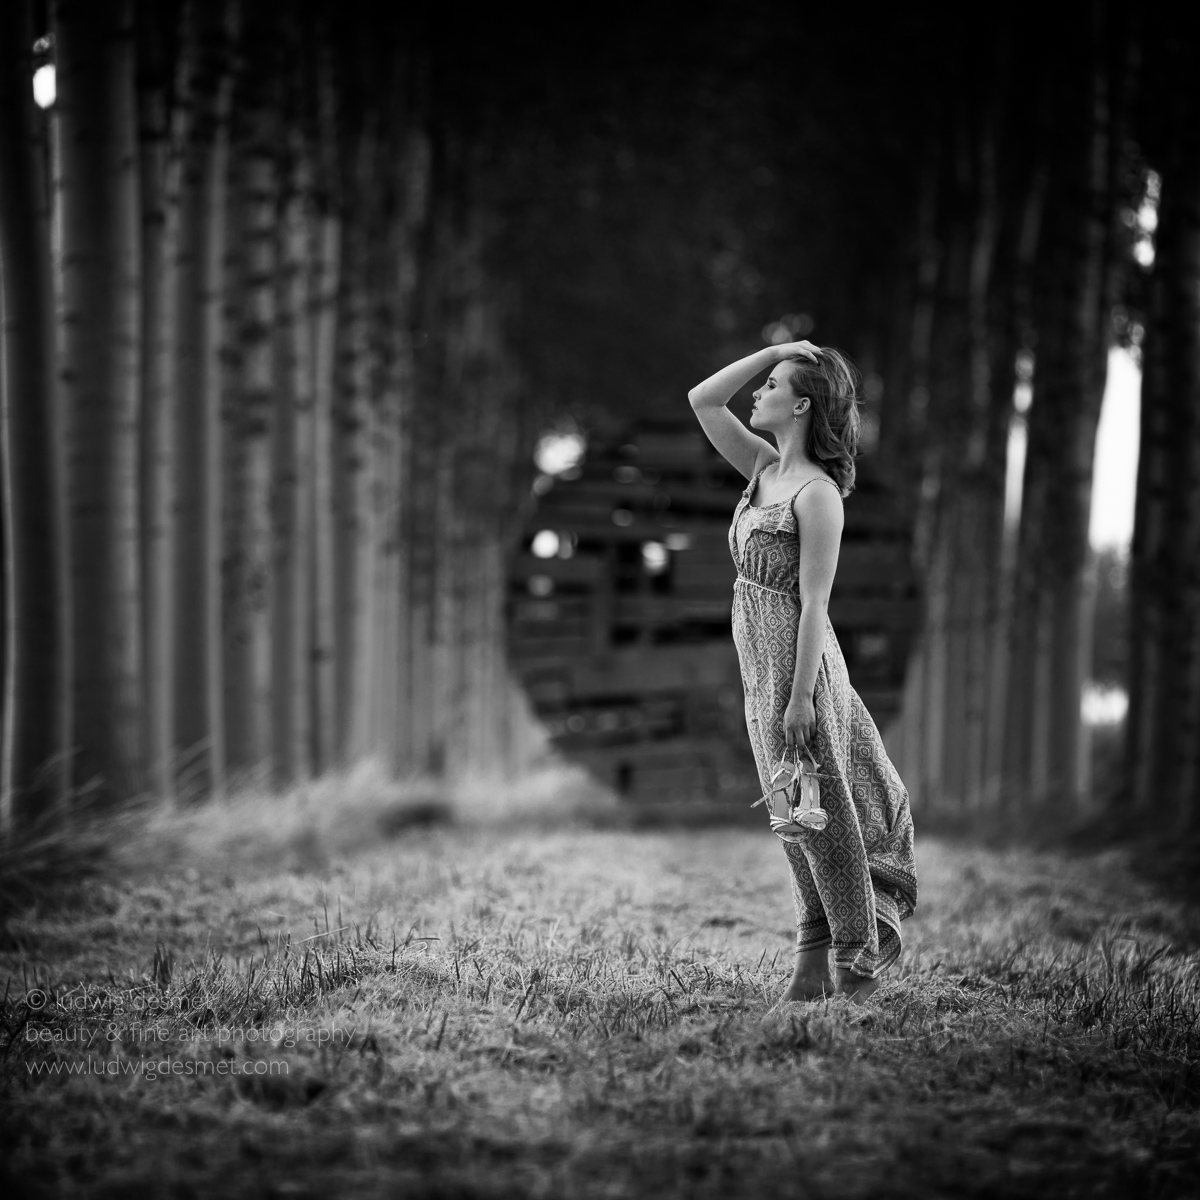
somewhere near an undefined ‘wheel of fortune’ in flanders.
• Charisse •
All images Canon 5Ds with Canon 135 mm f2 L
thank you for watching
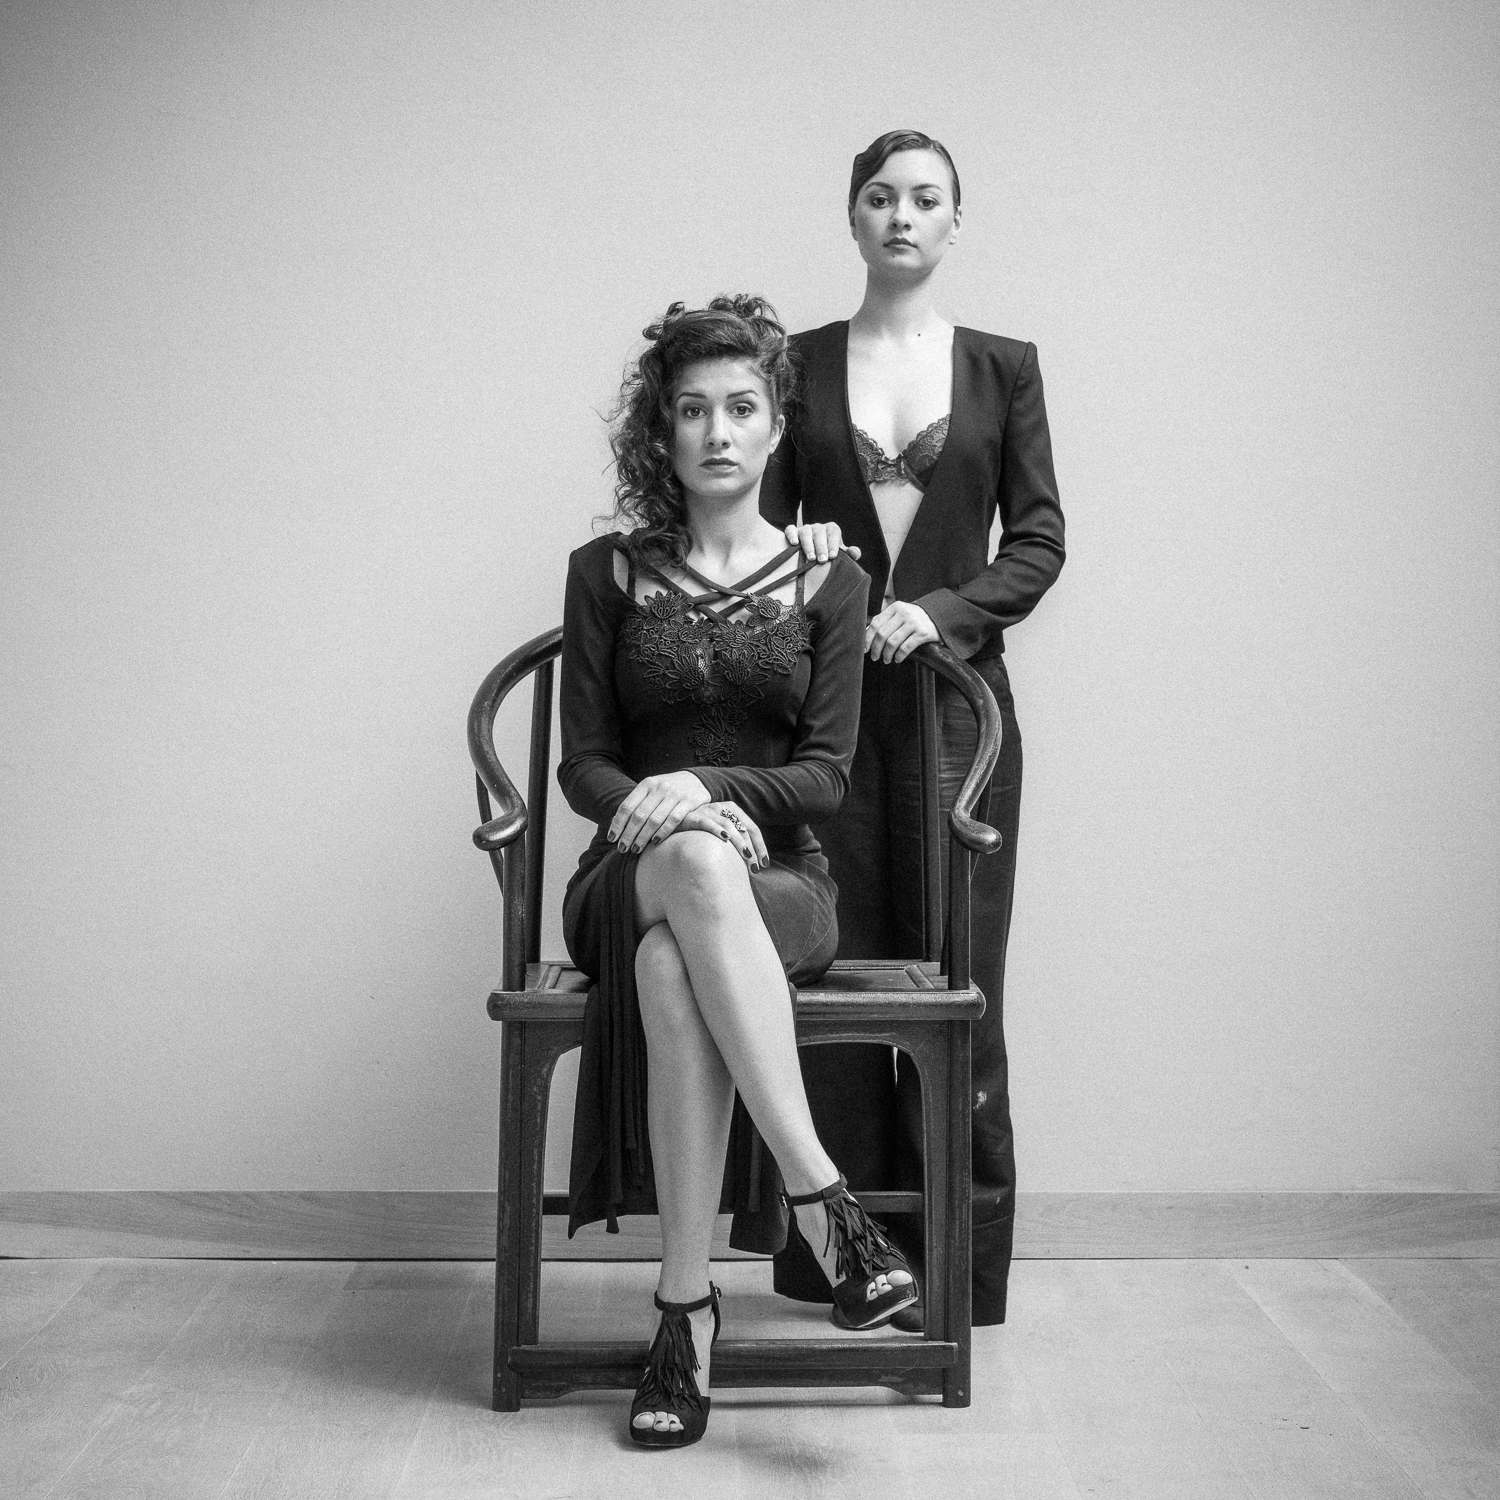
you’ve seen one of this series before here: envy
a new experience,working with two models at the same time,
I shot digital and analog for this series, all available light at the former Pinehouse interior shop in Ronse.
• Laura and Pauline – Duo •


analog:
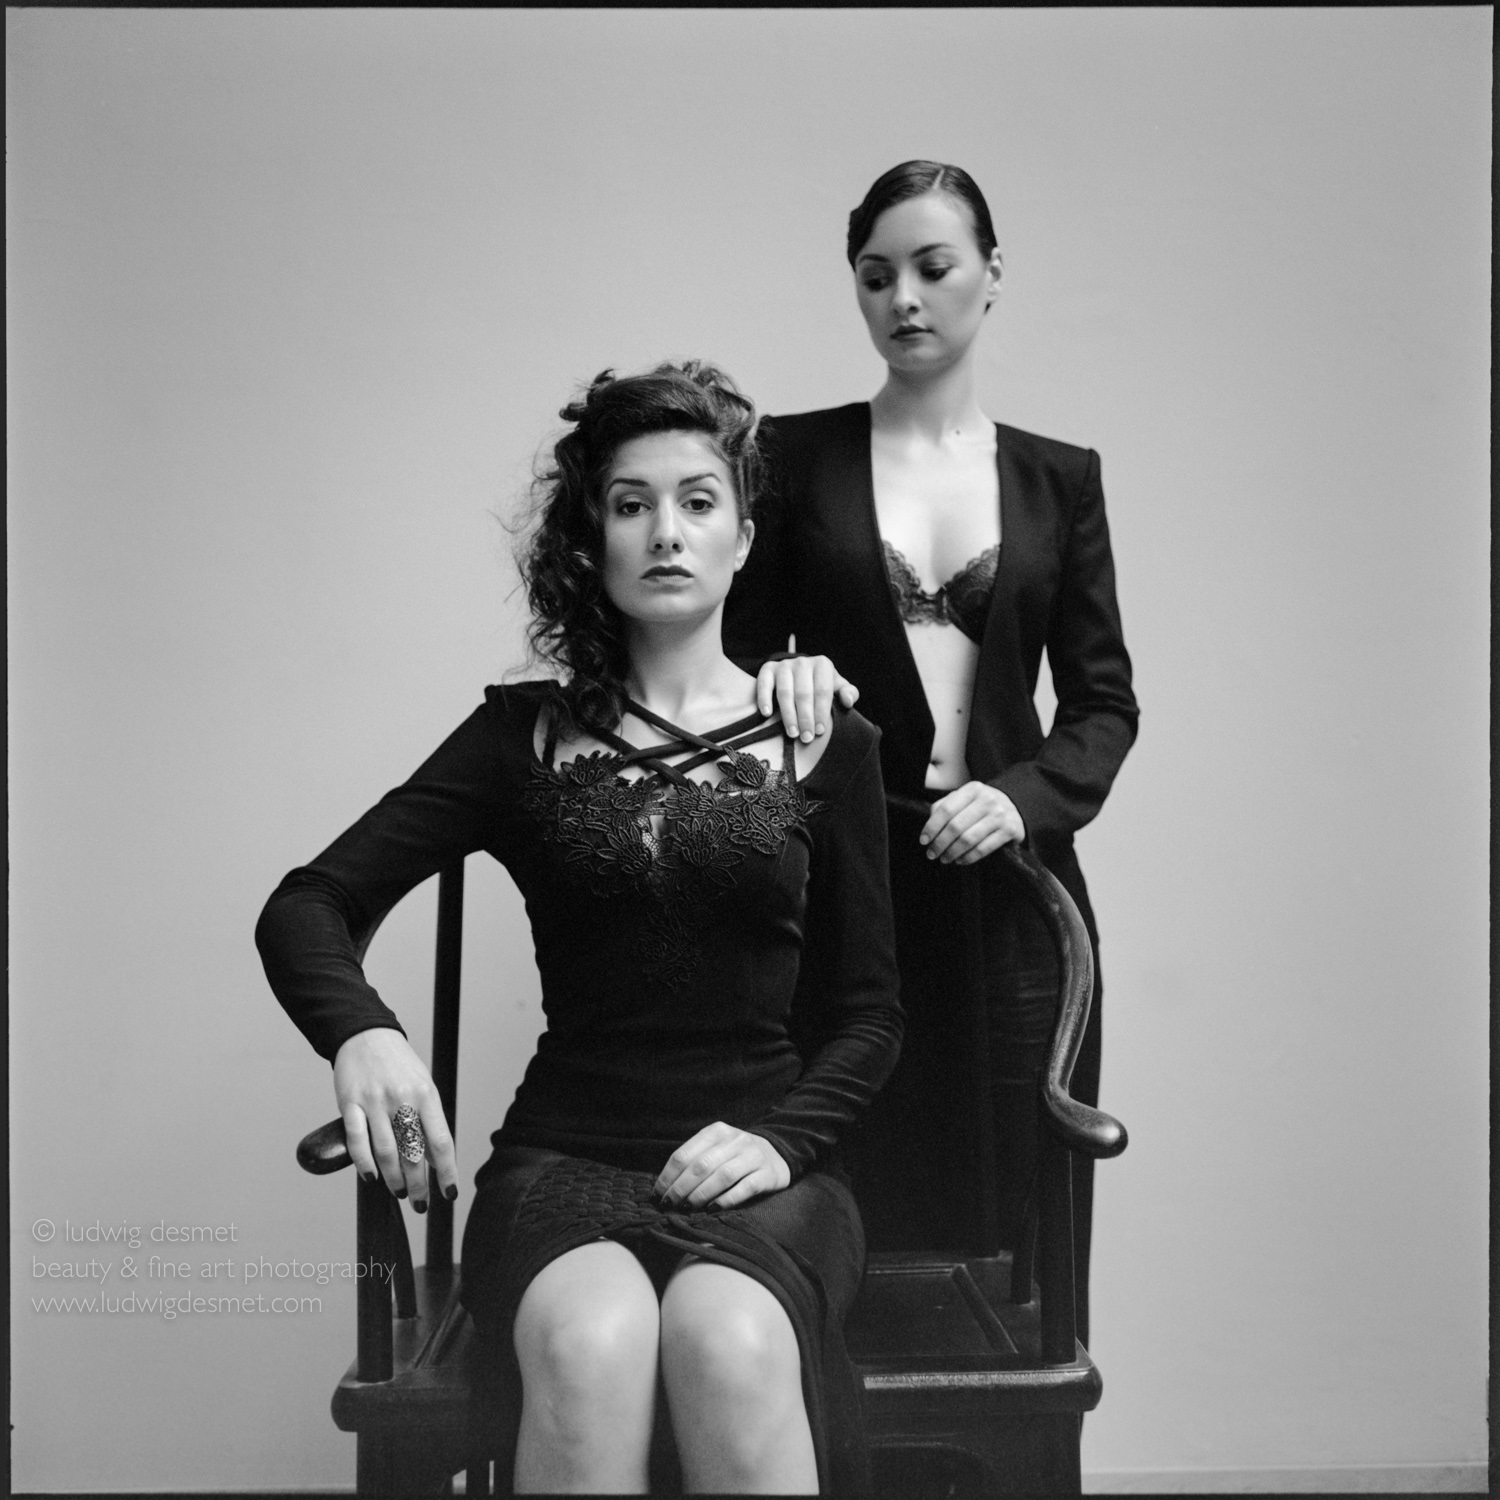

first one not entirely sharp, this means not enough dept of field due to low light (large aperture needed) and medium format negatives (gives a shallower DOF than 35mm film).
I especially like the last image, don’t know why.
thanks for looking,
ludwig
• Laura •
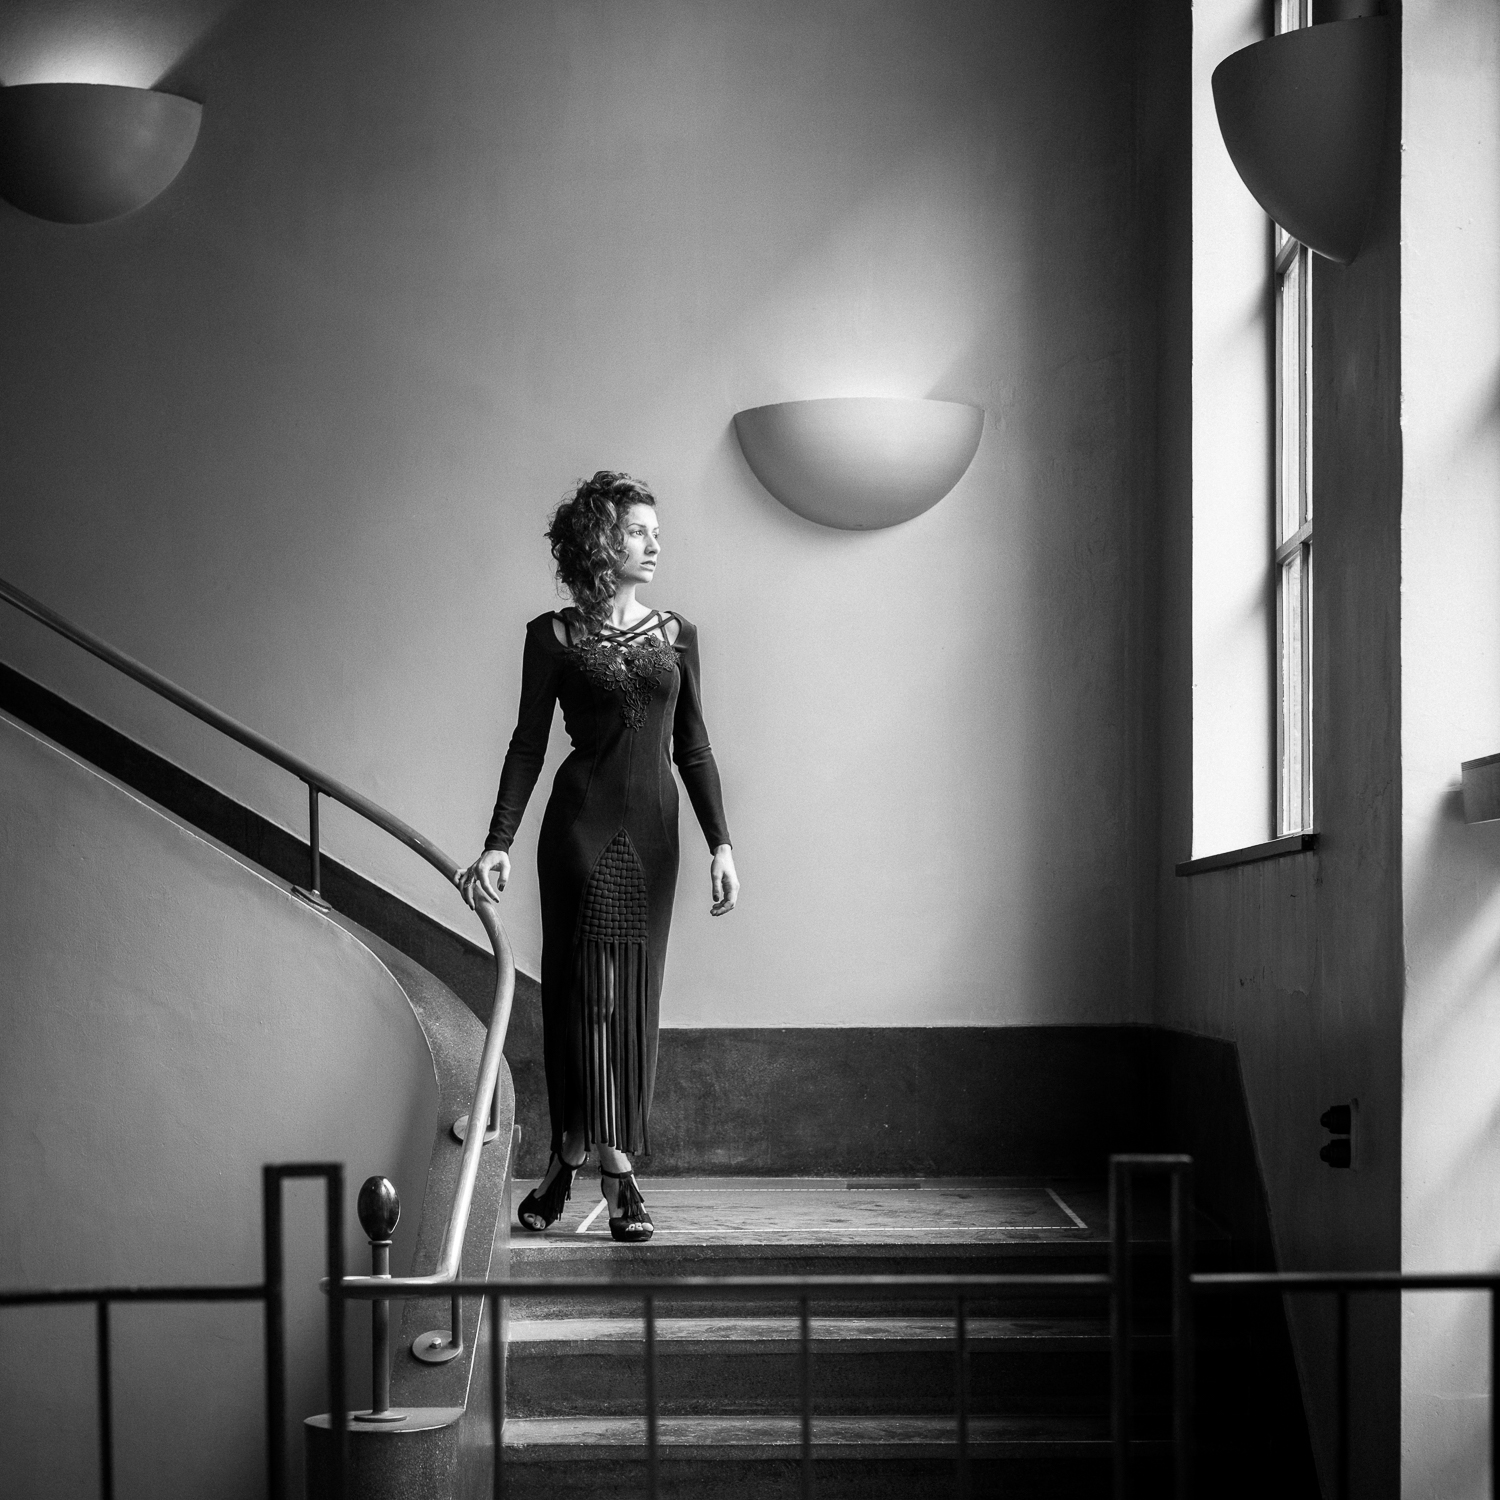
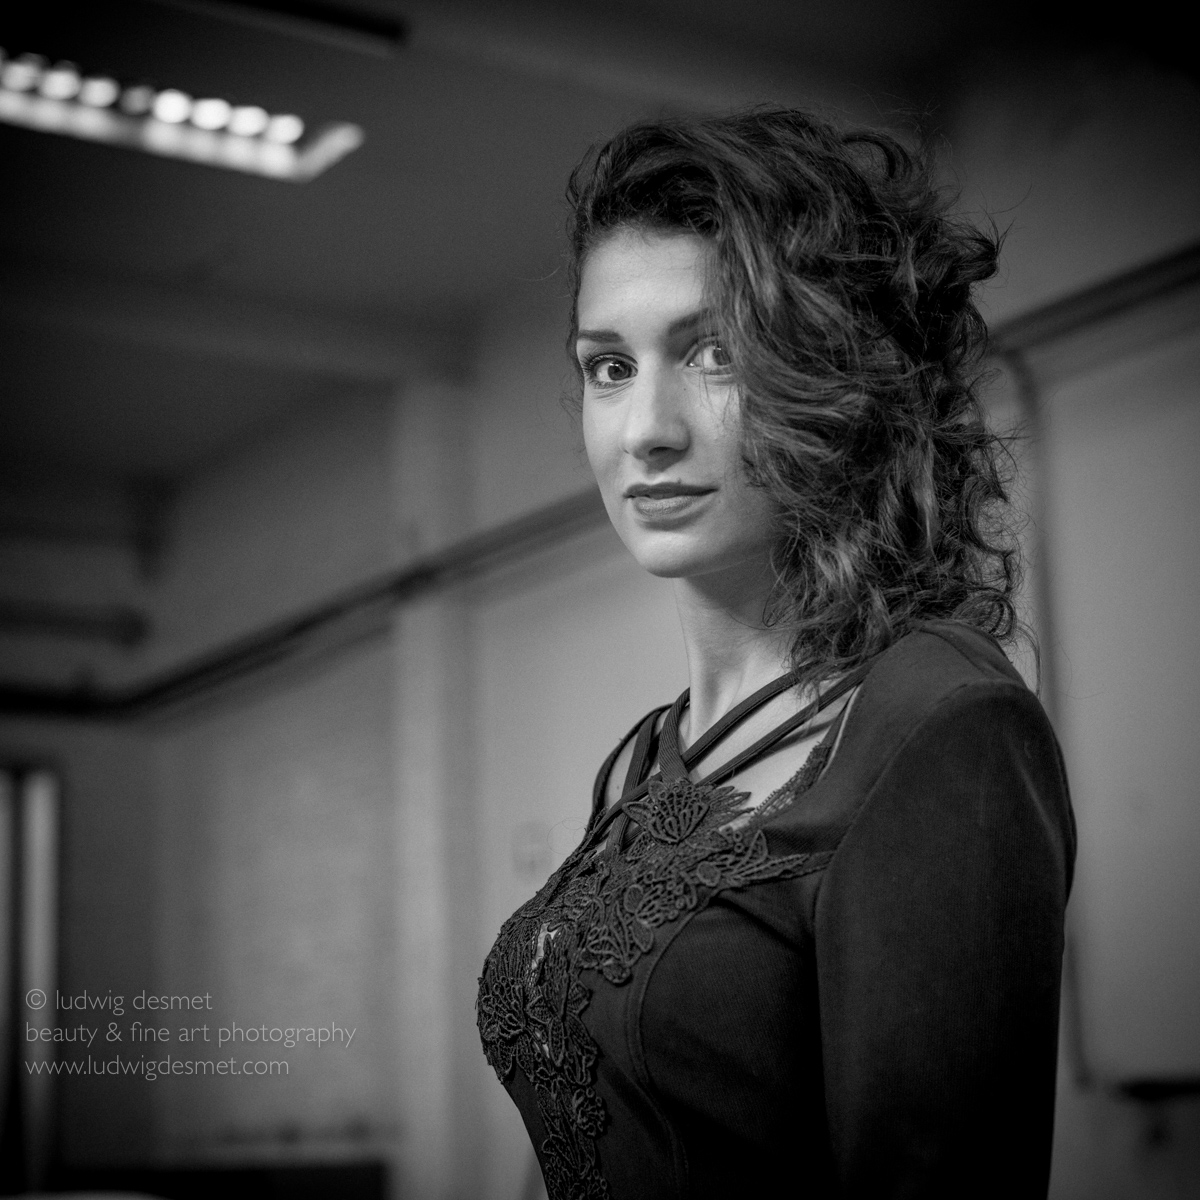


All images shot with Canon 5Ds and Sigma 50mm f1.4 DG A
(except last one, Canon 135mm f2 L)
thank you for watching,
ludwig
a small preview of the shoot I did with Erika Albonetti in Brussels.
model and make up: Erika Albonetti
assistance: Nathalie Renard
photography: Ludwig Desmet
• way too hot today •

Erika is a wonderful model to work with, you’ll see more of her appear here in the weeks to come. Photographed with Rolleiflex 3,5 on Kodak T-Max100 film.
location: Kunstberg/Mont des Arts – Brussels.
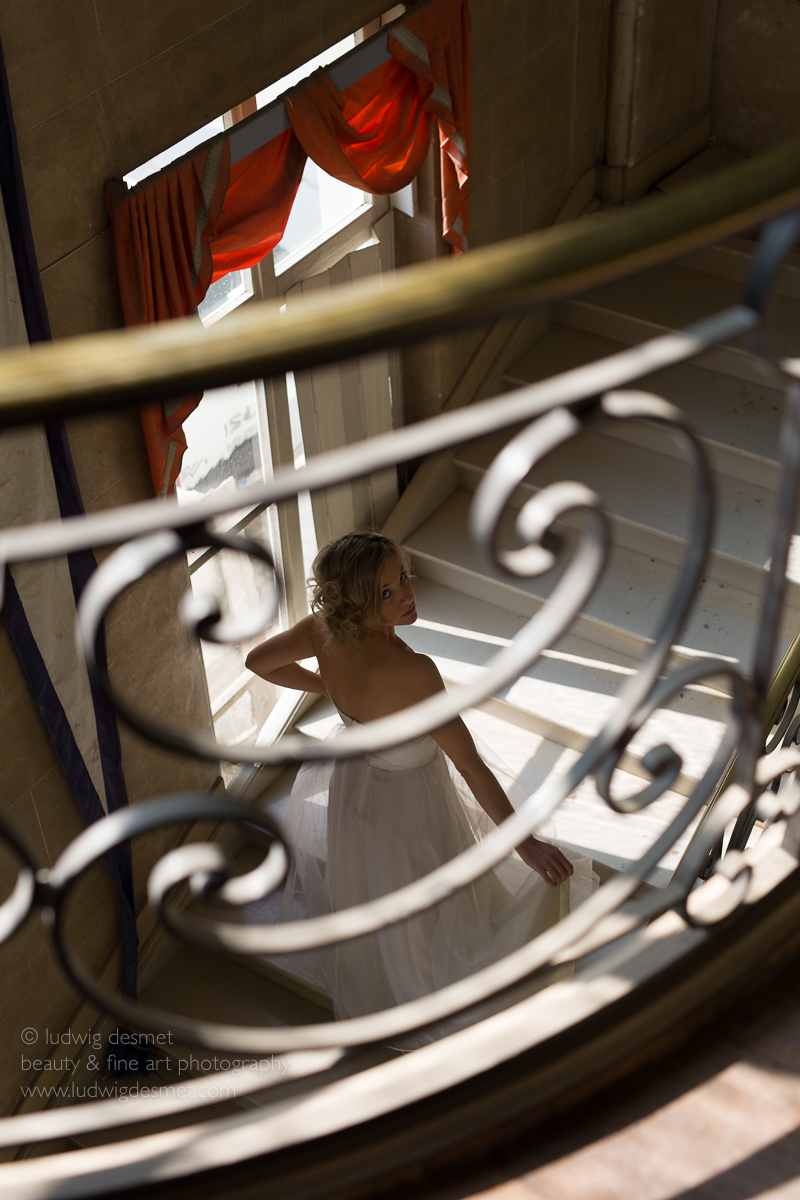
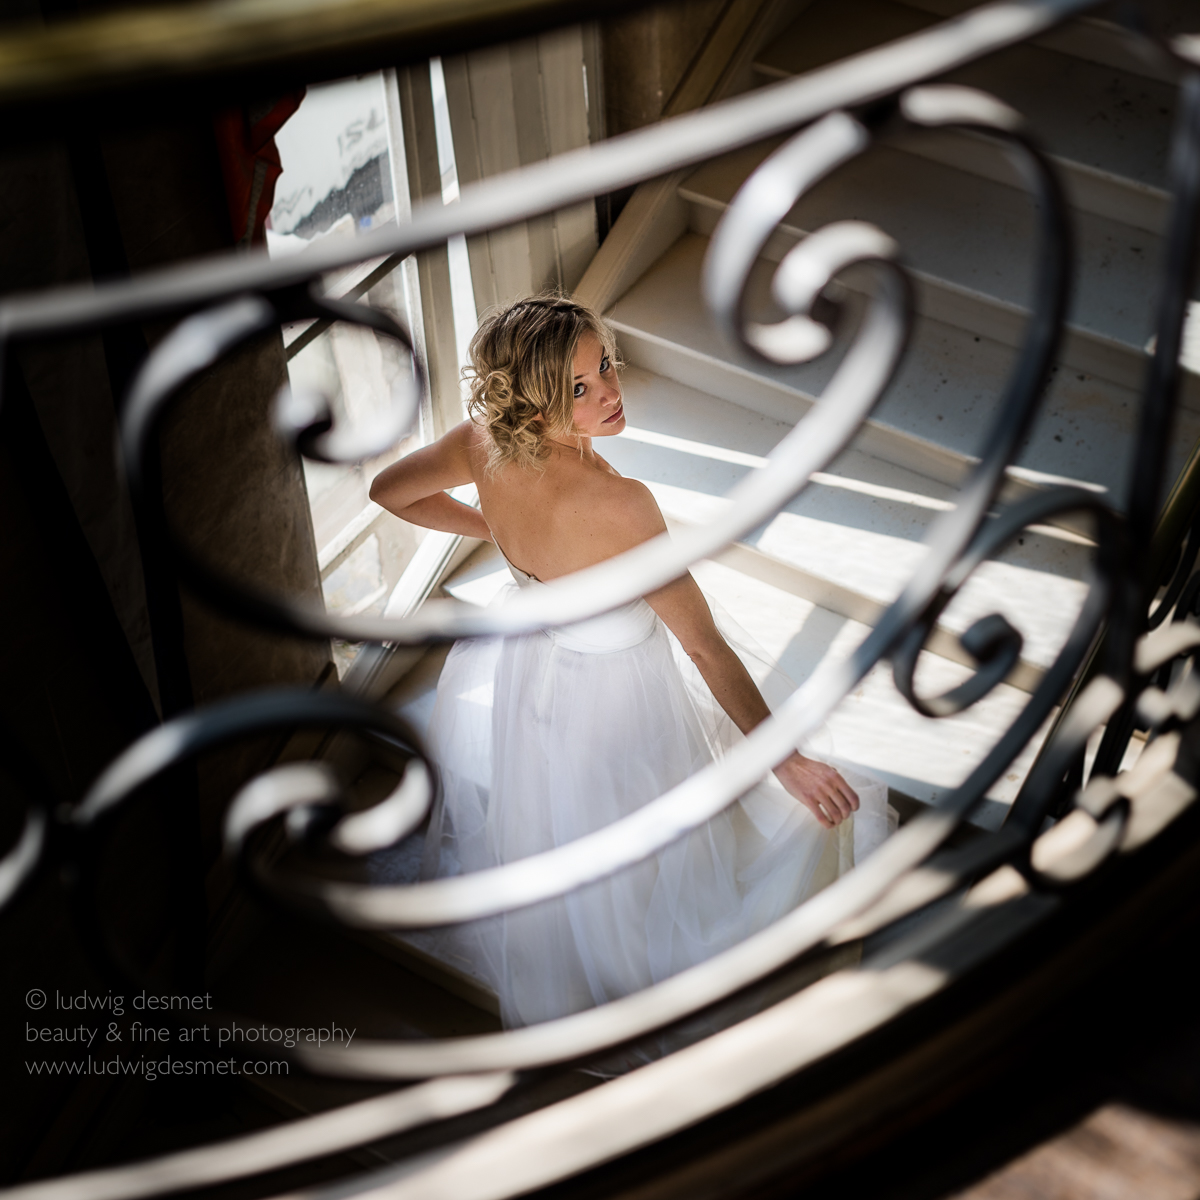
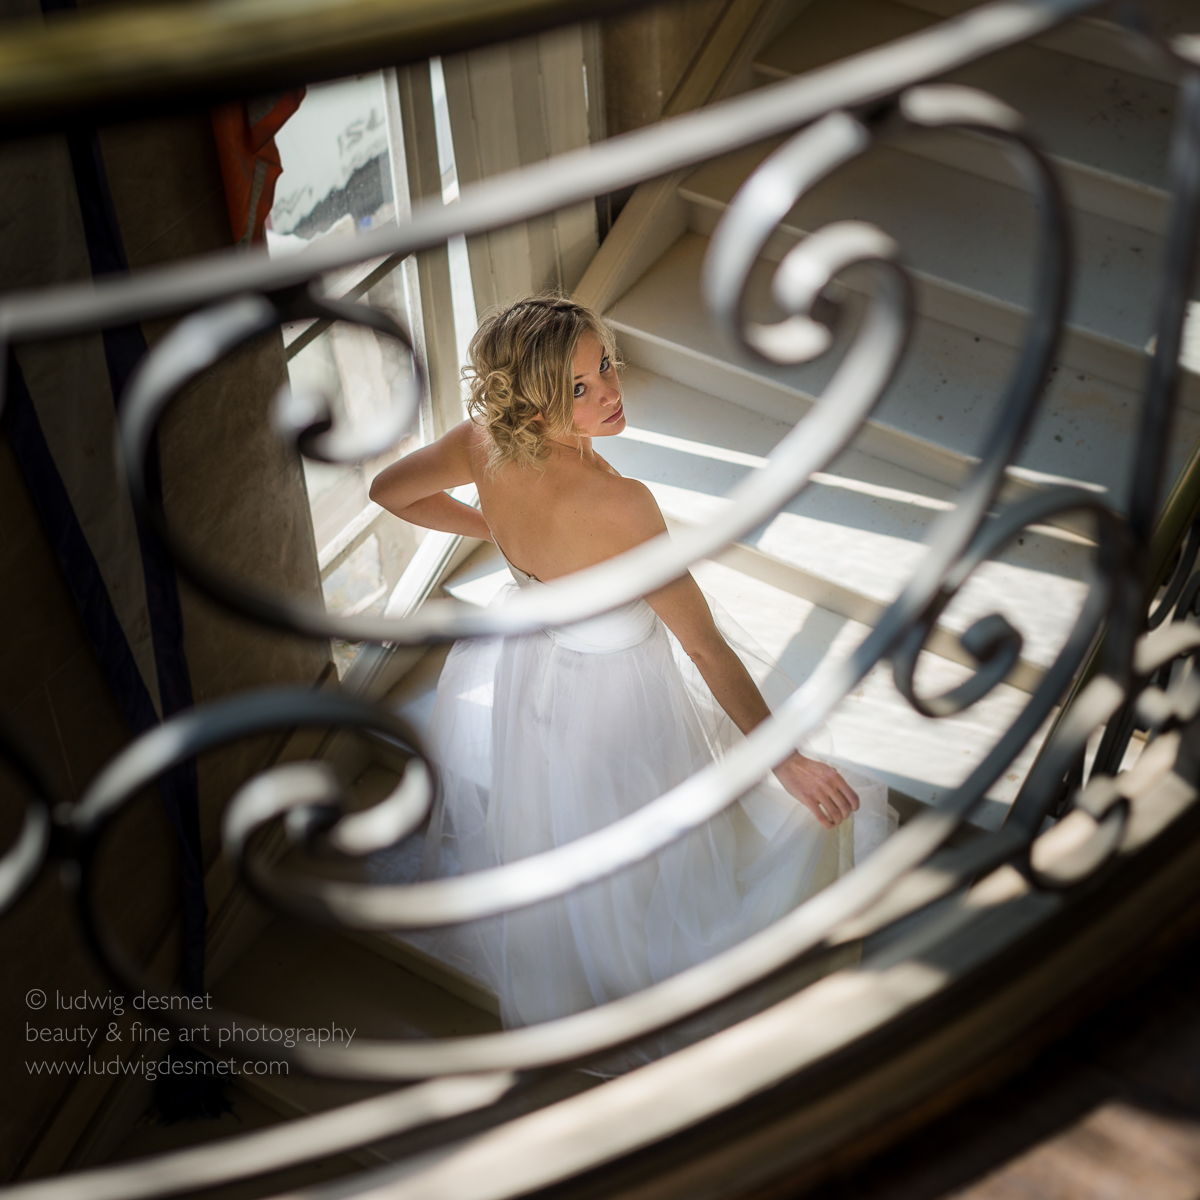
It’s hot outside, very hot, so let’s remain in the freshness of the castle library. No-one bothering us, some time to spend with … solitaire.
Ava playing solitaire
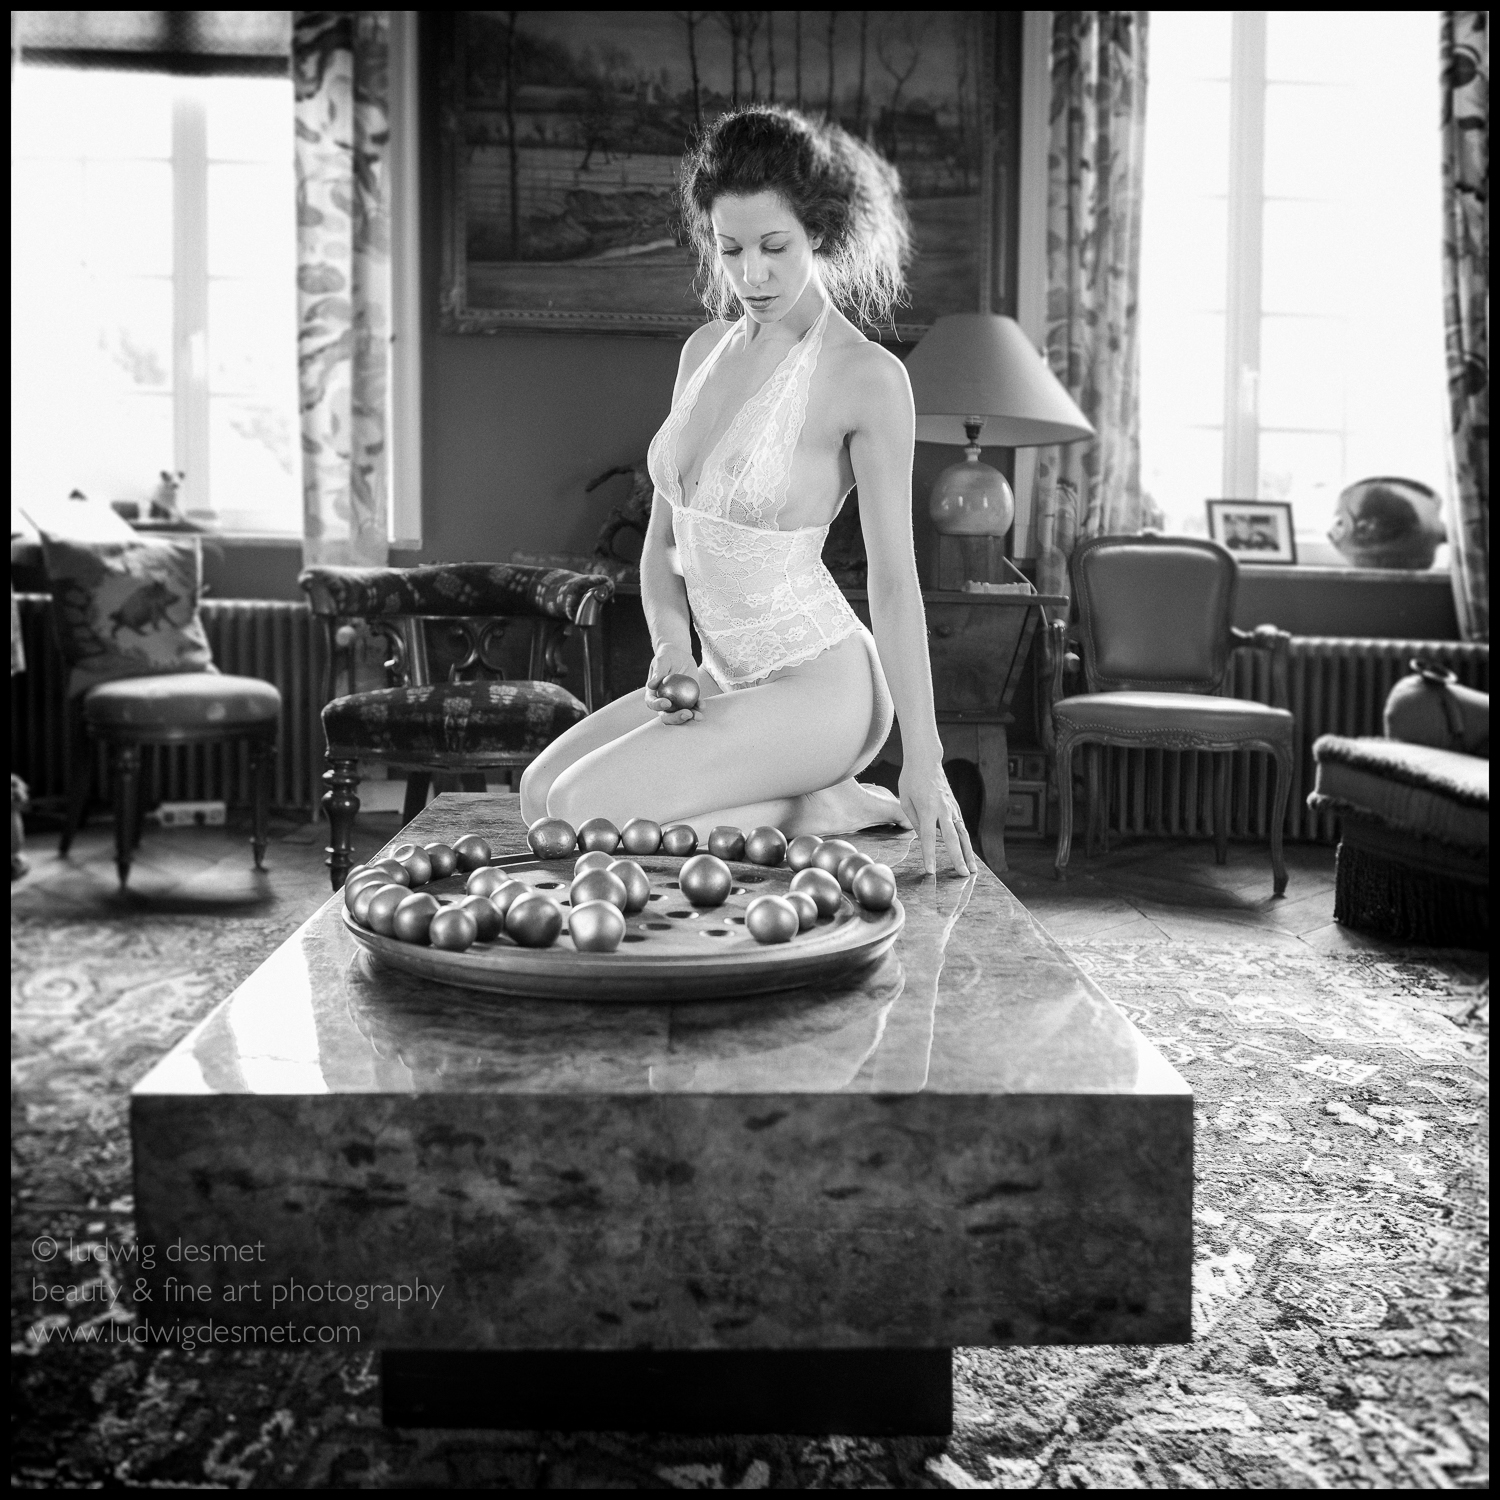
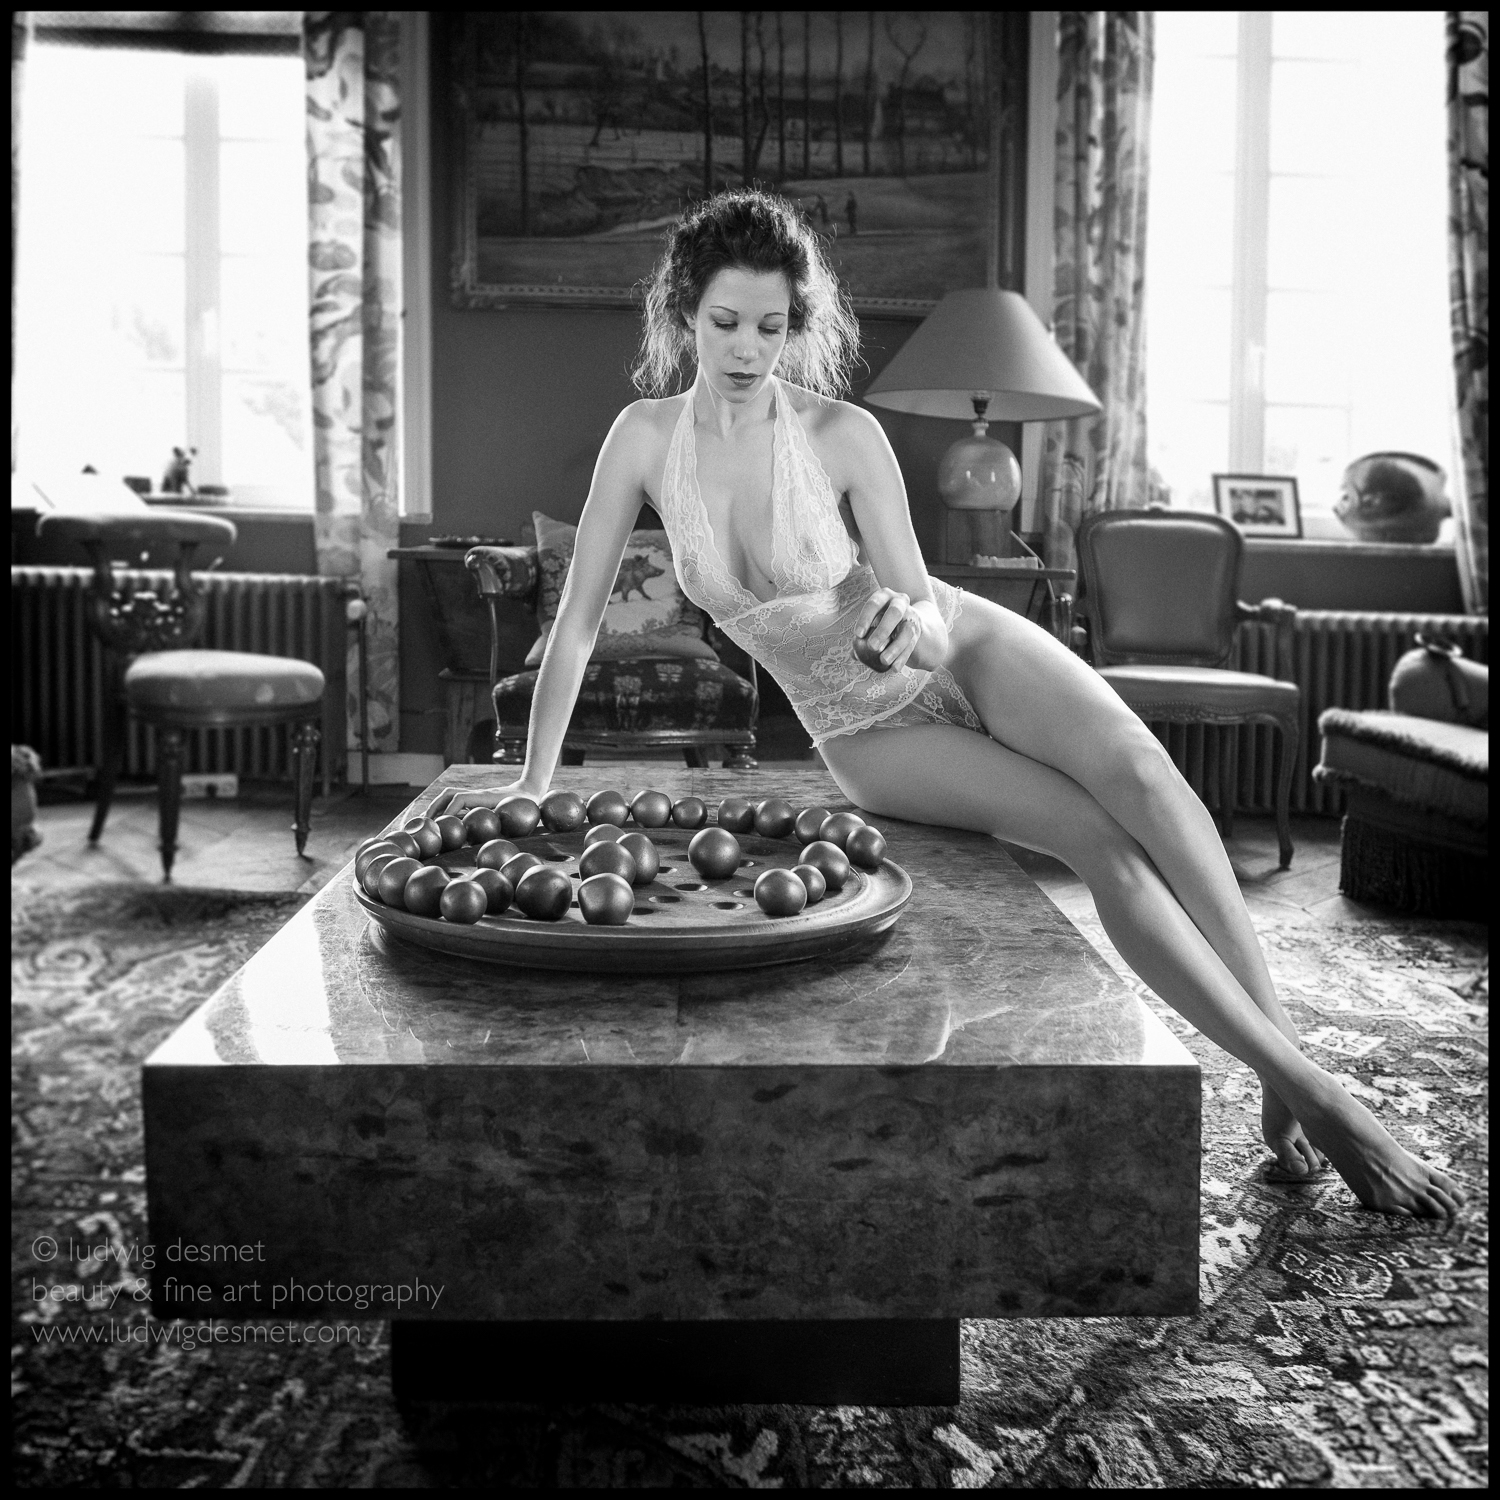

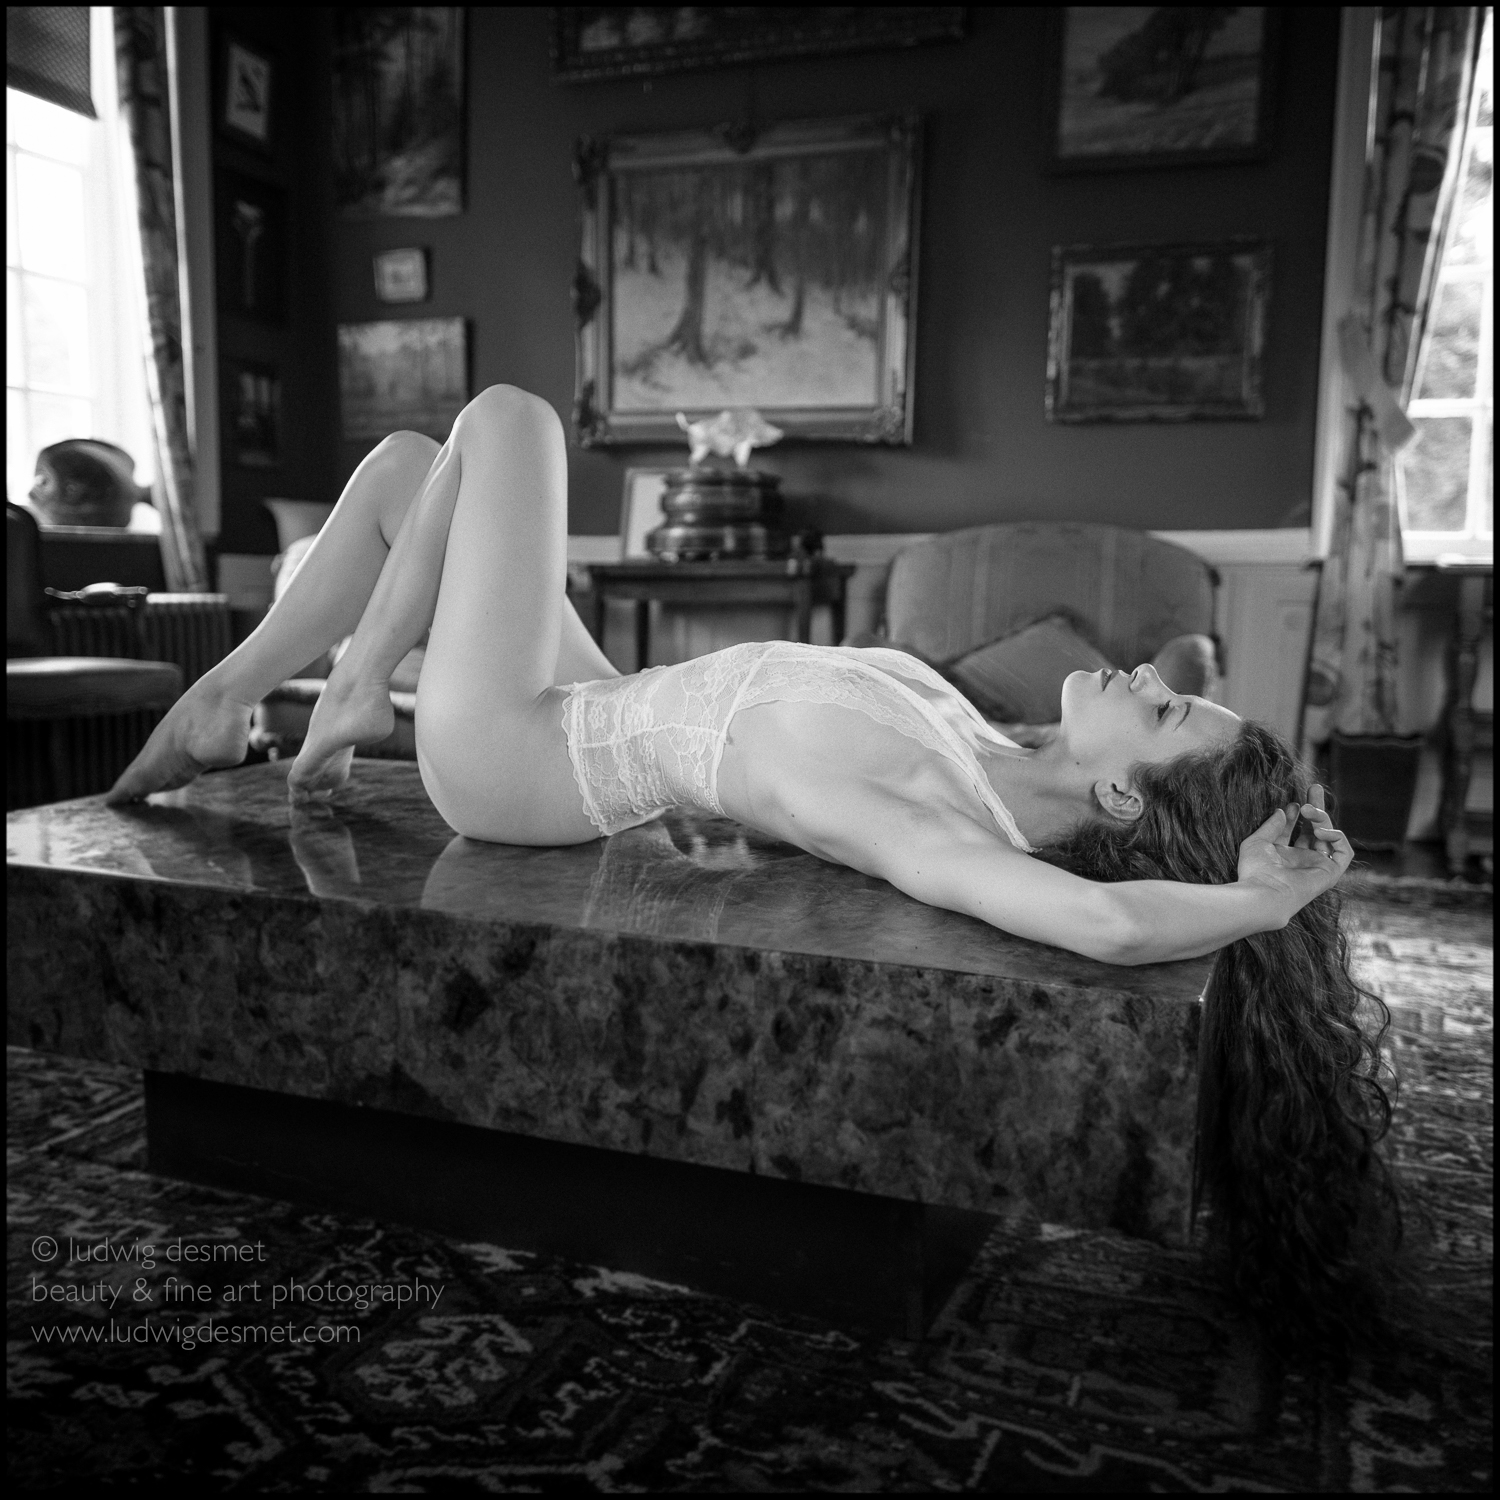
Model: Ava
Hair: Nathalie
shot on location in Tournai (B) thanks to the owners of the house and a big thank you to Ava for her confidence and charm.
© ludwig desmet – 2016
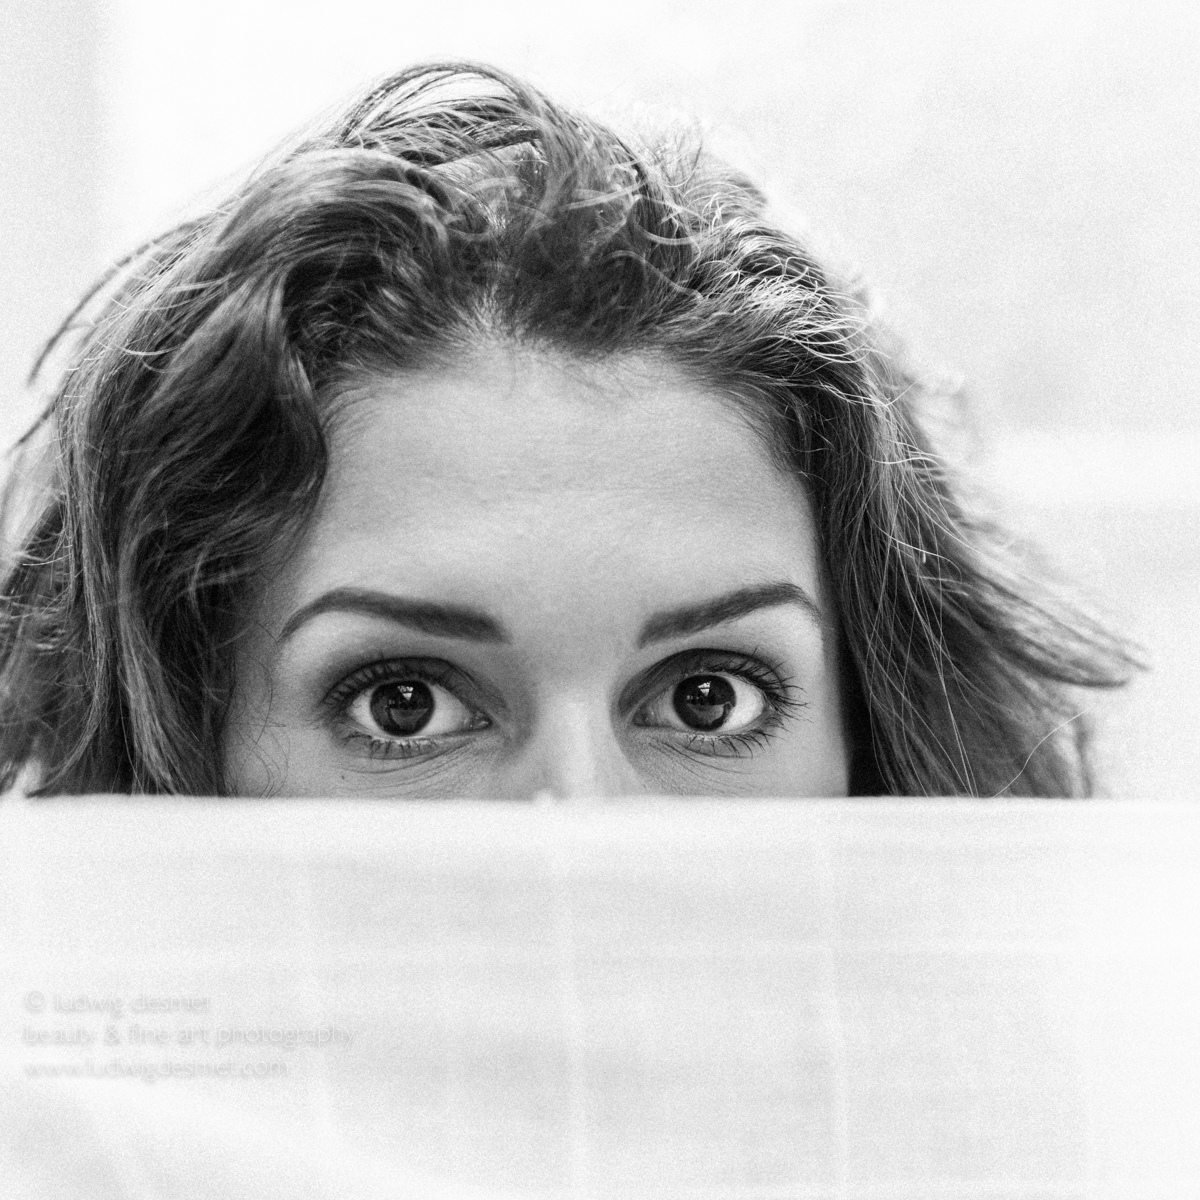
… is watching you
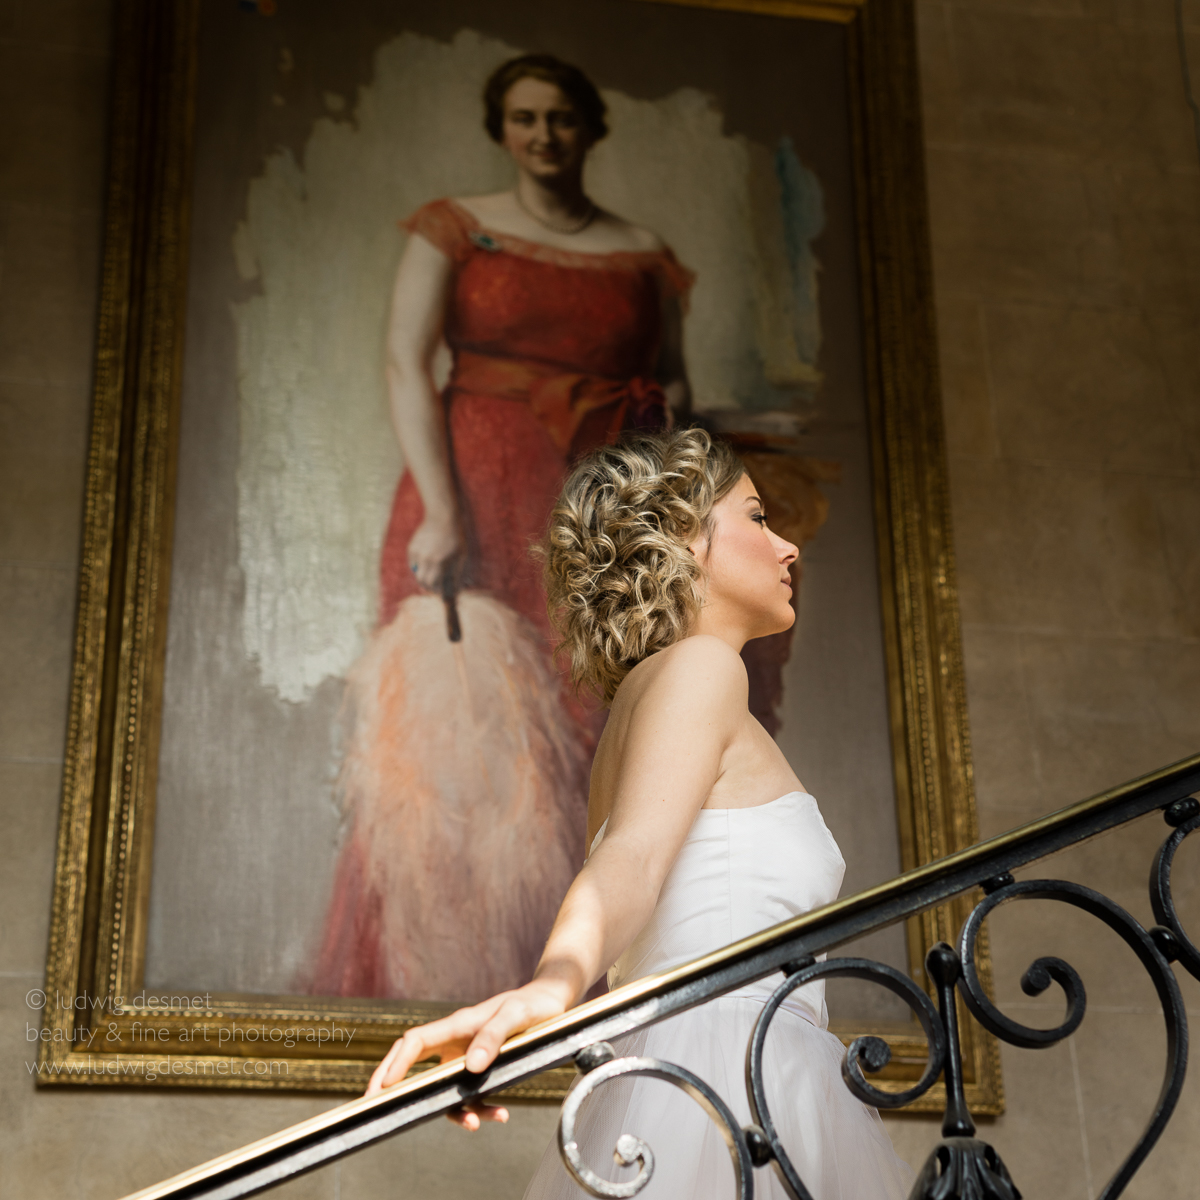
Canon 5Ds with Sigma 50mm f 1.4 DG Art – 1/400 f2.8 ISO160
Model: Jenn
Hair: Nathalie
Mua: Heidi
at Baudries Castle, Dikkelvenne (B)
thank you for watching, ludwig
The book of love

Canon 5Ds with Sigma 50mm f1.4 DG Art – 1/15s f4.0 ISO 320
thank you for watching,
Ludwig
One of the often overlooked features of Lightroom is the camera calibration tab.
Camera calibration optimises the way Lightroom will interpret the RAW files of your specific camera. It reorganises the colour values in relation to a pre-defined target, and the way your camera reproduces this target.
In very short, RAW files do not have a colour profile embedded, nor do they contain a predefined color reproduction definition. It is up to your raw-editor to interpret the raw files and do some kind of a pre-development when importing and previewing on screen.
Current Lightroom versions use the ‘Adobe Standard’, or one of the options also available in your camera image settings modes (with Canon, this is for instance: Camera faithful, landscape, portrait, standard, … )
This is no guarantee for a correct reproduction of colours or brightness values.
In comes the camera calibration tool. I have the colorchecker passport photo from X-rite. This is a combination of a small piece of hardware (a plastic booklet with 2 screen printed colour target sides and a white face) and a piece of software to be installed on your system.
The simplest way of doing a camera calibration is a single light situation calibration, in which you take a picture in the light situation you will use for your images, including the colorchecker target. Take care the target is lit by the same light as your images that follow.
After that, shoot your images.
In Lightroom, you will need the first image with the target included to make build your camera profile. This is very simple by selecting the image -> export -> Colorchecker passport. This will automatically compare your camera’s ‘target reproduction’ with the target’s known values in the software, and build a ‘custom camera profile’ for you to start with. The new profile won’t show up until restart of Lightroom. (there are certainly more detailed step by step explanations on Youtube 😉 )
Below you can see the target without and with the newly activated camera calibration.
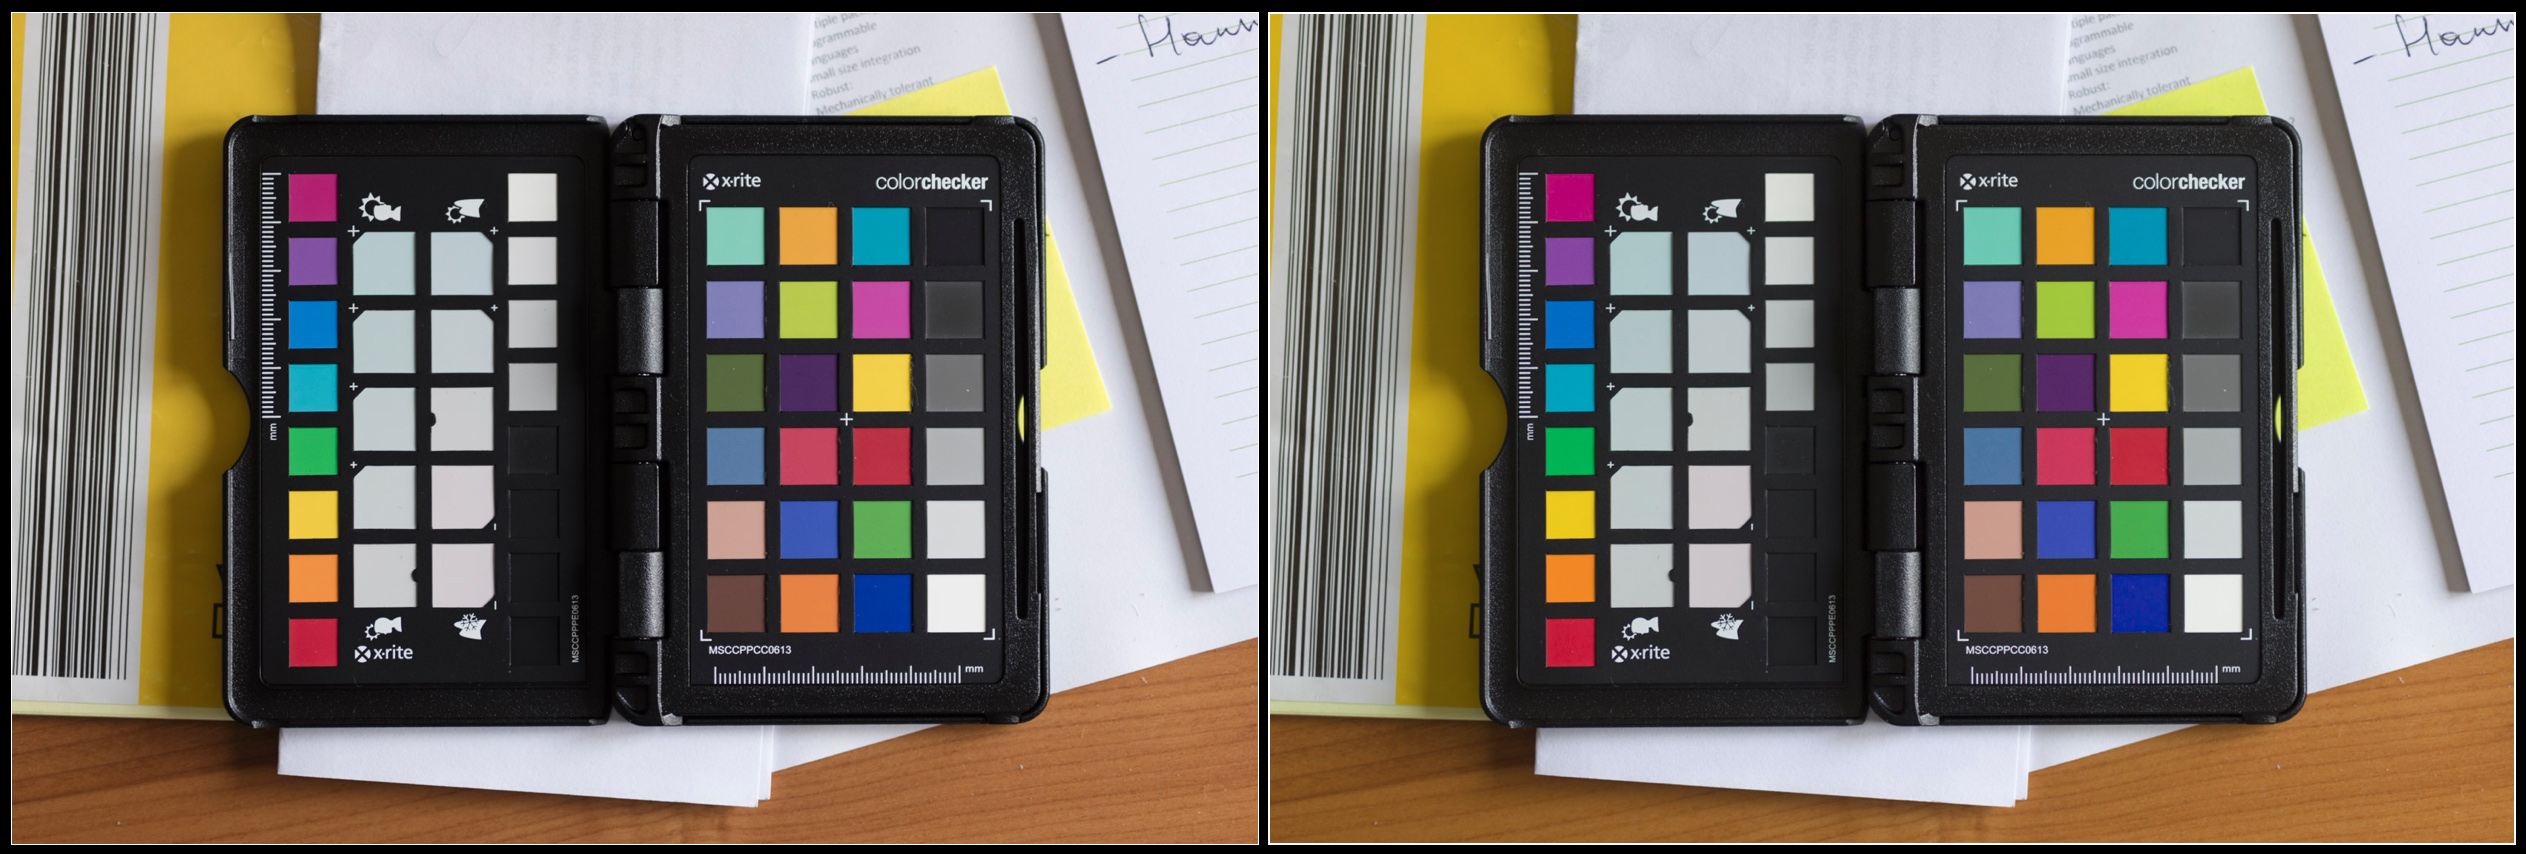
not a big deal you’ll probably say, and this camera is indeed rather color-correct compared to some others I’ve seen. To make things more obvious, I placed both images onto each other, and made a layer mask to cover up half of the targets:
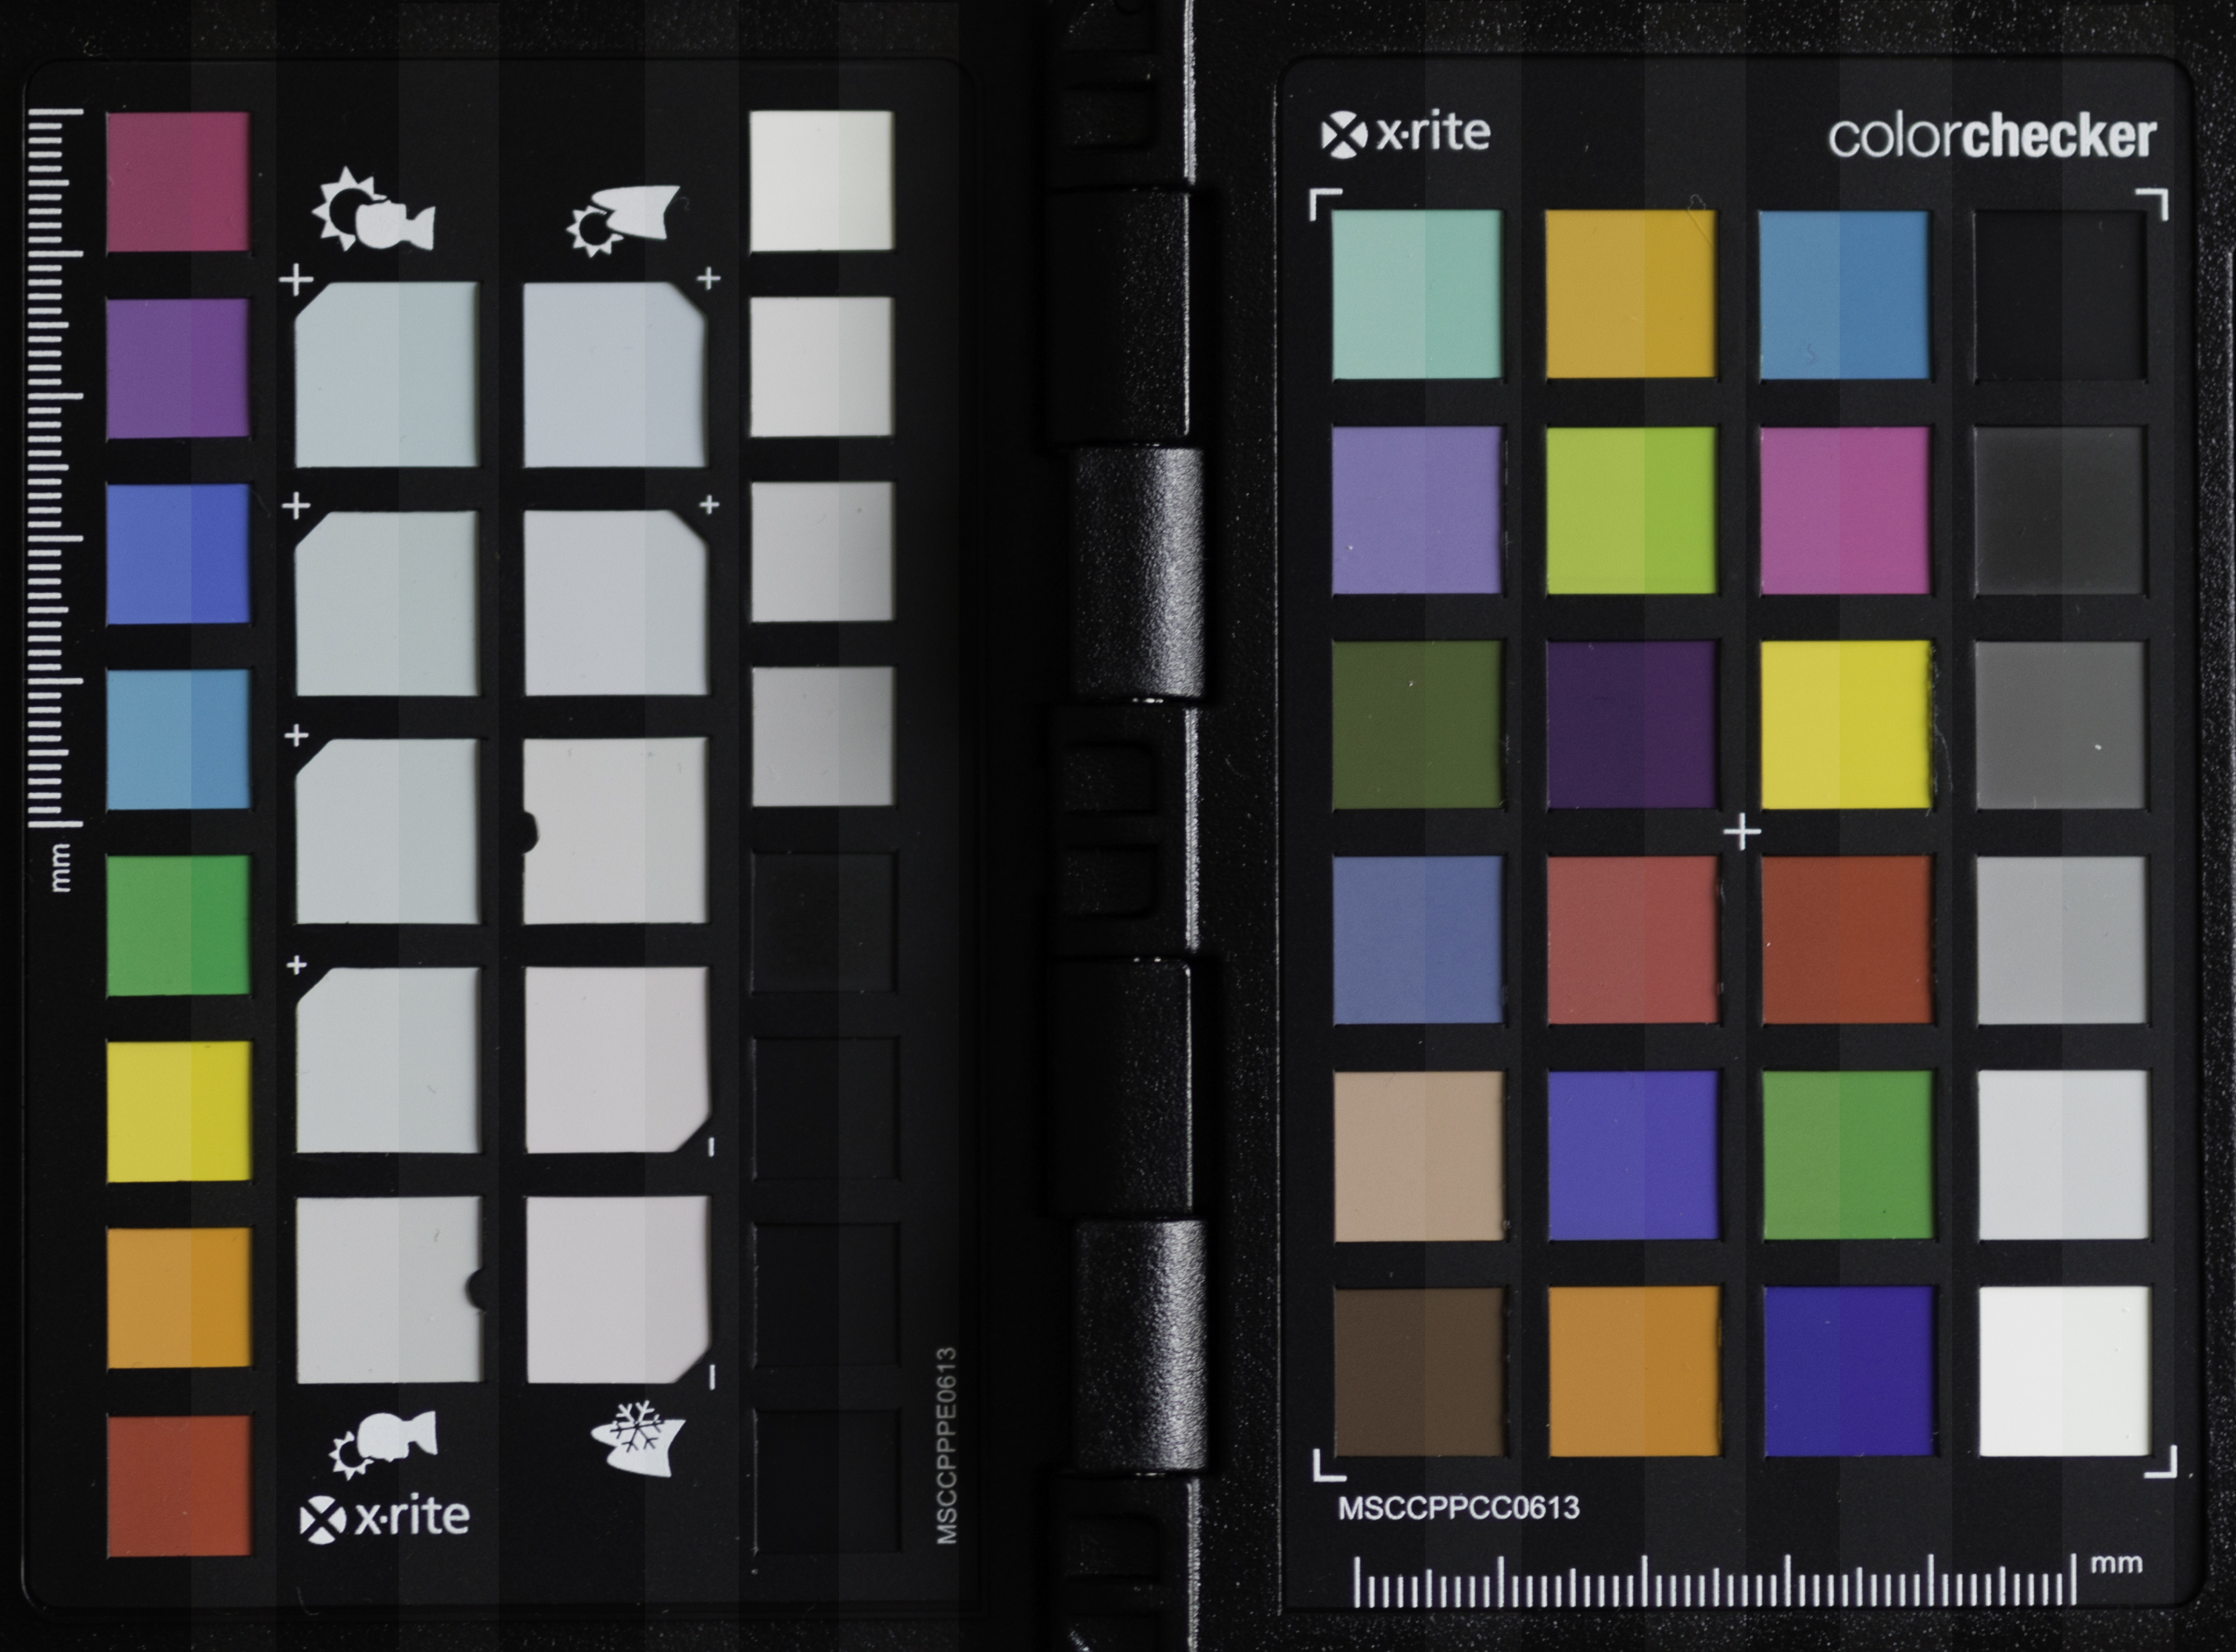
left half with ‘Adobe Standard’, right with my custom color profile on the Canon 5Ds.
Colours are more saturated, some a tad lighter, others a little darker, some colours shift slightly, (note the purple and the yellow-green on the right) but especially the blacks are less deep. This is especially helpful if you need to uplight the dark tones (shadows) in LR.
These are two versions of the same RAW file, but they get different RGB values. This means that the initial state of your raw file is very much dependent of your Camera calibration settings. If you are very fond of let’s say the ‘camera portrait’ picture style settings on your camera, then you might as well use this profile in your RAW-editor. (as photographing in RAW will not edit the data in your images, but the preview on the camera’s back is based on a jpg file modified by the settings in your camera. your preview will still get the ‘camera portrait’ picture style view, but your RAW will not reflect it.
That is why an image might look good when importing in LR, and then switch to something dull a second later. The initial look is from the embedded preview file, generated by your camera, the second look is from the preview generated by LR, based on the camera calibration settings currently active (standard setting = Adobe Standard)
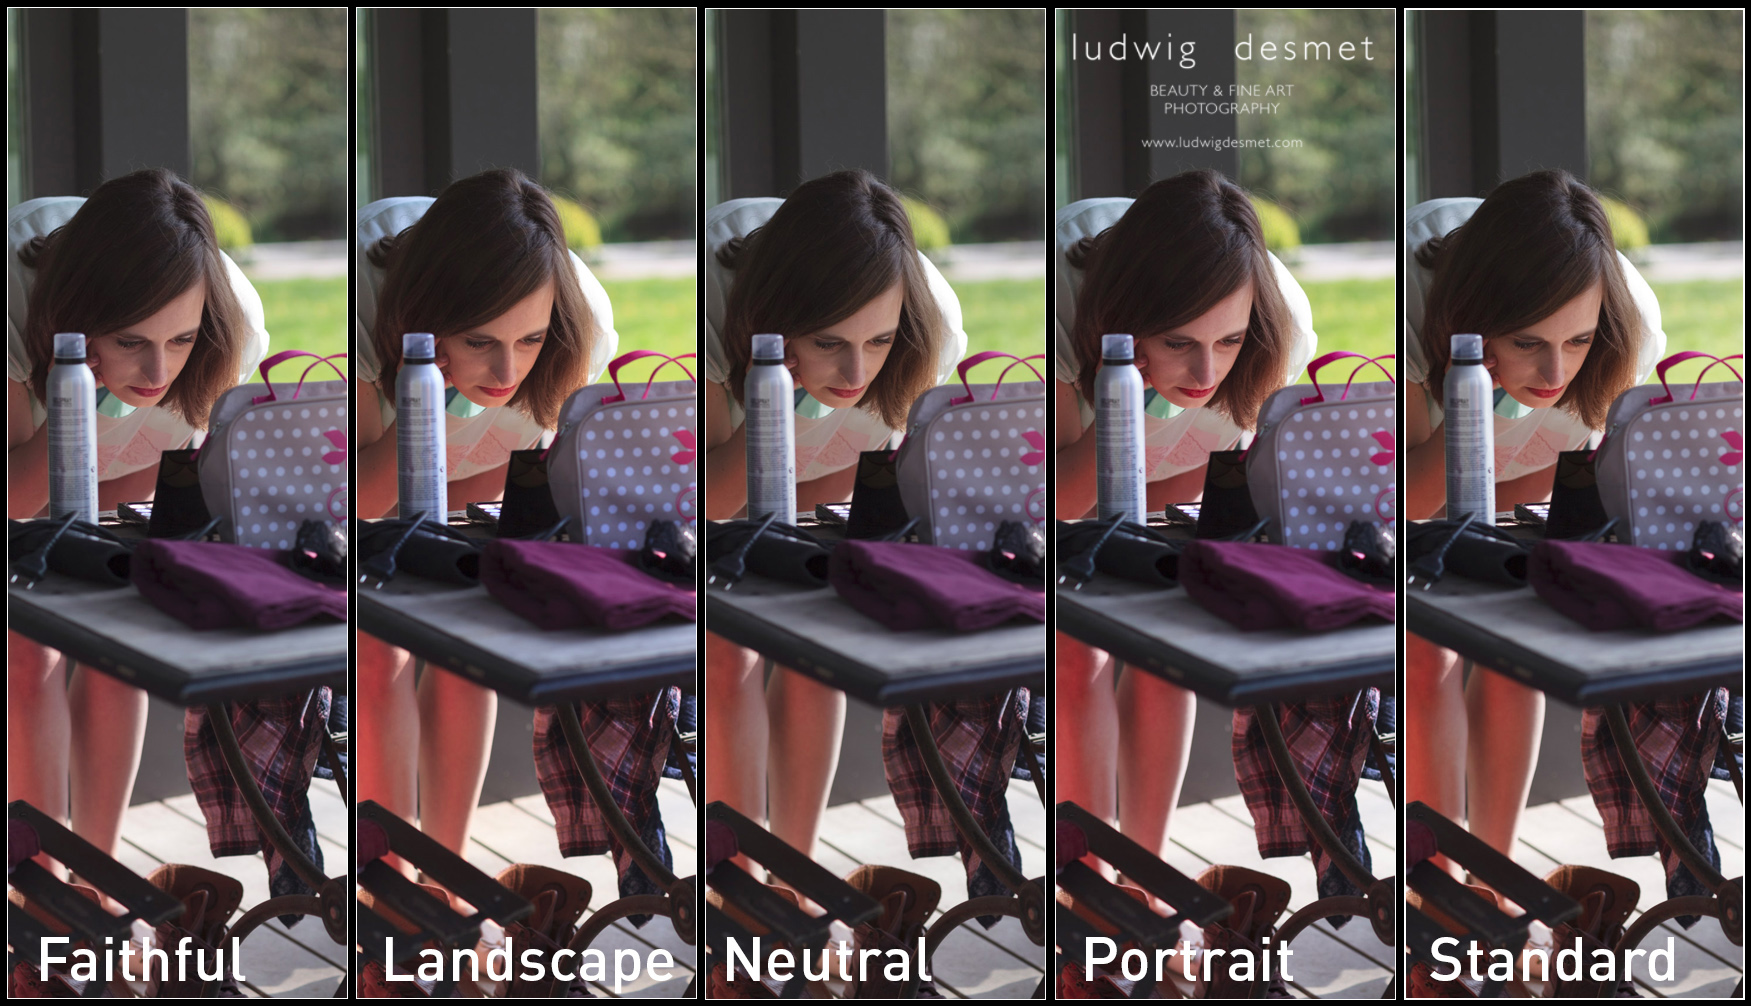
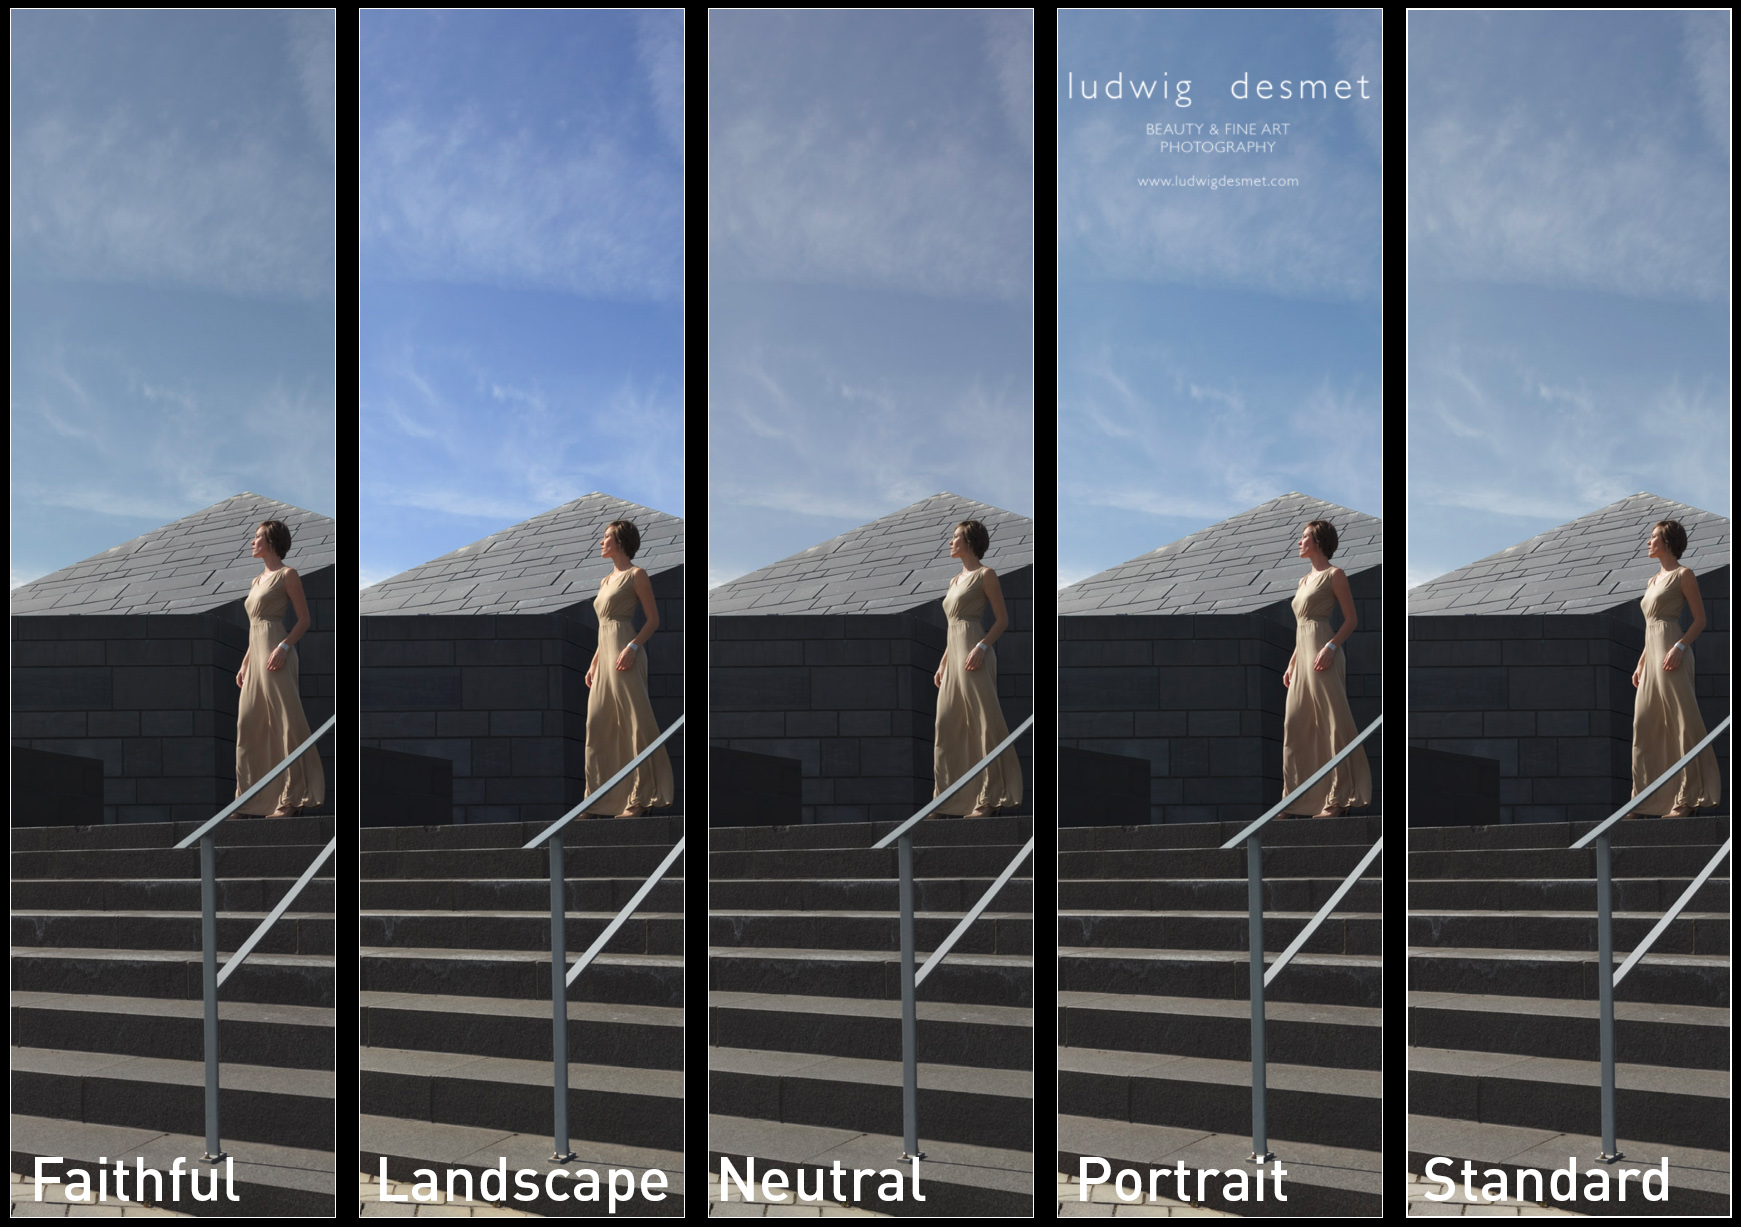
If you want to experiment with camera calibration without buying the tools needed, try using the ‘picture style calibration settings’ available in the drop down menu. They should reflect the ones you have available on your camera. The differences should be obvious.
Below two examples of different ‘picture style camera calibration’ settings. Note the changing skin tones in the first image, the changing sky colour in the second.
The process version is the way LR interprets RAW files since earlier versions, you should currently use the 2012 version. (July 2016)
To give a real world example, first image with ‘Adobe Standard’ profile, second with Custom made profile:

I think that the shaded area’s are very obviously lighter in the second picture, with the correct camera calibration profile. These are unedited images. For me this lighting situation is very common, high contrast, backlit situations, where you want to make sure that the highlights are not blown out (clipped). As you know I seldom use extra light on a shoot (except for a reflector from time to time. In this way I absolutely need to be able to enhance my shadow area’s to a descent light level. This less dark starting situation is of a lot of help.
The edit looks like this (same editing on both images) Adobe Standard above, 5Ds profile below. In the first image, the colours are slightly red, but especially the corner shadows completely run black (due to my vignette, I know). Compare with the corners in the second image, where I can keep plenty of detail, with the same amount of vignetting.
When looking in detail, you’ll see that I keep a lot more detail in the hair, and I have less noise appearing in the second image. (upping the shadows a lot also emphasises image noise)
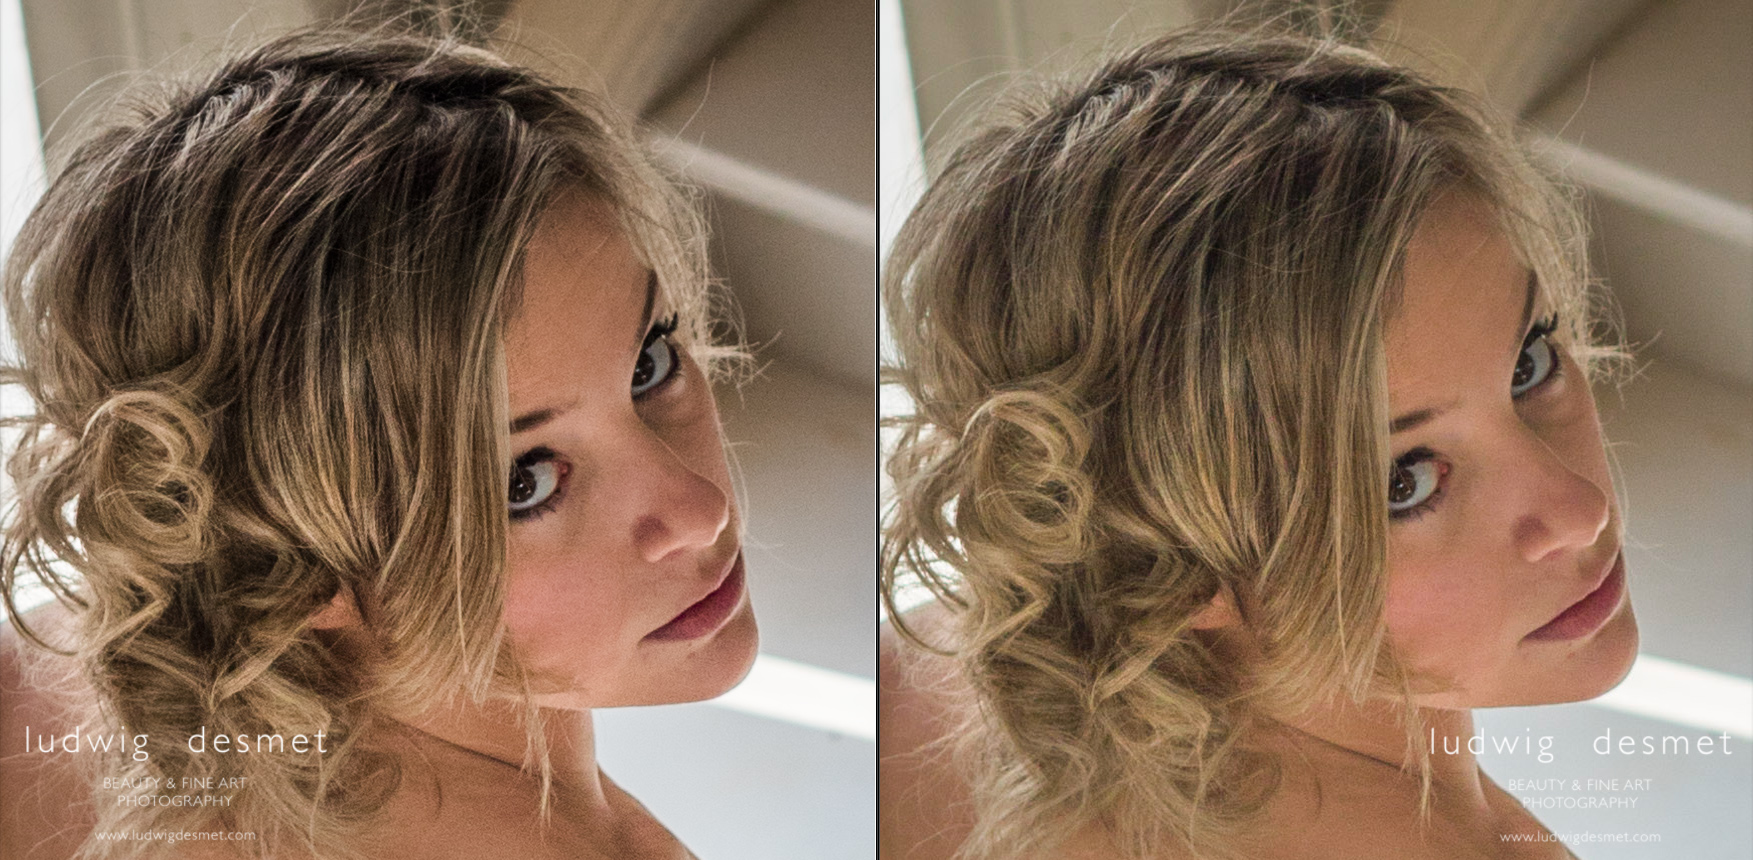
Image: Jenn at Baudries Castle
Hair: Nathalie
Make up: Heidi
I think Jenn has a large amount of ‘Nathalie-Portman-looks’ here 😉
Canon 5Ds with Sigma 50mm f1.4 DG A – 1/640s f2.8 ISO 160
see you soon for part two of this explanation, and for a lot more images:
summer time, shooting time
ludwig
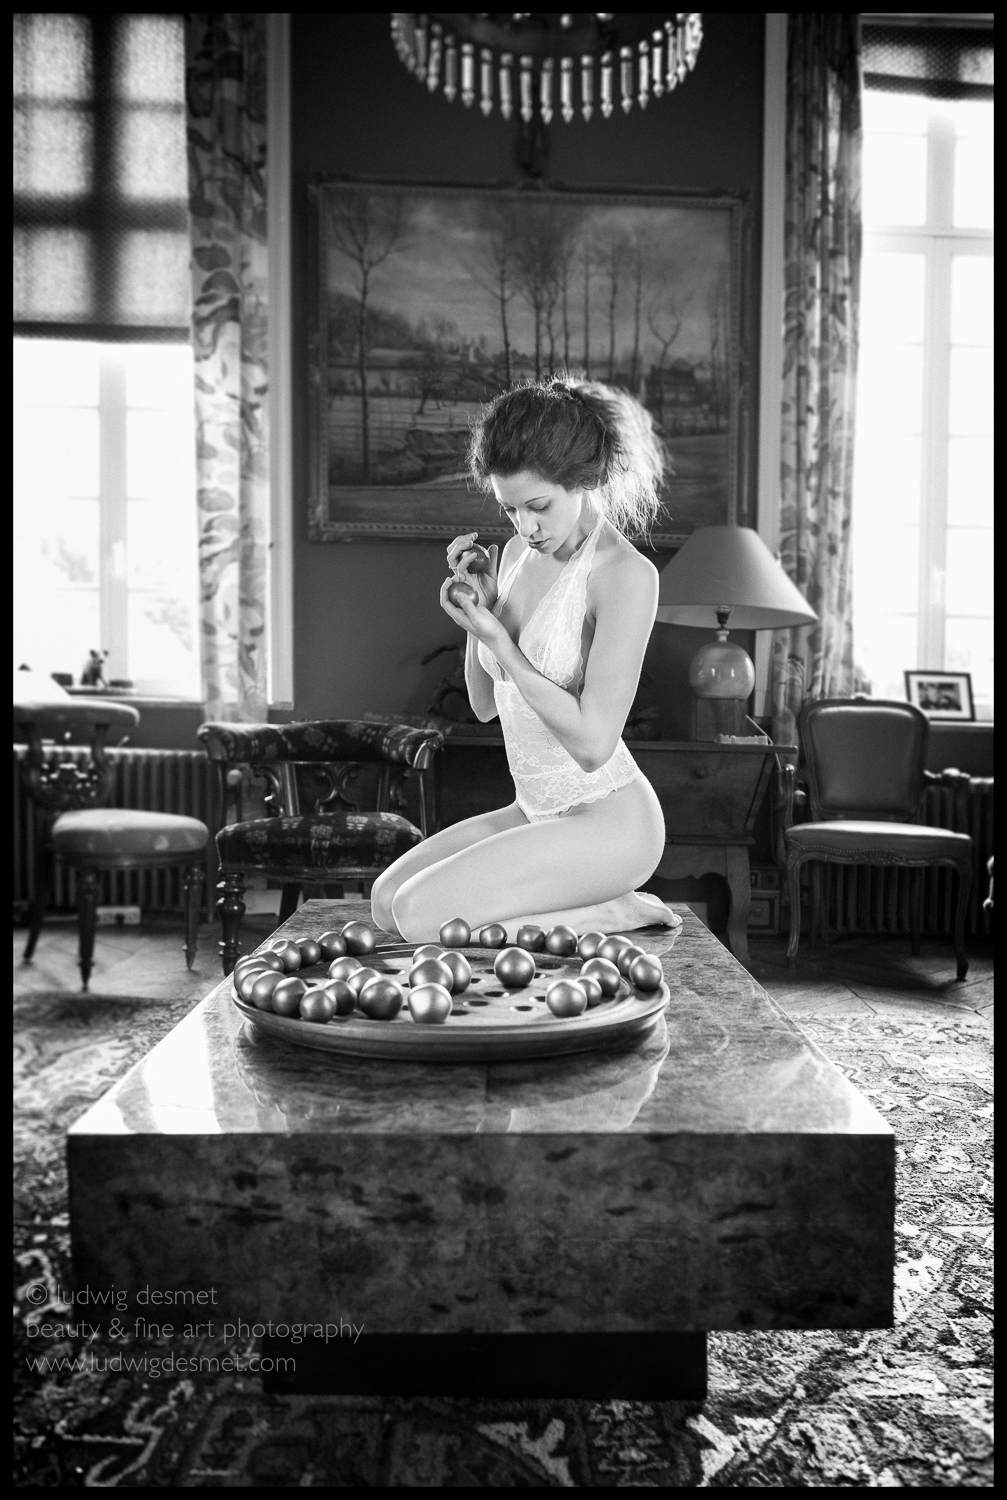
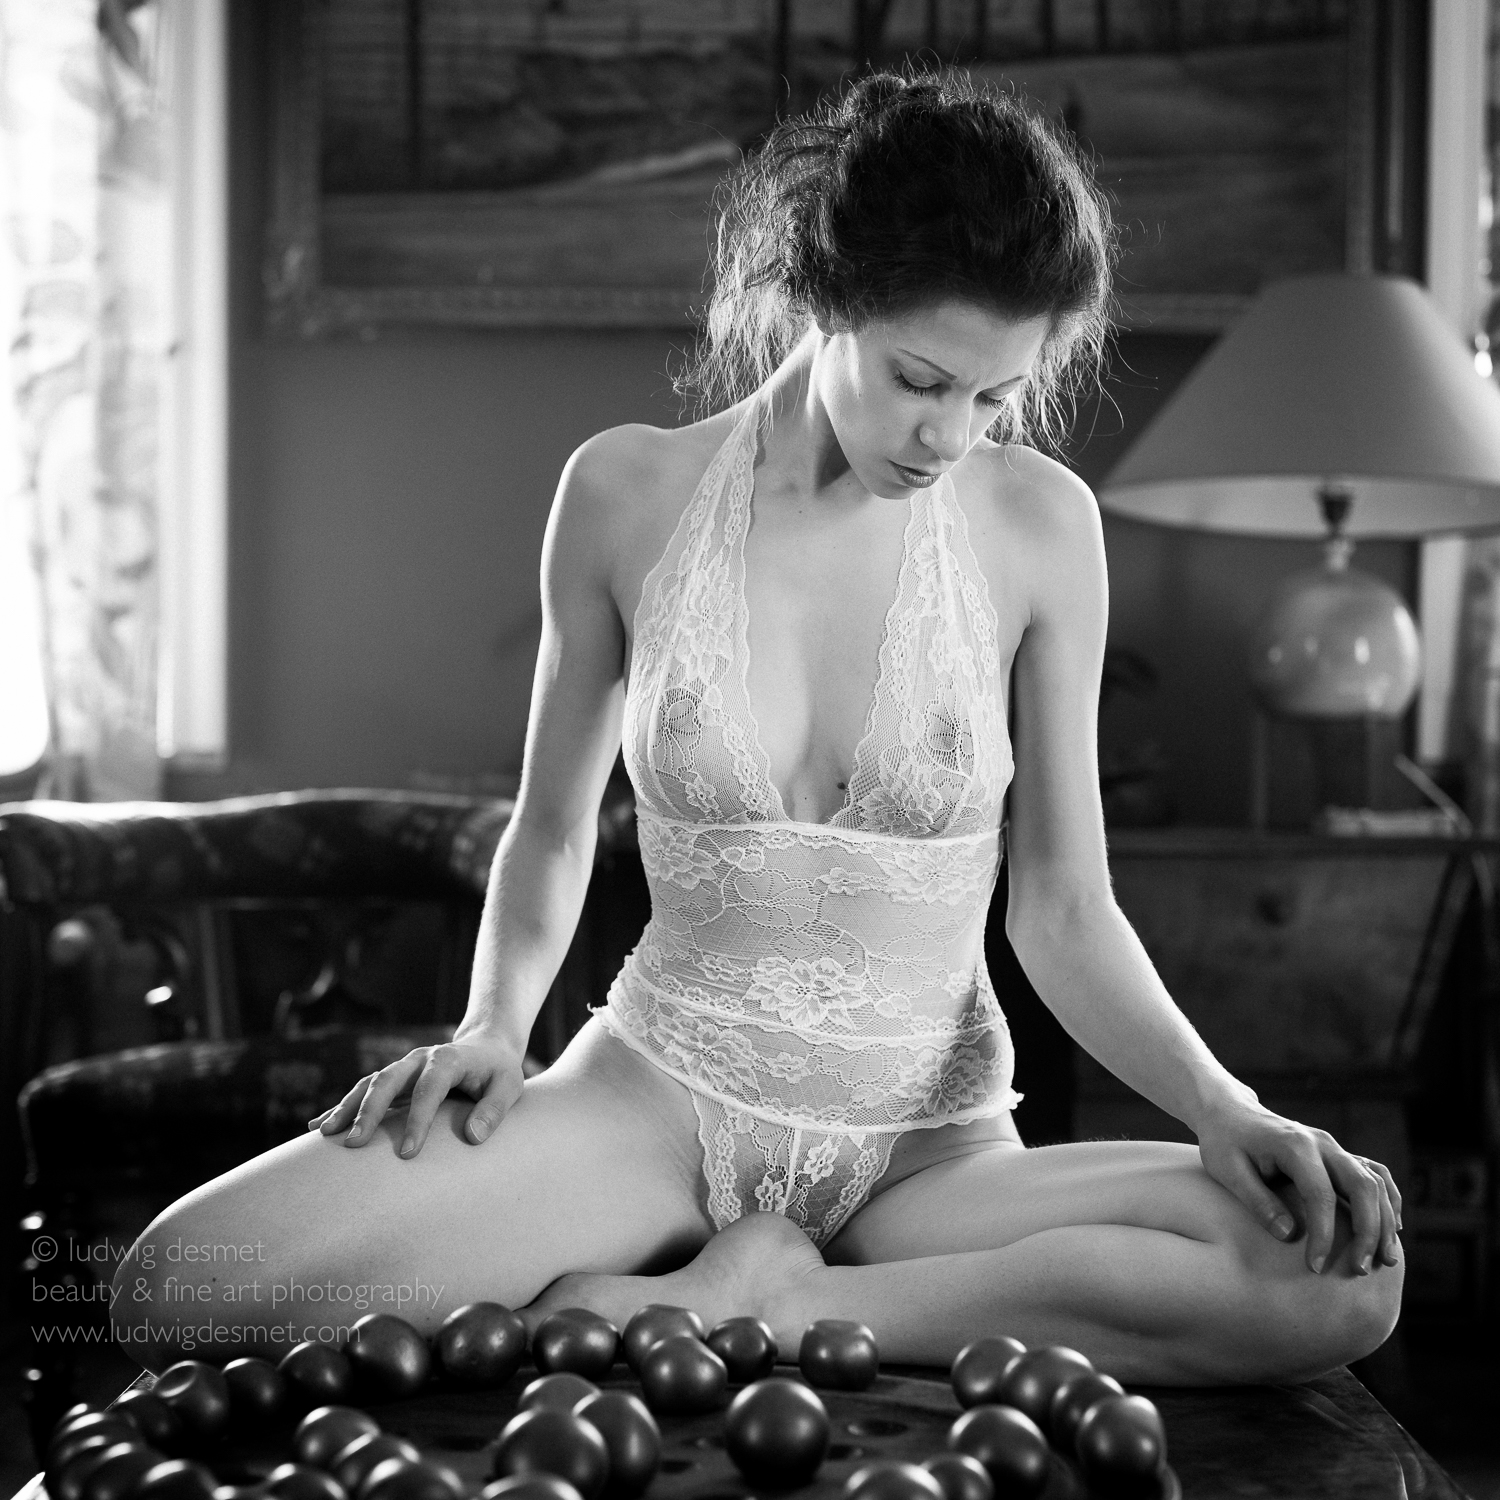
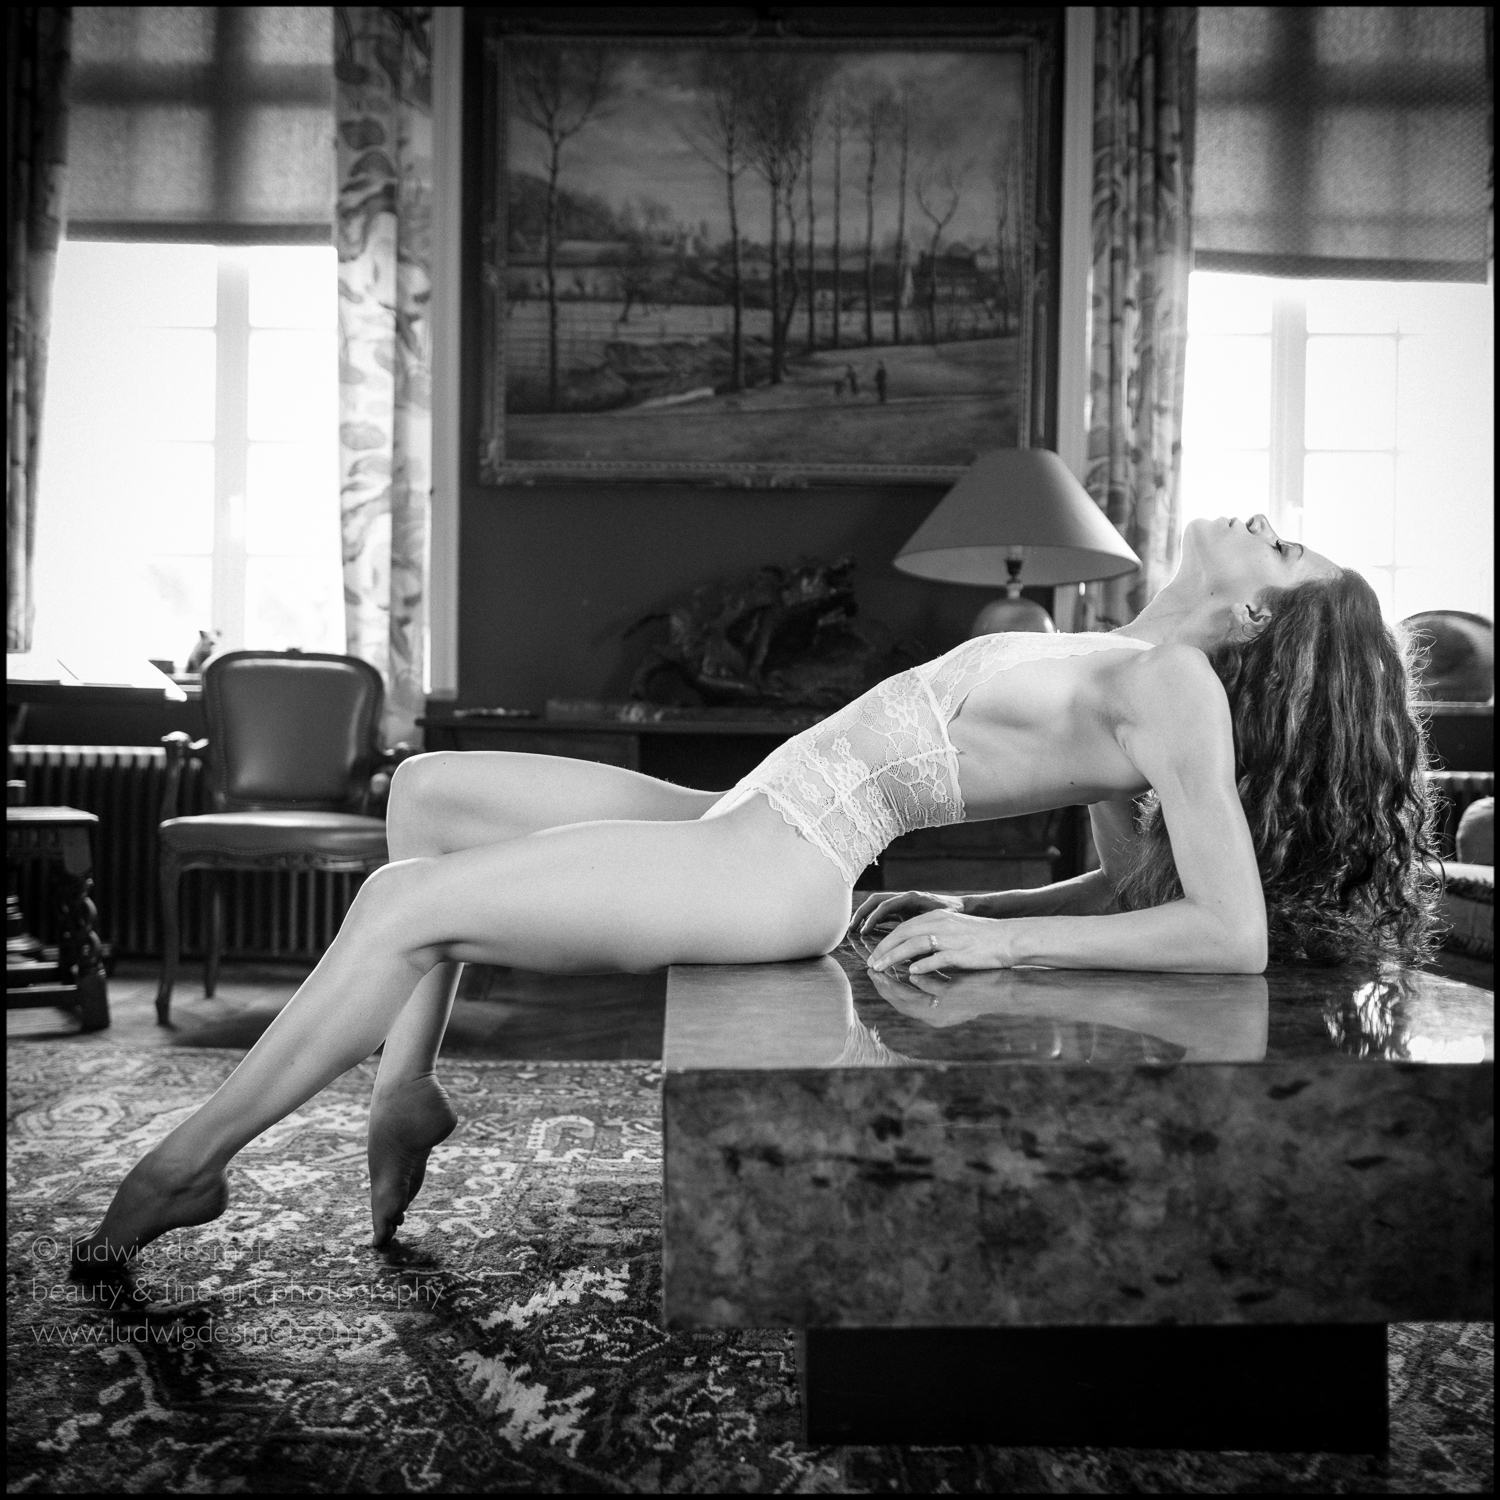
Ava playing solitaire at the chateau.
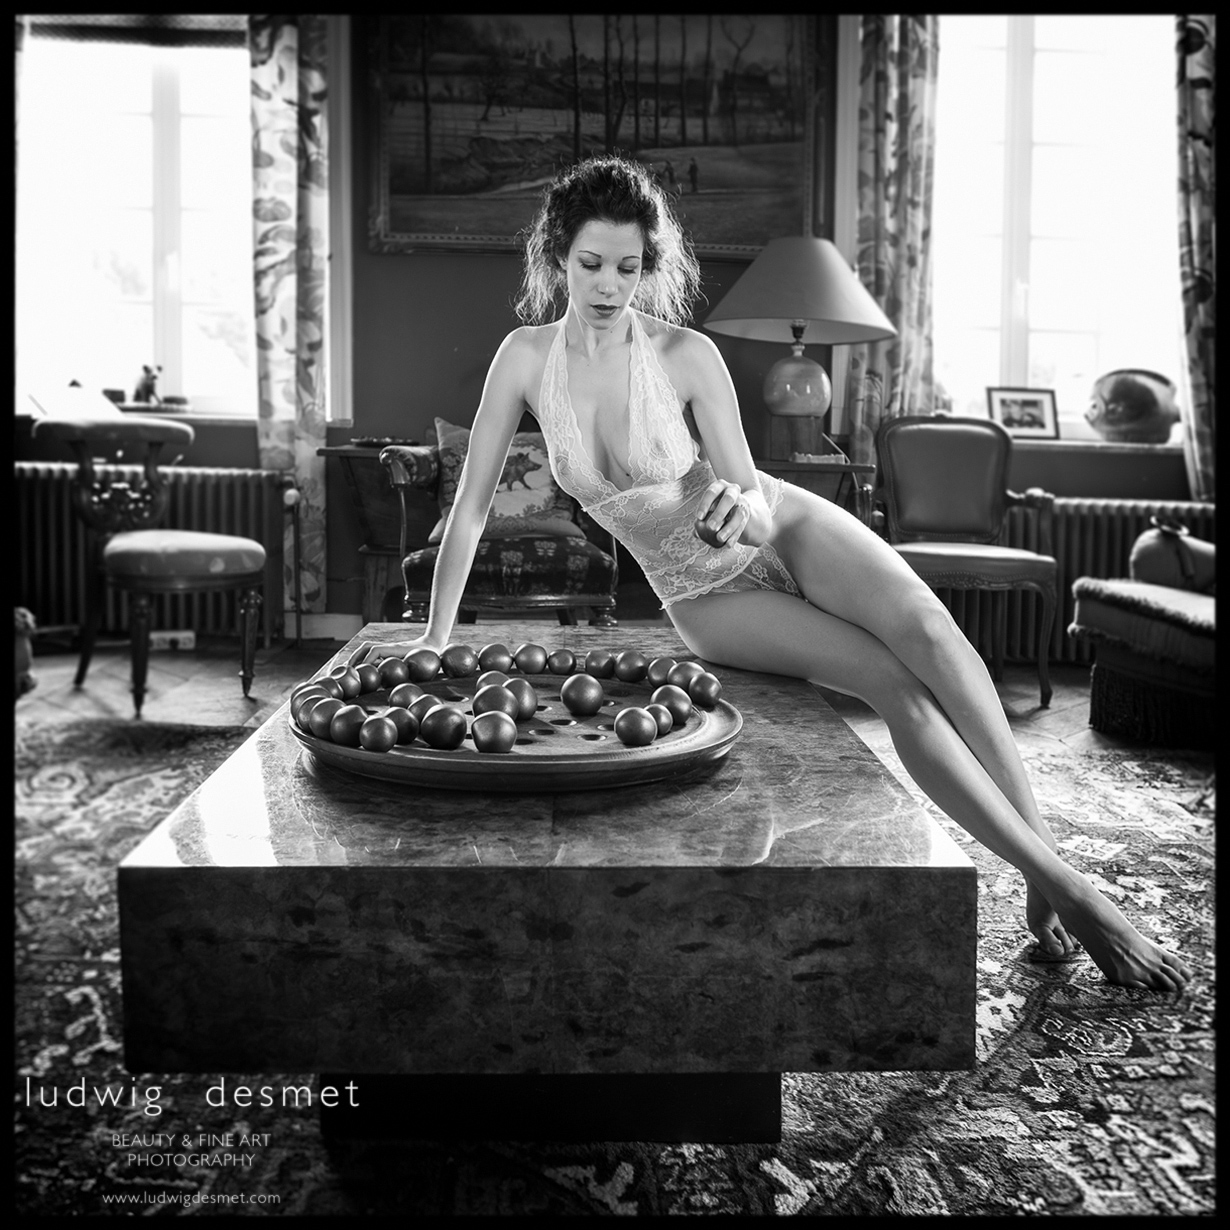
Hair and assistance: Nathalie
Model and make up: Ava
Photography: Ludwig Desmet
Canon 5Ds with Canon 24mm f1.4 L II – 1/8s f3.5 ISO100
available as limited edition print, for info: ludwig@ludwigdesmet.com
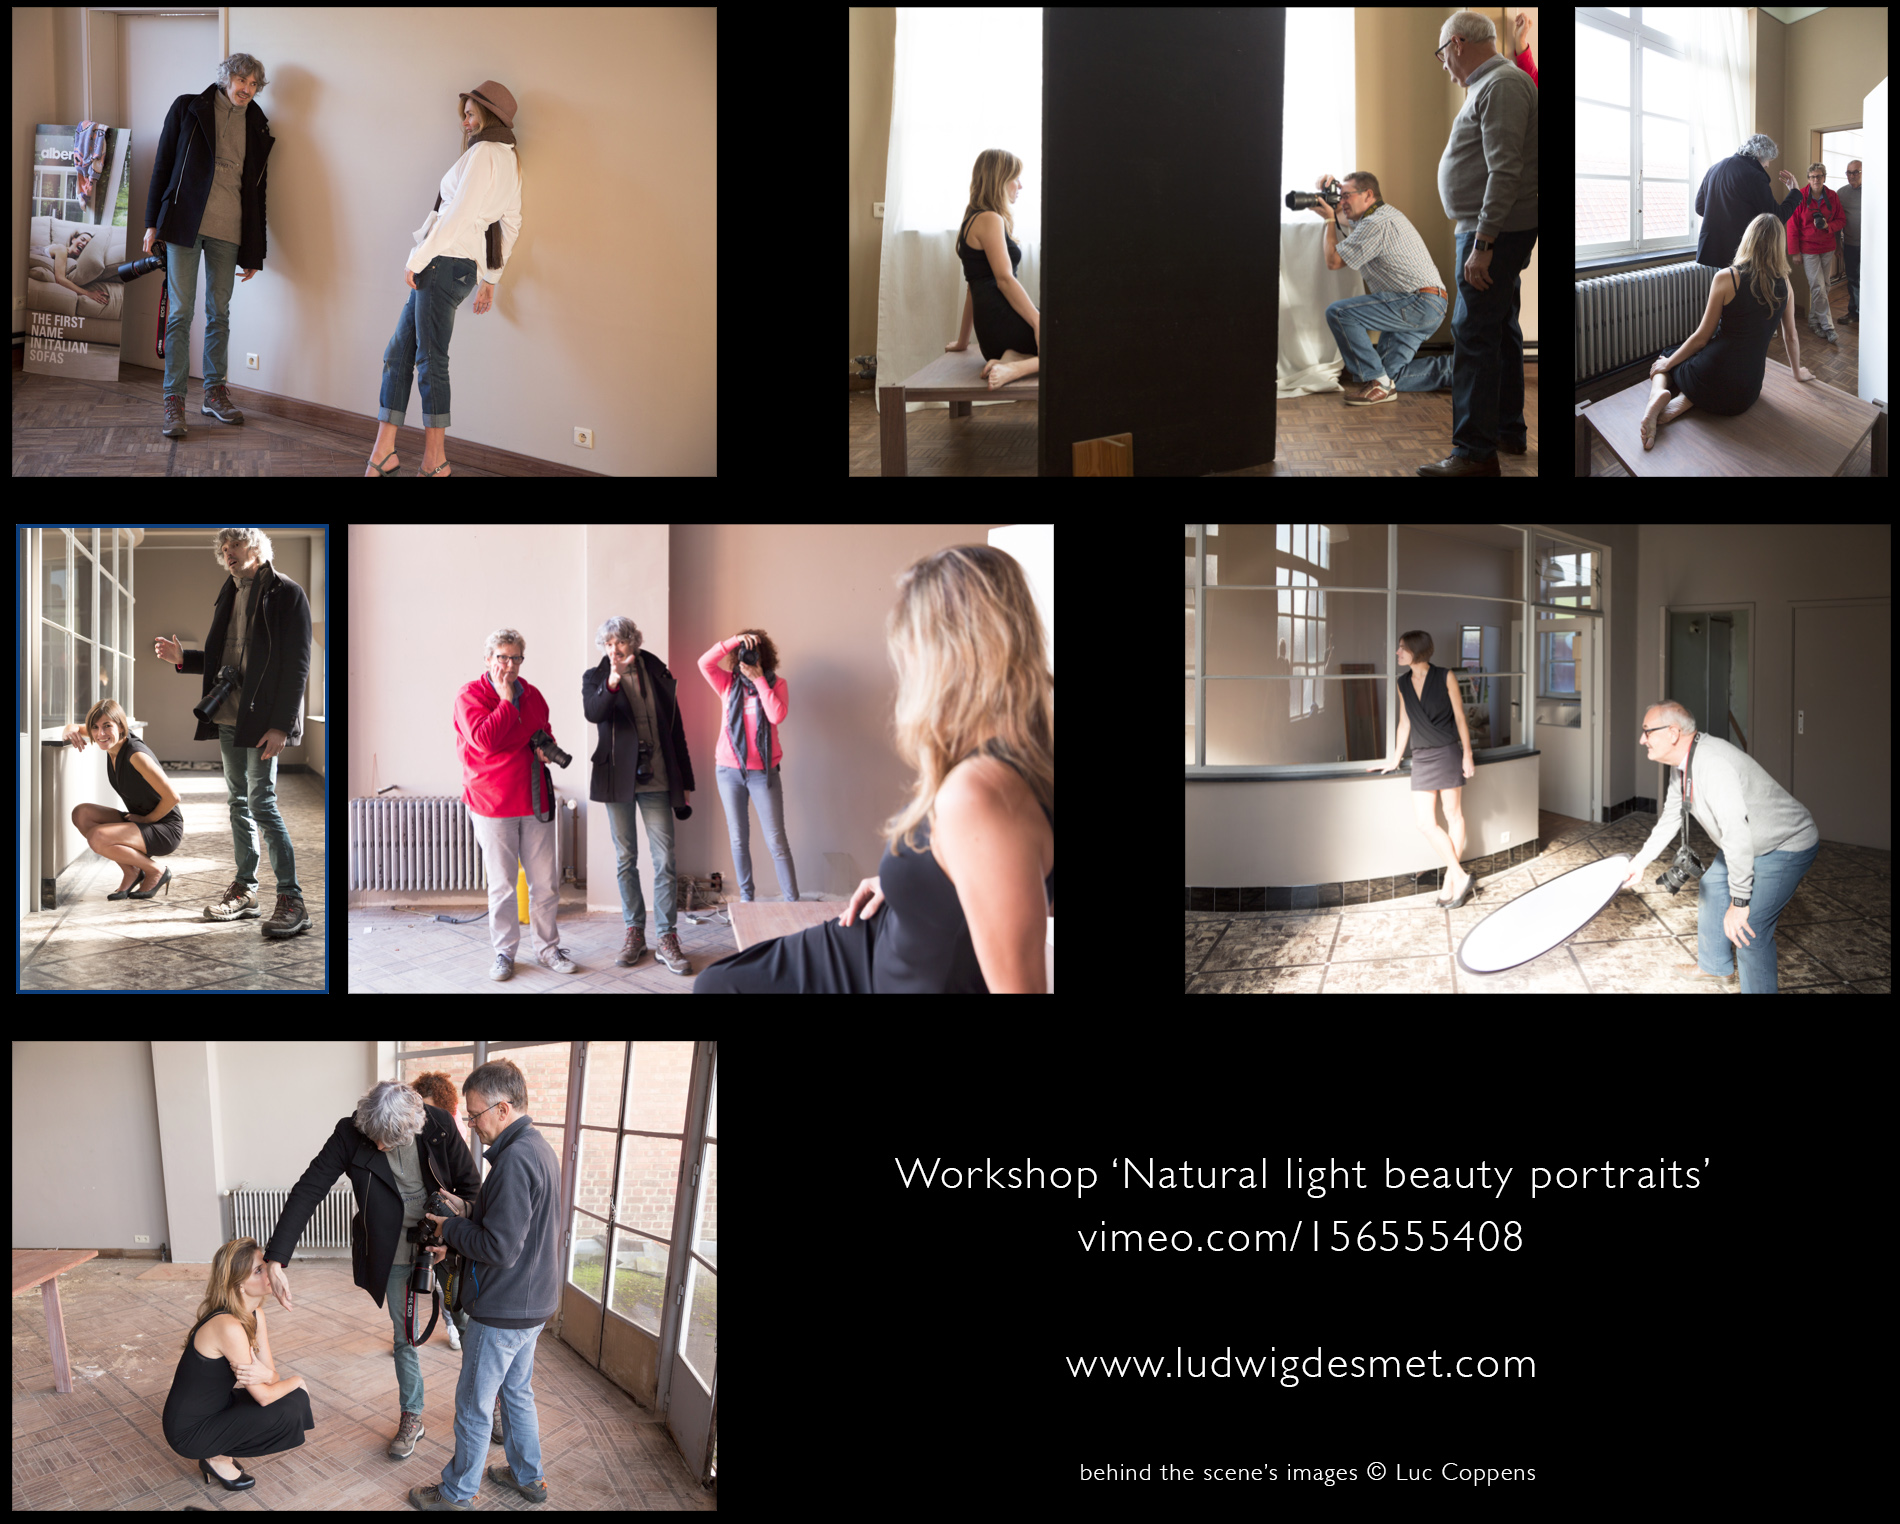
A short summary about a workshop I did last year.
I finally found the time to make a short clip from the footage that was shot during the workshop.
You’ll see in this video:
A short briefing round, where I explain some different lighting situations
A behind the scene’s montage from the participants at work
Some resulting images from the workshop.
Some images:
 Happy viewing,
Ludwig
First post on the newly hosted blogsite:
www.ludwigdesmet.com
(the old site will be updated for a little while though)
A small series of analog images with the Rolleiflex 3.5 Planar, Kodak TMax400 film.
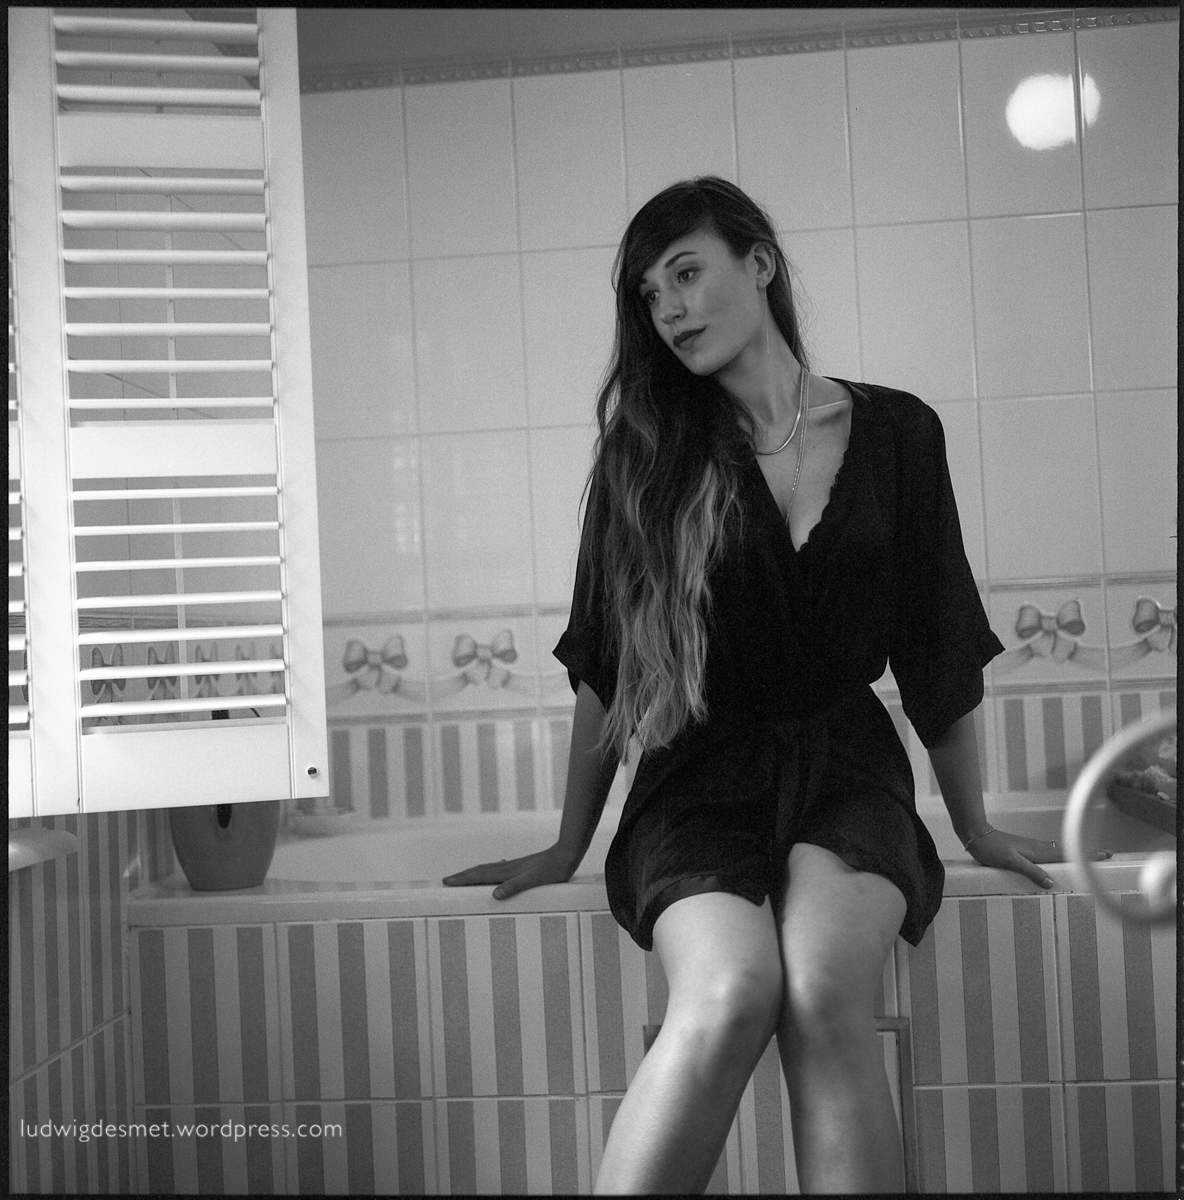

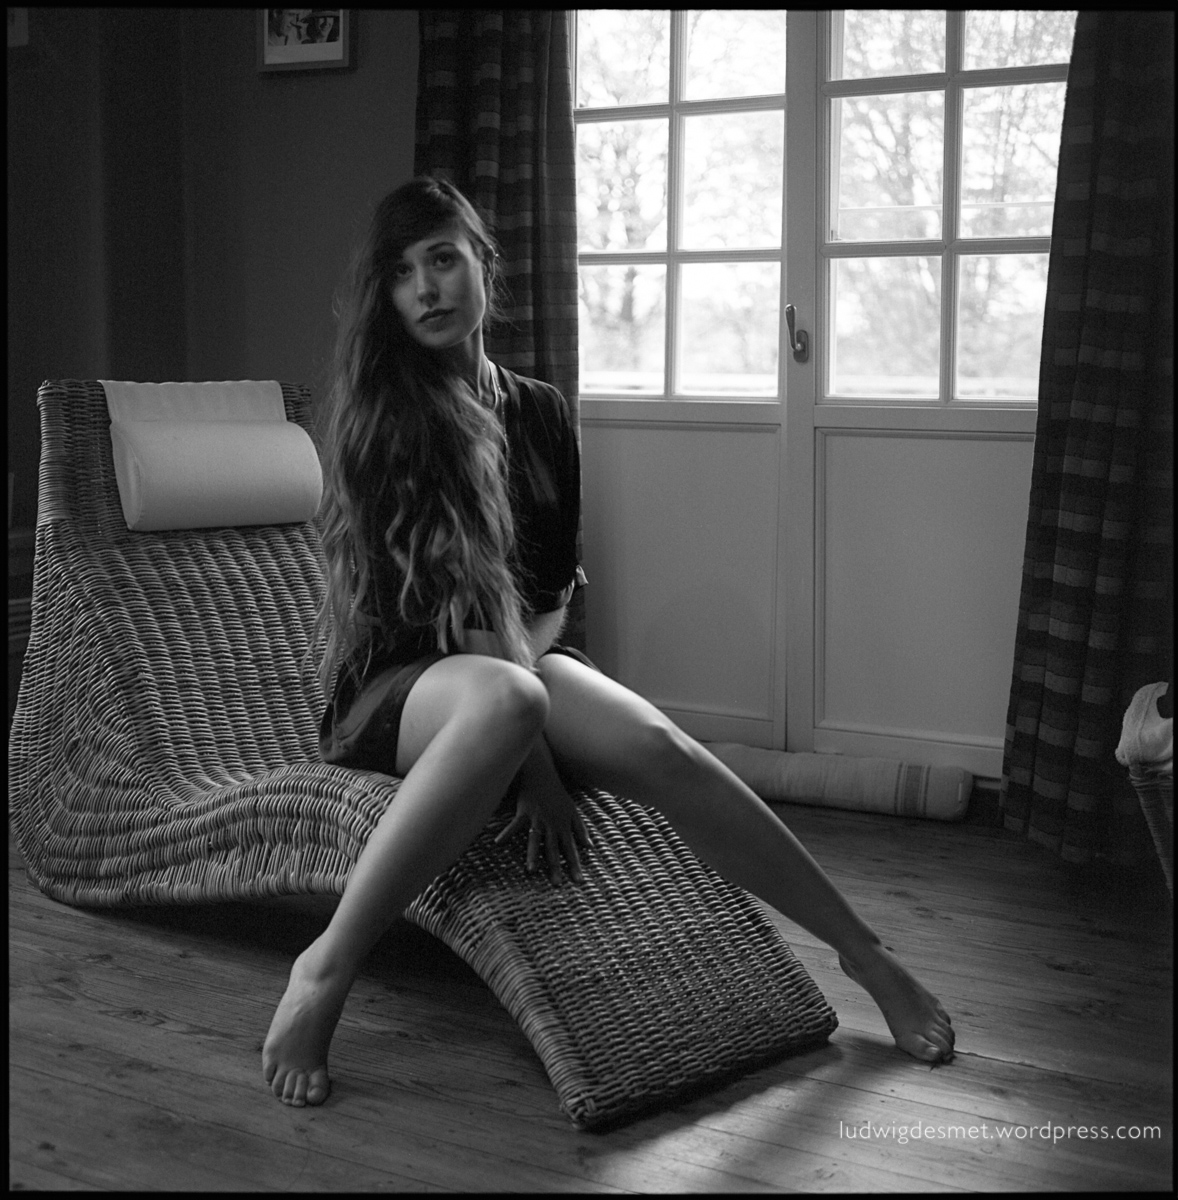

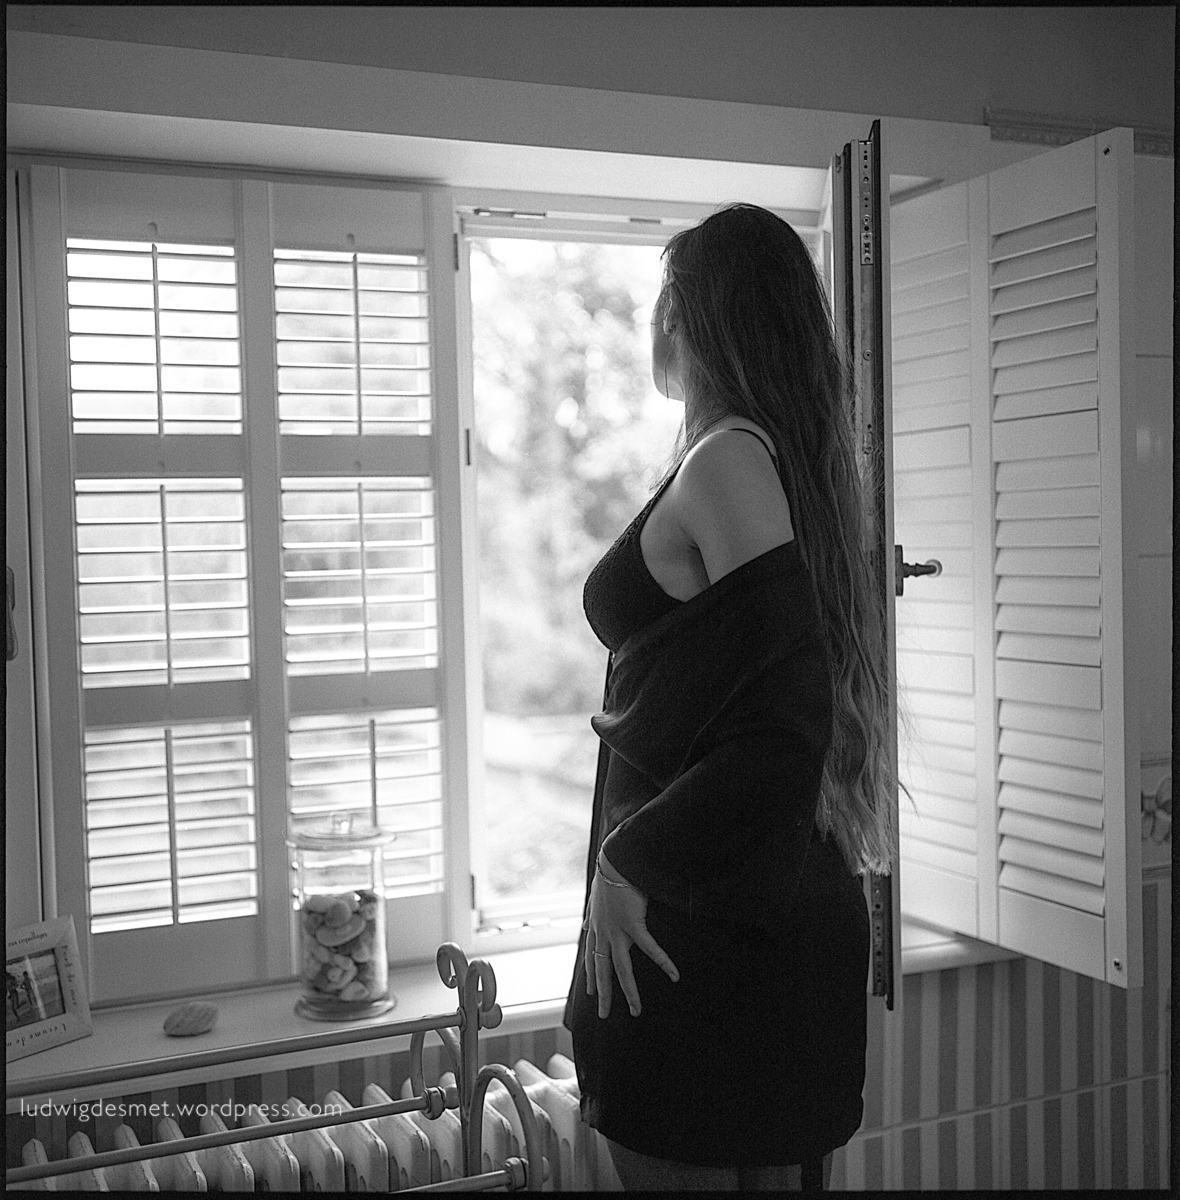
thank you for watching,
make sure to come again soon,
ludwig
As all runs well, this domain should soon have its own name. I am taking steps to move the site to www.ludwigdesmet.com – the intention is that subscribers still get messages when new posts are made, but if you experience a longer-than-normal delay in new reminders from my side, something might have gone wrong. I’m not web guru by far, prepare for the worst.
please enjoy this first image from a shoot I did a couple of weeks ago. Romina has finished her studies in drama and theatre, has Italian roots, and was a pleasure to work with.
Romina

Canon 5D mark II with Sigma 50mm f1.4 DG A
1/50s f2.5 ISO500
thank you for watching,
ludwig
Bowie is no more, let’s remember some of his words.
so I’ll keep trying, till I succeed …
– Justine –

thank you for watching
Images © ludwig desmet – Canon 5D II with Canon 135mm f2 L
talking about archetypes 😉
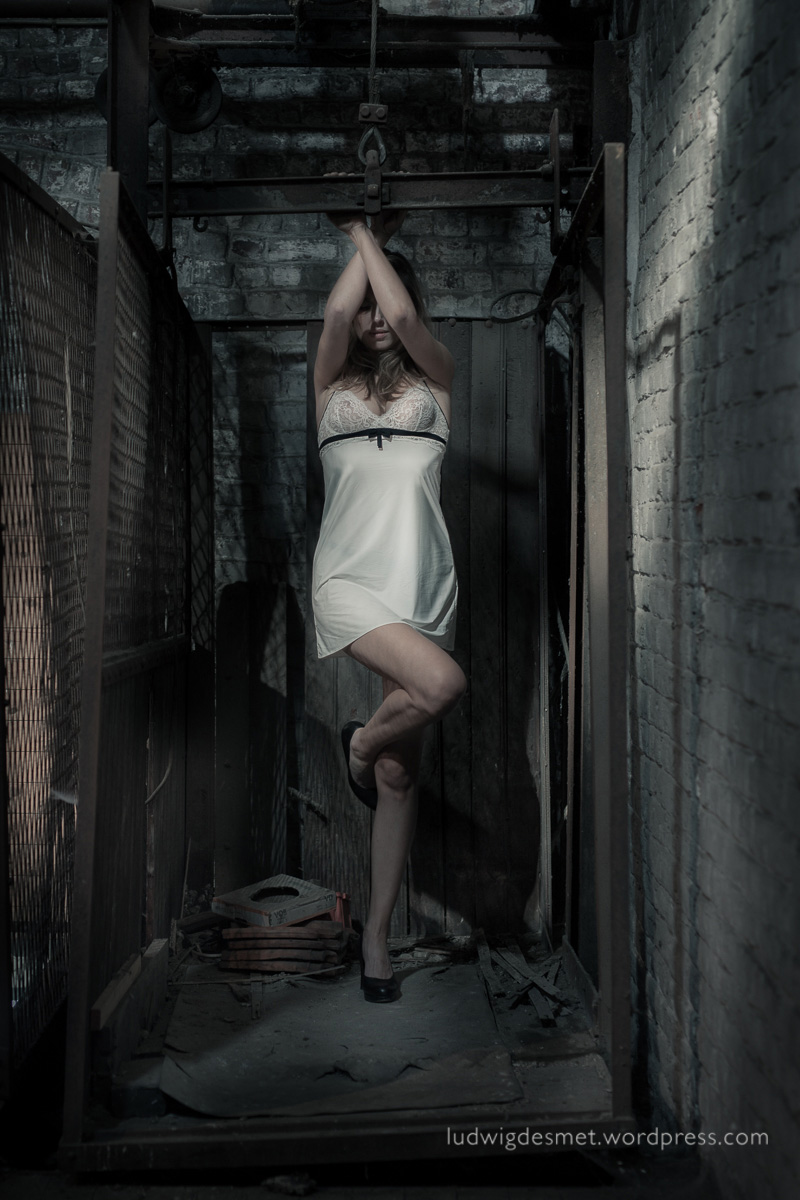


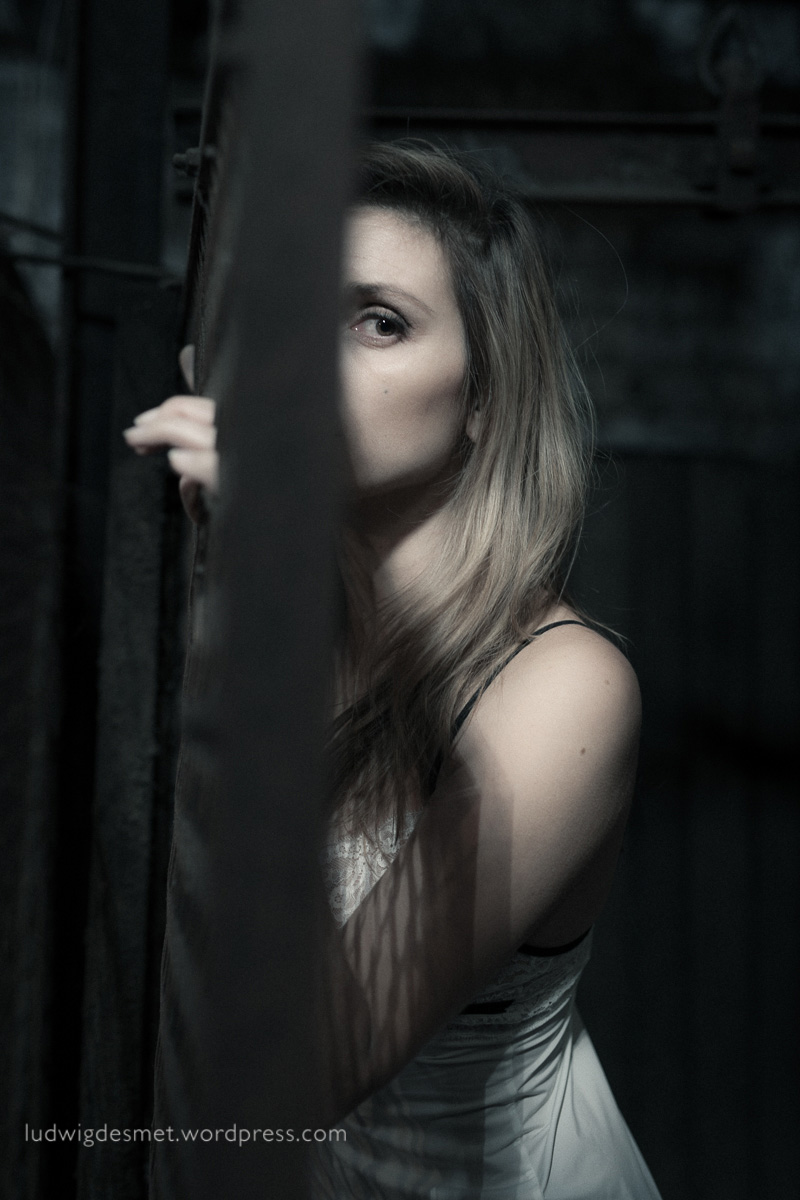
I developed these images a bit ‘off style’ or at least off my style, like or not?
All images with Canon 5D II and Sigma 50 mm f1.4 A DG.
1/25s f2.2 ISO 500 (close up images)
1/8s f2.2 ISO 250 (full body images) on tripod.
thank you for watching,
Ludwig
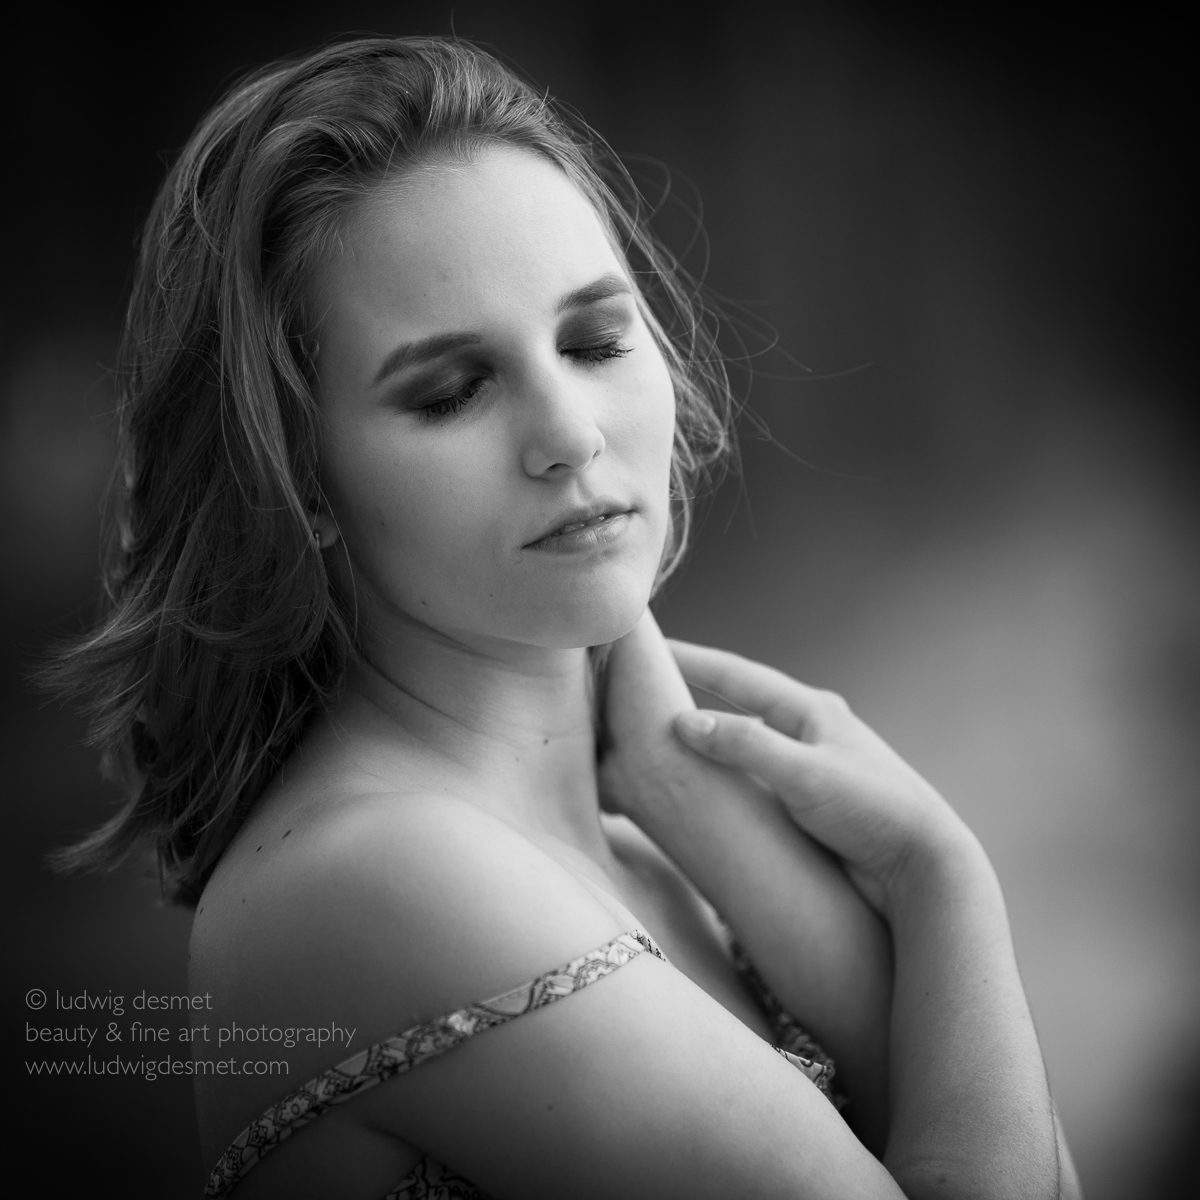
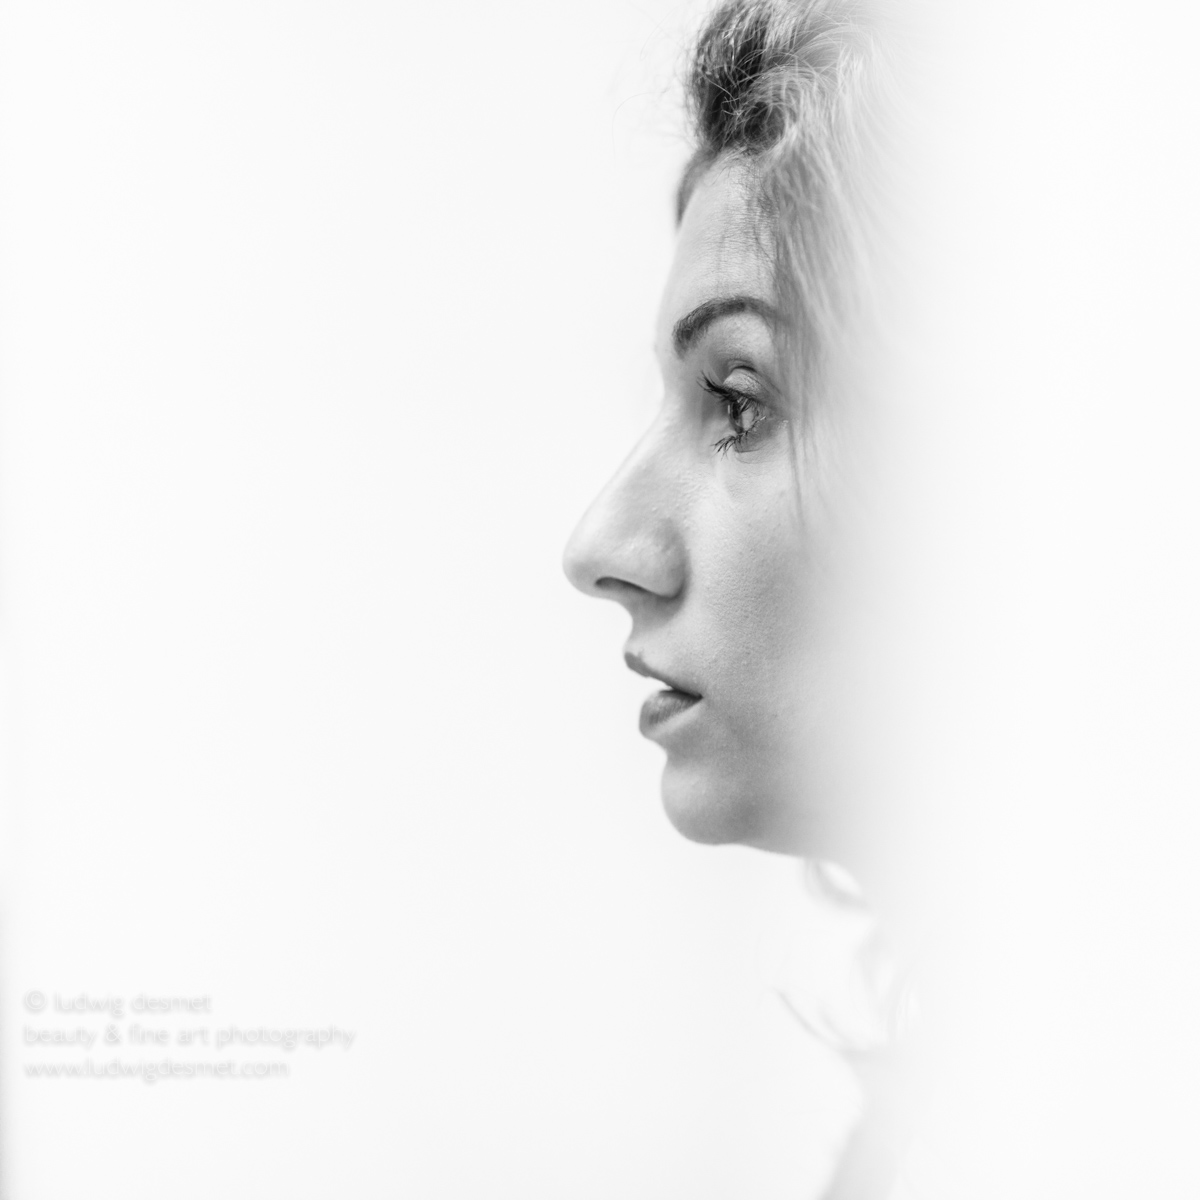
as promised.
This image has an even more zen-look to it I think. The expression and the eyes closed make this image a witness to the models well being at that moment. Thank you Elisa, for being my model that day.
As I said yesterday, this image is taken at the exact same spot as the previous one. That is why I love working with available light, it gives you so much possibilities in a single space, …
‘WHITE’
Technical details: Canon 100mm f2.8 macro L IS at f2.8, 1/30s, ISO 160
thank you for watching, don’t forget to check out my galleries: Beauty Black and White – Beauty color
ludwig
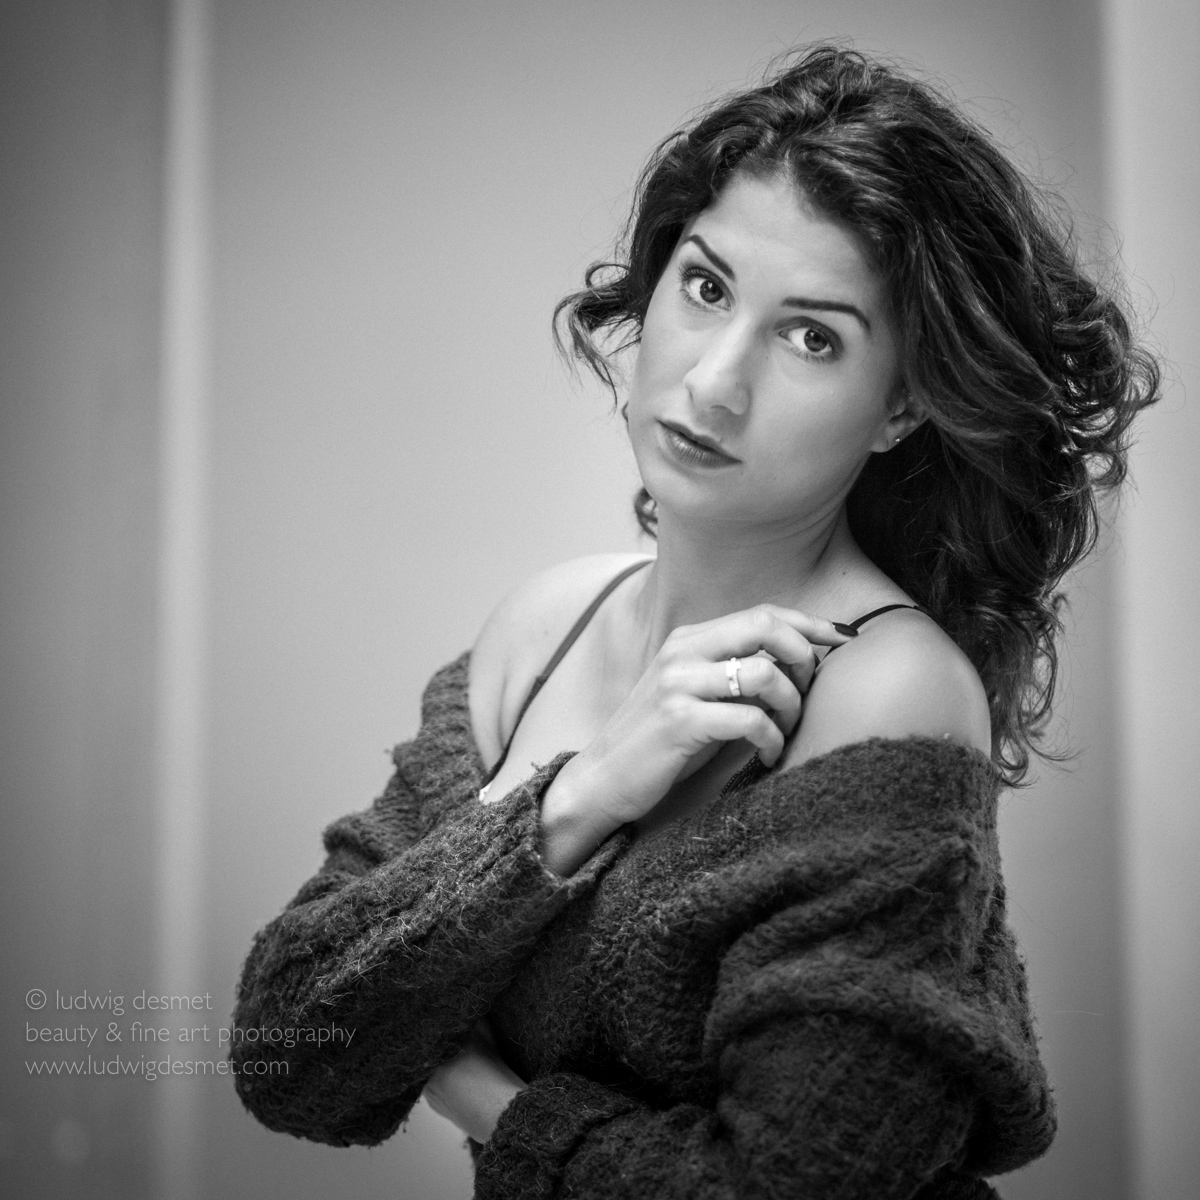
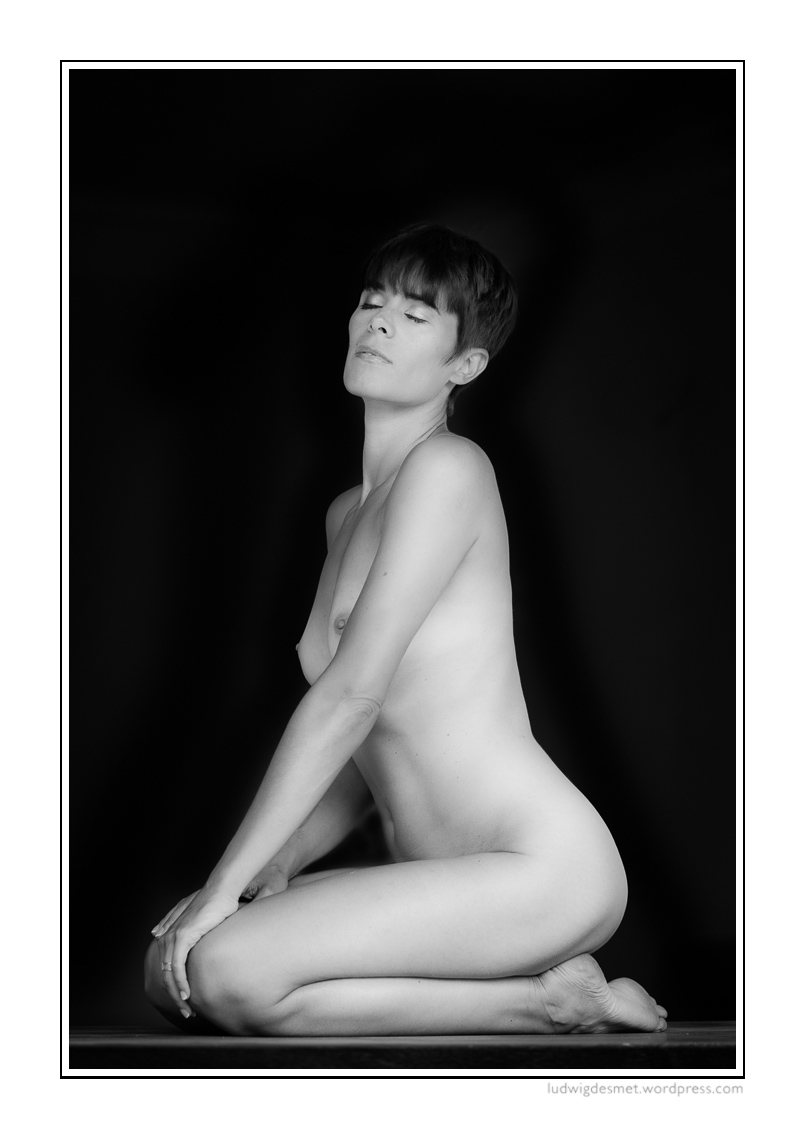
a single image post.
I find it rather intimate and peaceful, expressing proud and stability.
‘BLACK’

tomorrow I will show you the counterpart, same setting, same pose, same model, just I as a photographer have moved.
Technical details: Canon 135mm f2.0L at f2.2, 1/200s, ISO 320
thank you for watching, don’t forget to come back tomorrow for ‘WHITE’
ludwig
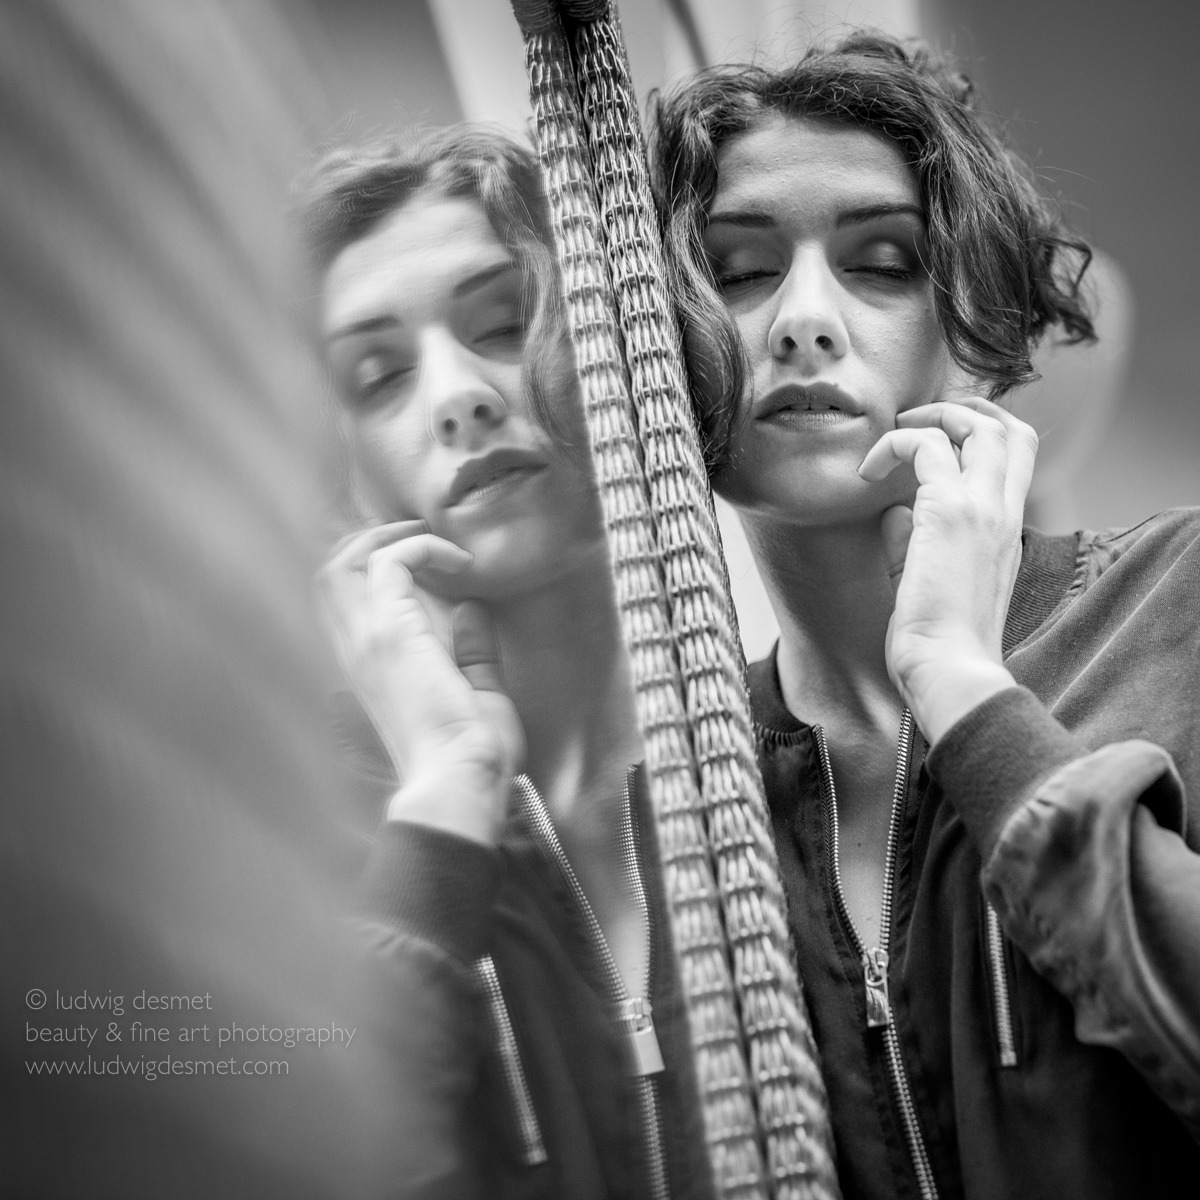
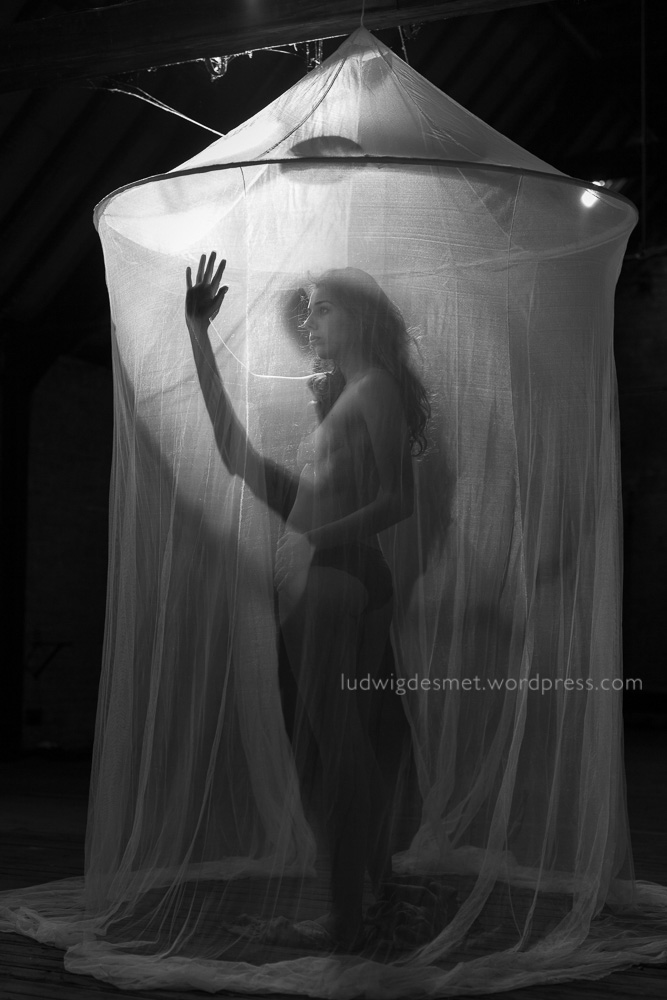
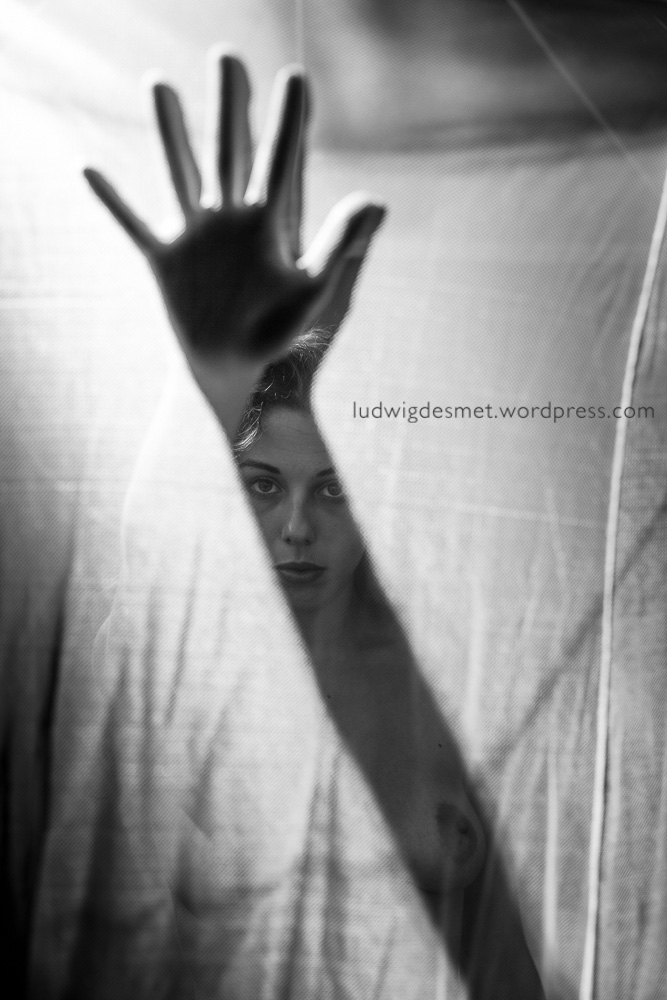
I brought a mosquito net into my studio space. I installed it on the attic.
We fooled a bit around with the bright light that drops into this space when the sun is coming in. The shadow creates a second person in the space. I kinda liked how the shadow and the original interacted with each other.

