hi there,
this below image had quite some succes on Facebook and different groups I published it onto. Actually people were asking about the way I did the high key development.
It was a rather straightforward and easy process, a little explanation below.

The lighting conditions where not good, NOT. 🙂
I needed an ISO setting of 2000 to be sure to have sharp images, that’s at least way over my usual limits. (I rather keep ISO settings below 800) You’ll see that the image has some noise in the shadow areas (like the throat area).
the original image looked like this: quite even light conditions, although the light was a little directional (from the left), there were no hard lights, no deep shadows.

I work in lightroom, my settings:
exposure: +2.10 / contrast: +40 / highlights: +67 / shadows: +36 / blacks: -42 / Clarity: -11 … that was about all I did. The image looks like this now:
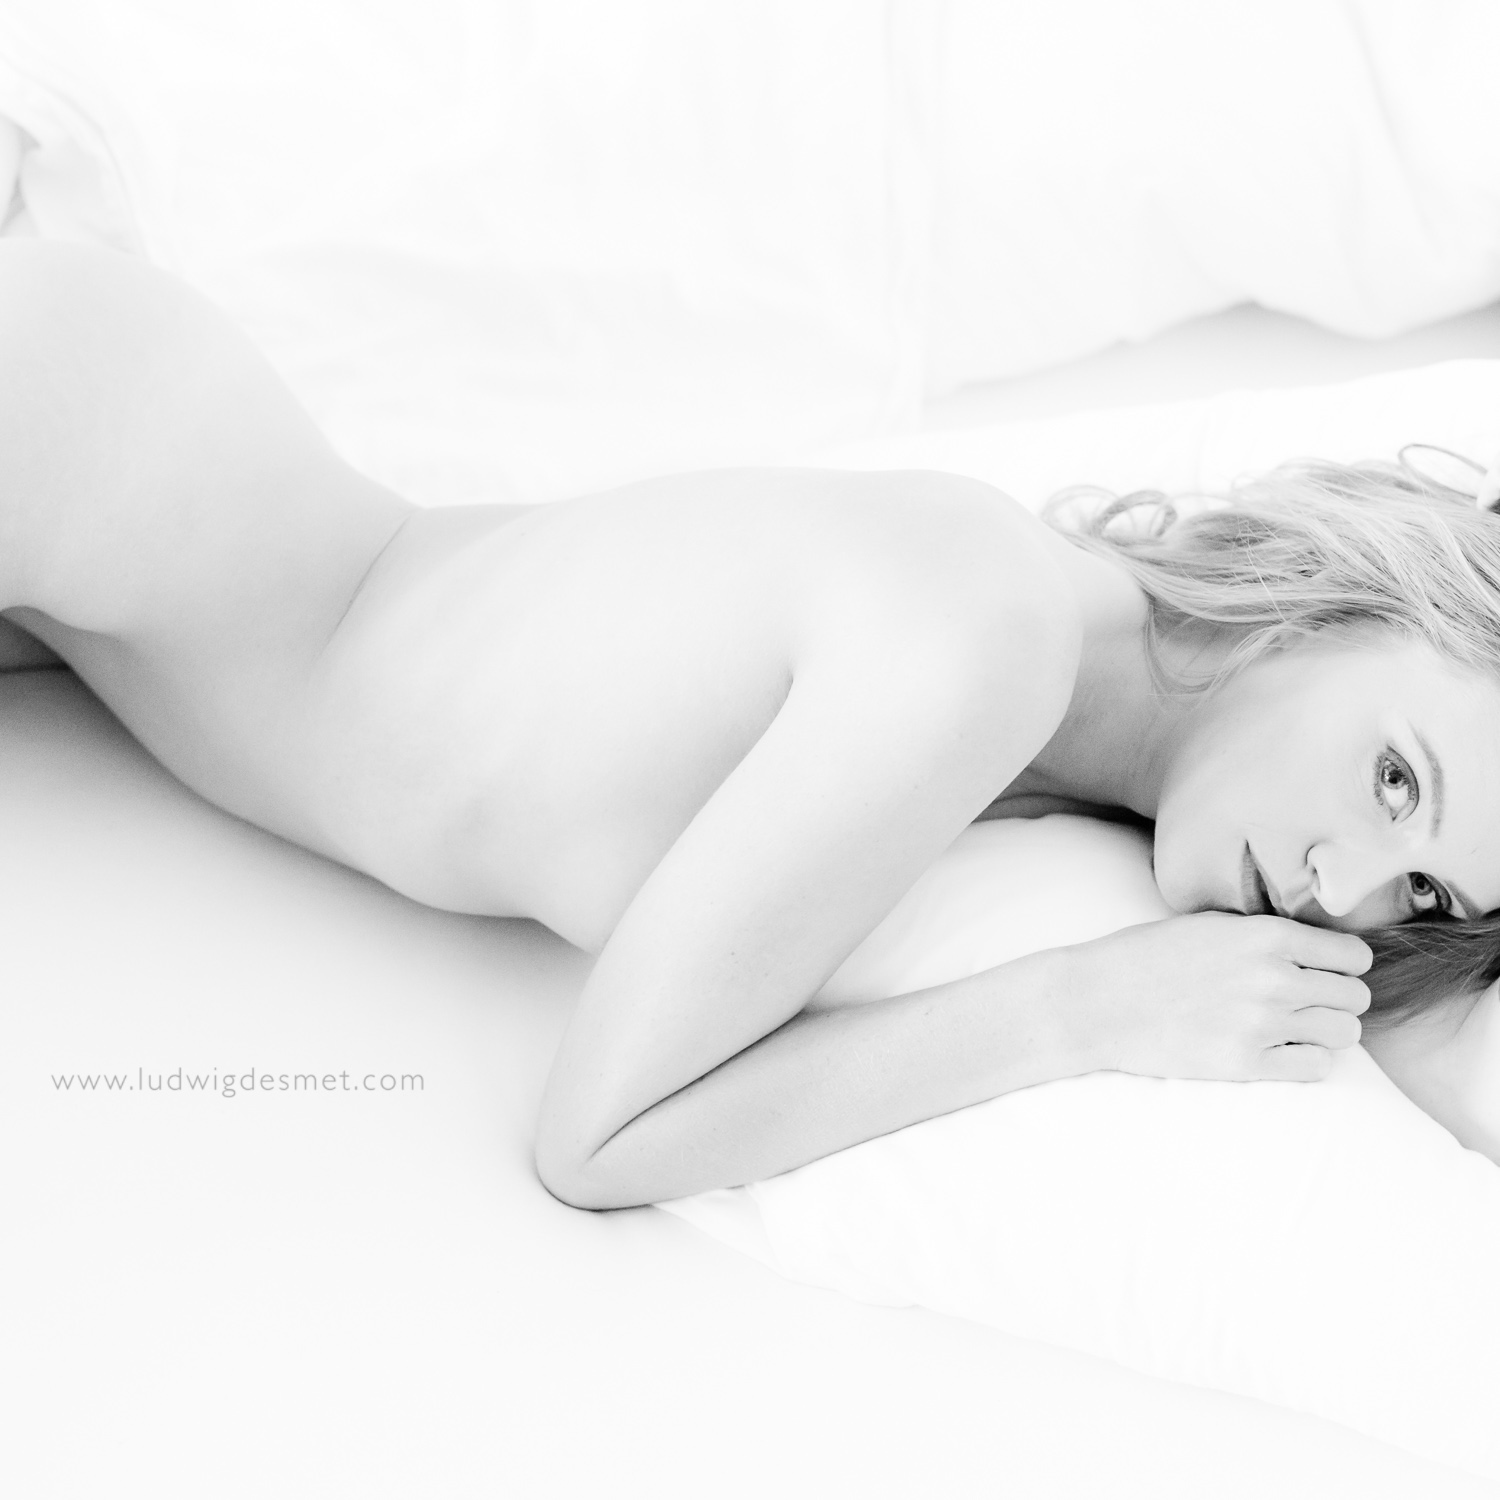
next I added some light using a local brush with + exposure, to get rid of the remaining bed sheet shading. No big secrets, just add plenty of exposure to make things white.
At last I added some noise reduction to get rid of too much grainy noise in the shadow areas. …
I hope you like the image, I certainly do.
The image was taken at a private tuition day with Sacha Leyendecker.(http://www.sacha-leyendecker.com) The model is Steffi Rubia Stringsi, from Brussels. The image was taken in an available light studio in Köln, Germany.
see you soon.
ludwig